Unlock the Beauty: Your Step-by-Step Guide to Installing Engineered Hardwood Floors
"Please be advised that we may receive compensation from the products featured on this page, and we participate in affiliate programs. Learn More ›"
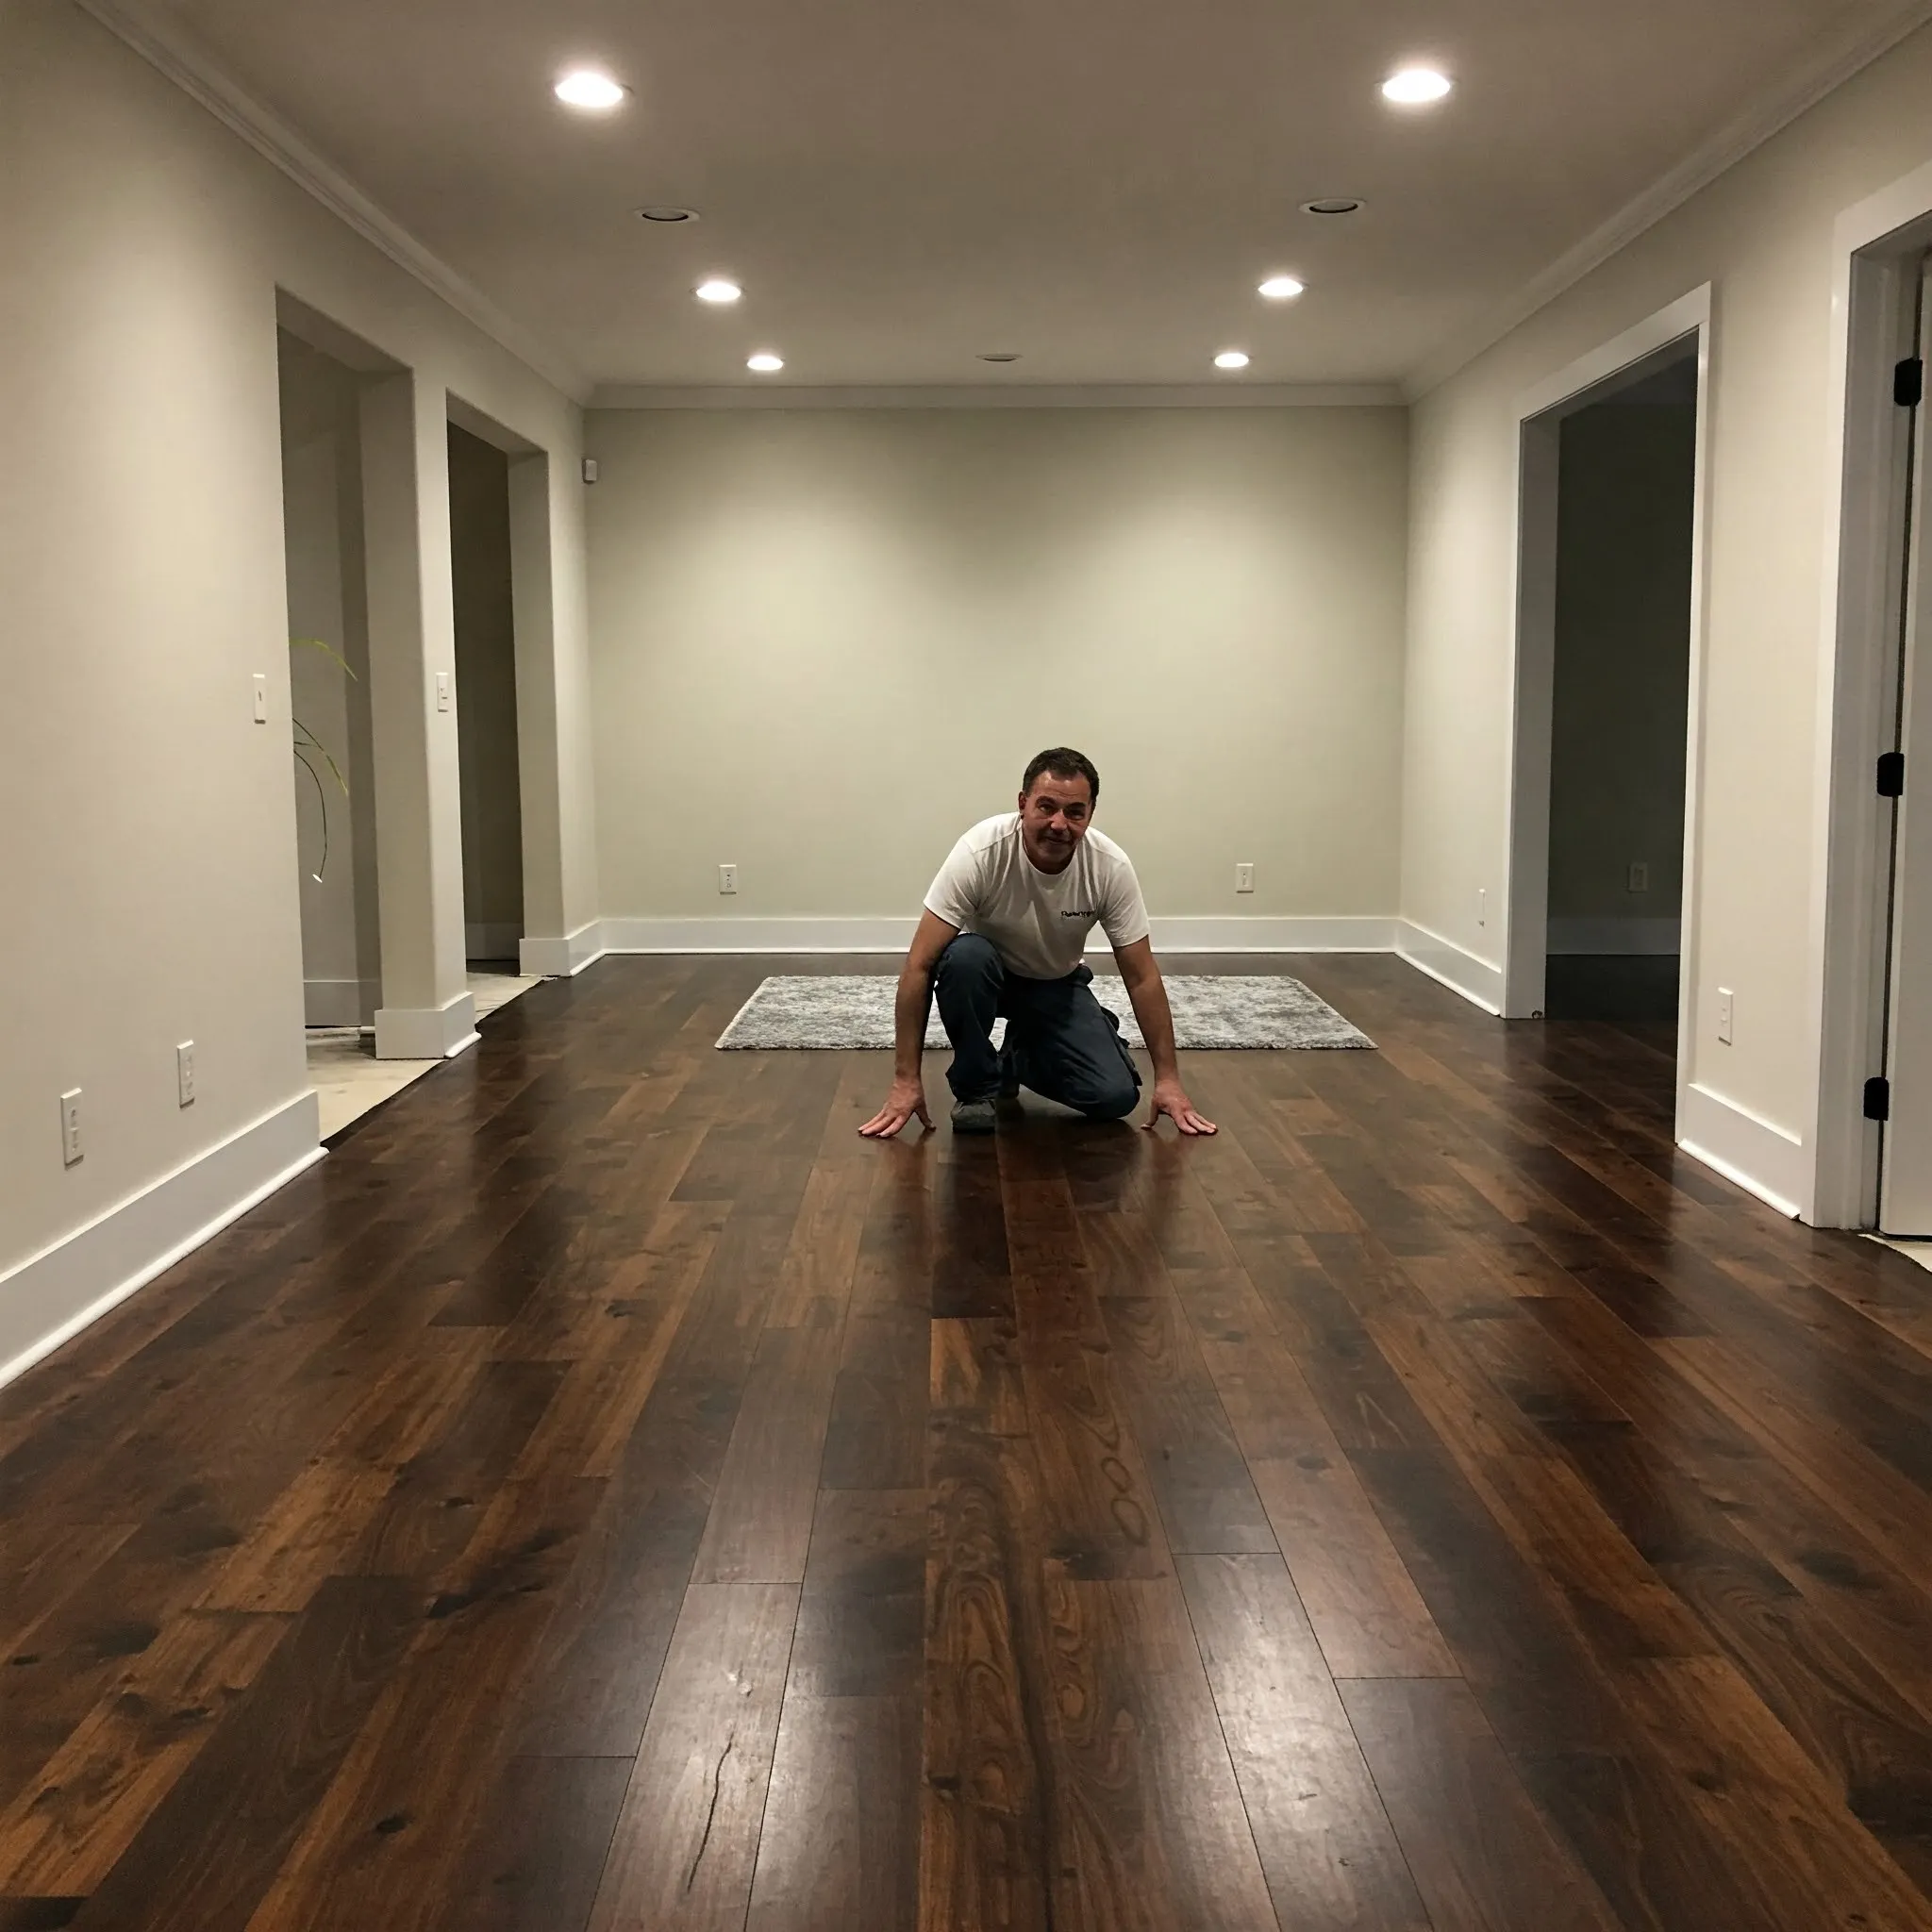
Engineered hardwood flooring has soared in popularity, and it's easy to see why. It brings the timeless elegance and luxurious feel of solid hardwood into your home but offers enhanced durability and a more budget-friendly price tag. If you've been dreaming of hardwood floors without breaking the bank, engineered wood might just be your perfect solution. Not only does it mimic the genuine wood grain and texture that makes traditional hardwood so desirable, but it often comes with the added bonus of being relatively straightforward to install yourself. In fact, some types of engineered hardwood, like certain click-lock systems, don't even require nails or glue! Ready to transform your space? Let's dive into the details of how to install engineered hardwood flooring, including information on popular options like Home Decorators Collection engineered wood flooring, available exclusively at The Home Depot.
====================================================================
Understanding Engineered Hardwood: The Smart Flooring Choice
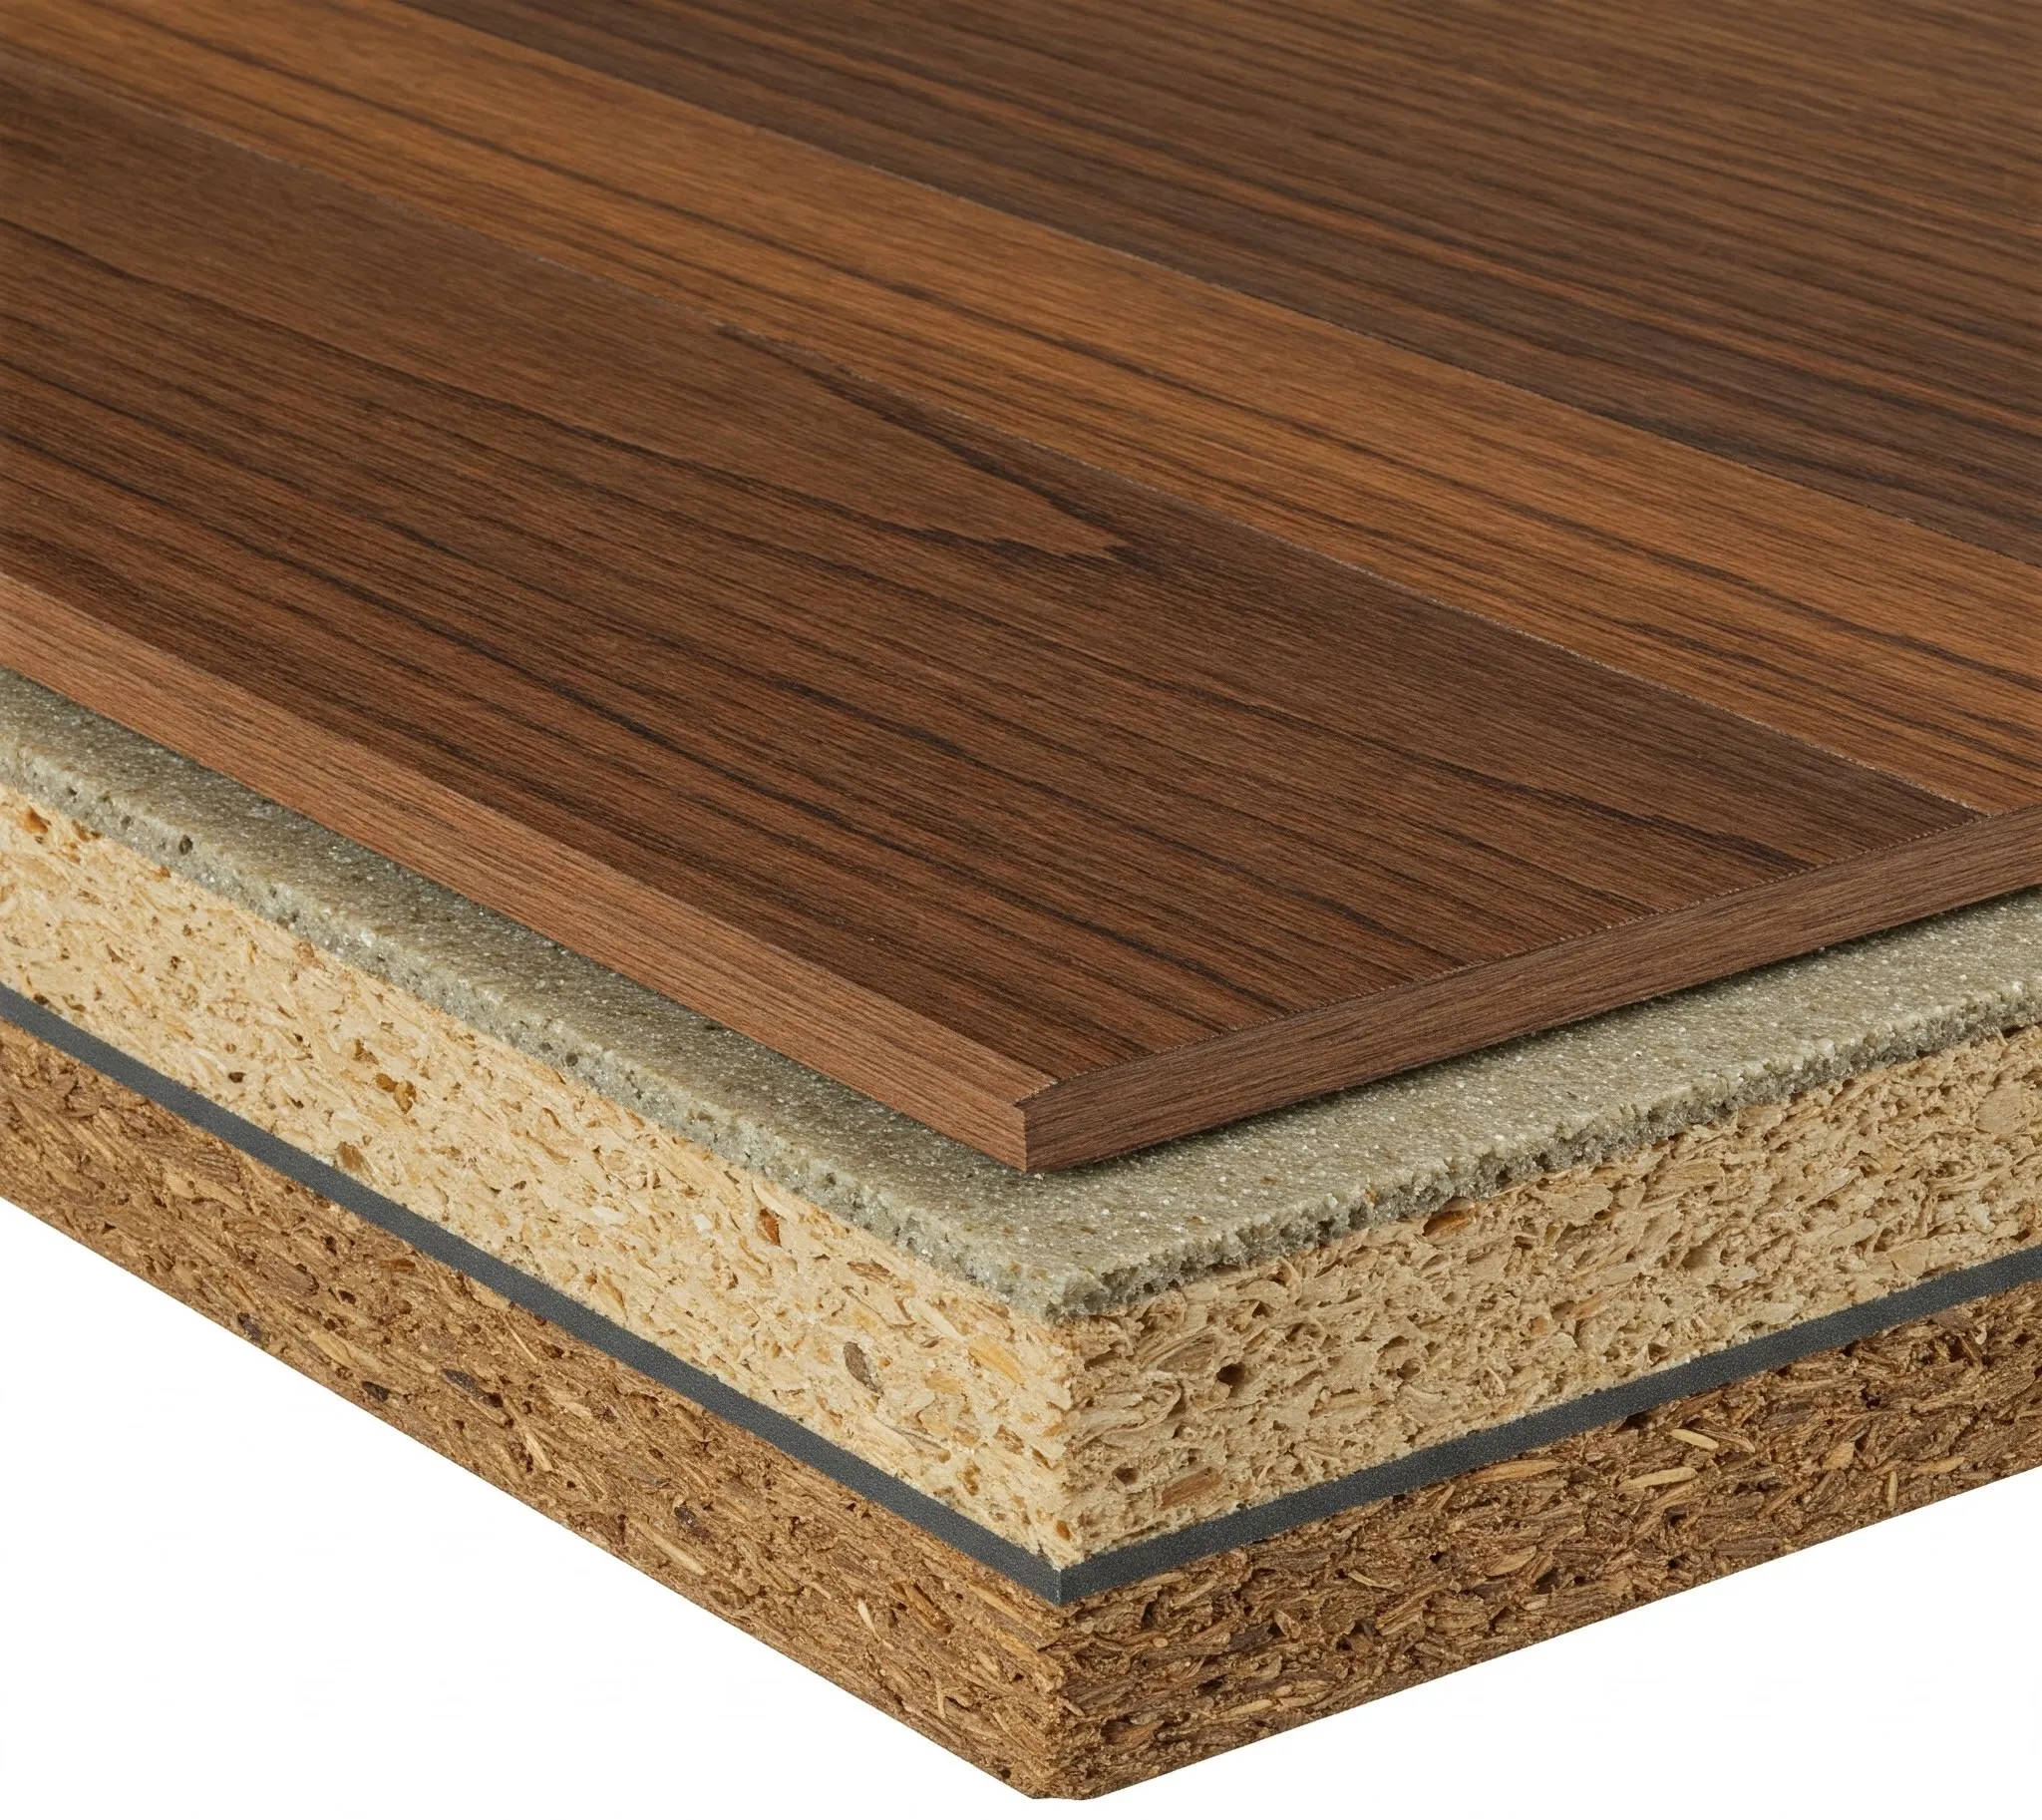
So, what exactly is engineered hardwood? Unlike solid hardwood, which is a single piece of wood, engineered hardwood is constructed from multiple layers of material bonded together. Typically, it features a core made of plywood or fiberboard, topped with a layer of real hardwood (known as the wear layer), and finished with a backer layer for added stability and moisture resistance. The thickness of this top wear layer can vary, usually ranging from 1 to 6 millimeters. A thicker wear layer generally translates to greater durability and, as you might expect, a higher price point.
When it comes to installation, engineered wood offers flexibility. You can often choose to float it over the subfloor, or you might glue, staple, or nail it down. The best method for your project will depend on the specific type of engineered hardwood planks you select and the type of subfloor you have. For example, click-lock flooring is commonly installed using the floating method because the planks are designed to simply "click" together, eliminating the need for adhesives or fasteners. While tongue-and-groove boards also interlock, it's often recommended to glue the joints for extra stability underfoot. Conversely, nail-down or staple-down installations are only suitable if you have a wood subfloor that can securely hold nails or staples.
====================================================================
Weighing the Options: Pros and Cons of Engineered Hardwood
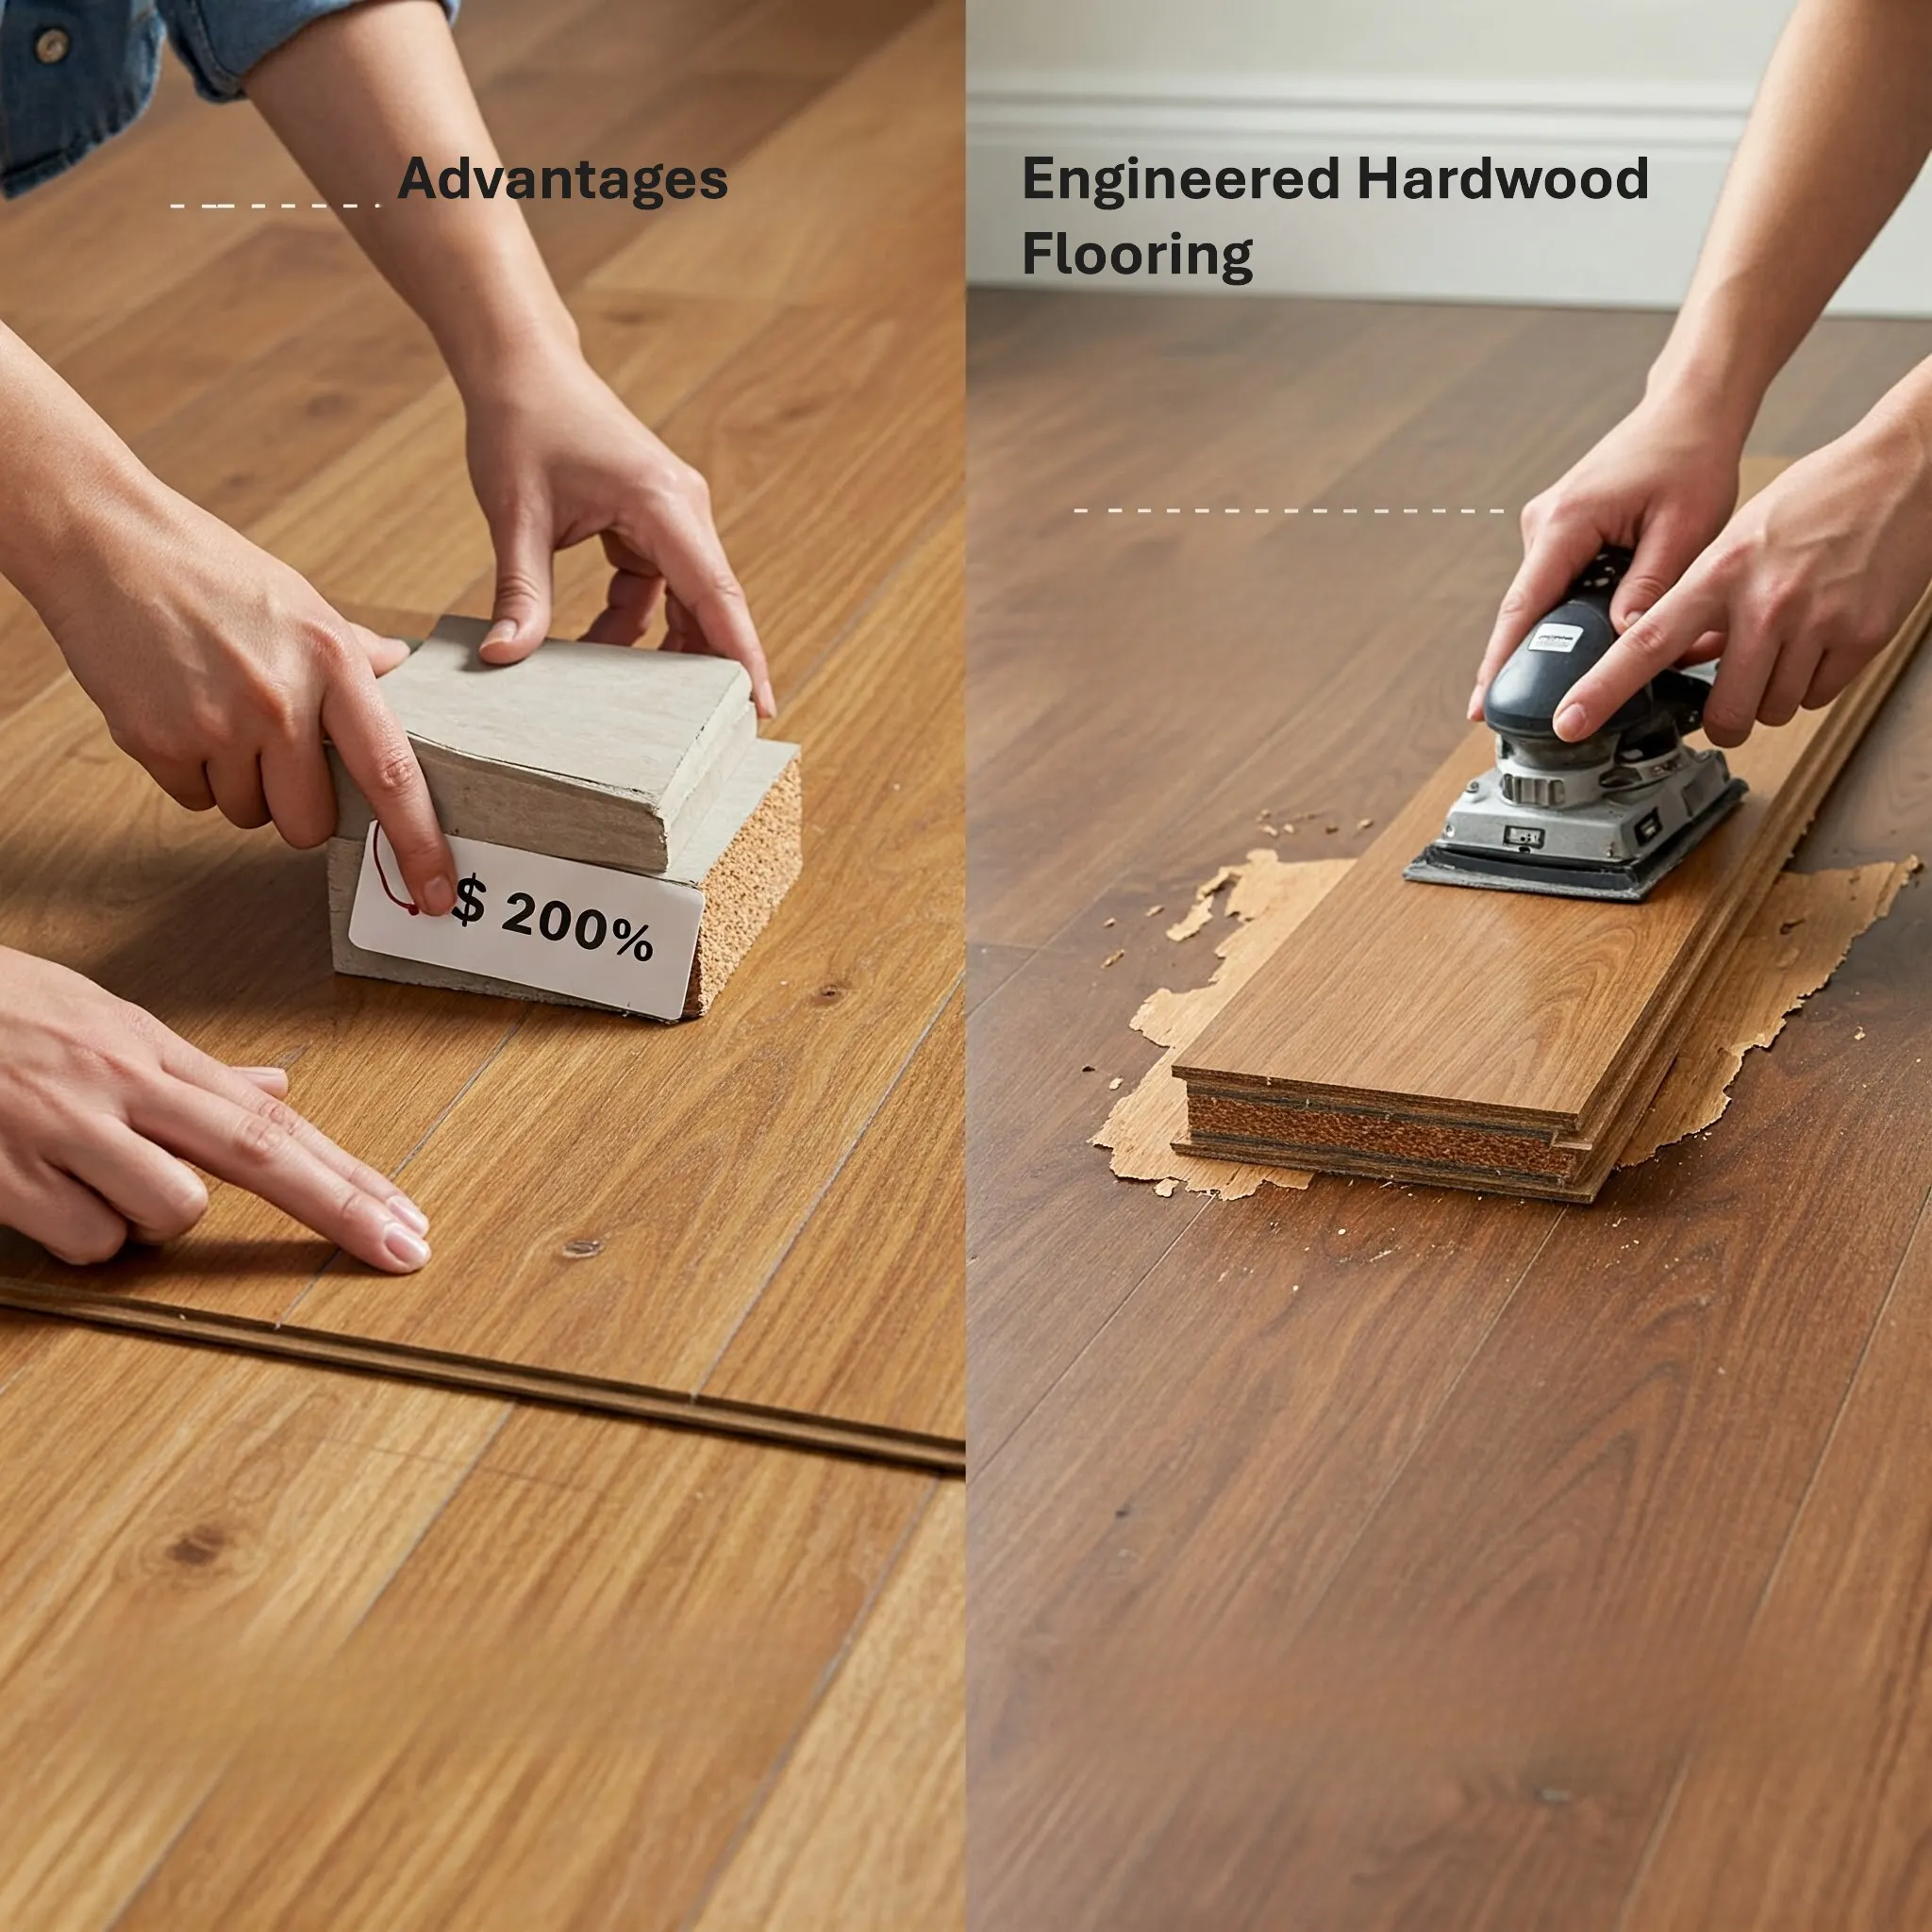
Before you jump into installation, it's wise to consider the advantages and disadvantages of engineered hardwood to ensure it's the right fit for your needs and lifestyle.
Pros:
- The tongue-and-groove or click-lock designs often make installation a breeze, even for DIY enthusiasts.
- Thanks to the natural wood top layer, each plank boasts unique wood grain patterns, adding character to your floor.
- It's generally more affordable than solid hardwood, making it an attractive option for budget-conscious homeowners.
- The wear layer provides better scratch resistance compared to solid hardwood, making it a good choice for busy areas.
- Engineered hardwood is considered a more sustainable option as it utilizes fewer trees than solid hardwood flooring.
Cons:
- The wear layer's thickness limits the number of times you can sand and refinish the floor over its lifespan.
- Engineered hardwood typically has a shorter lifespan compared to solid hardwood floors, which can last for generations.
====================================================================
Getting Ready: Preparing for Your Engineered Hardwood Installation
Hold your horses! You can't just rush home from the store with your new engineered hardwood and start laying it down. Proper preparation is key to a successful installation and a beautiful, long-lasting floor. One of the most crucial steps is acclimating the wood to its new environment for at least 24 hours.
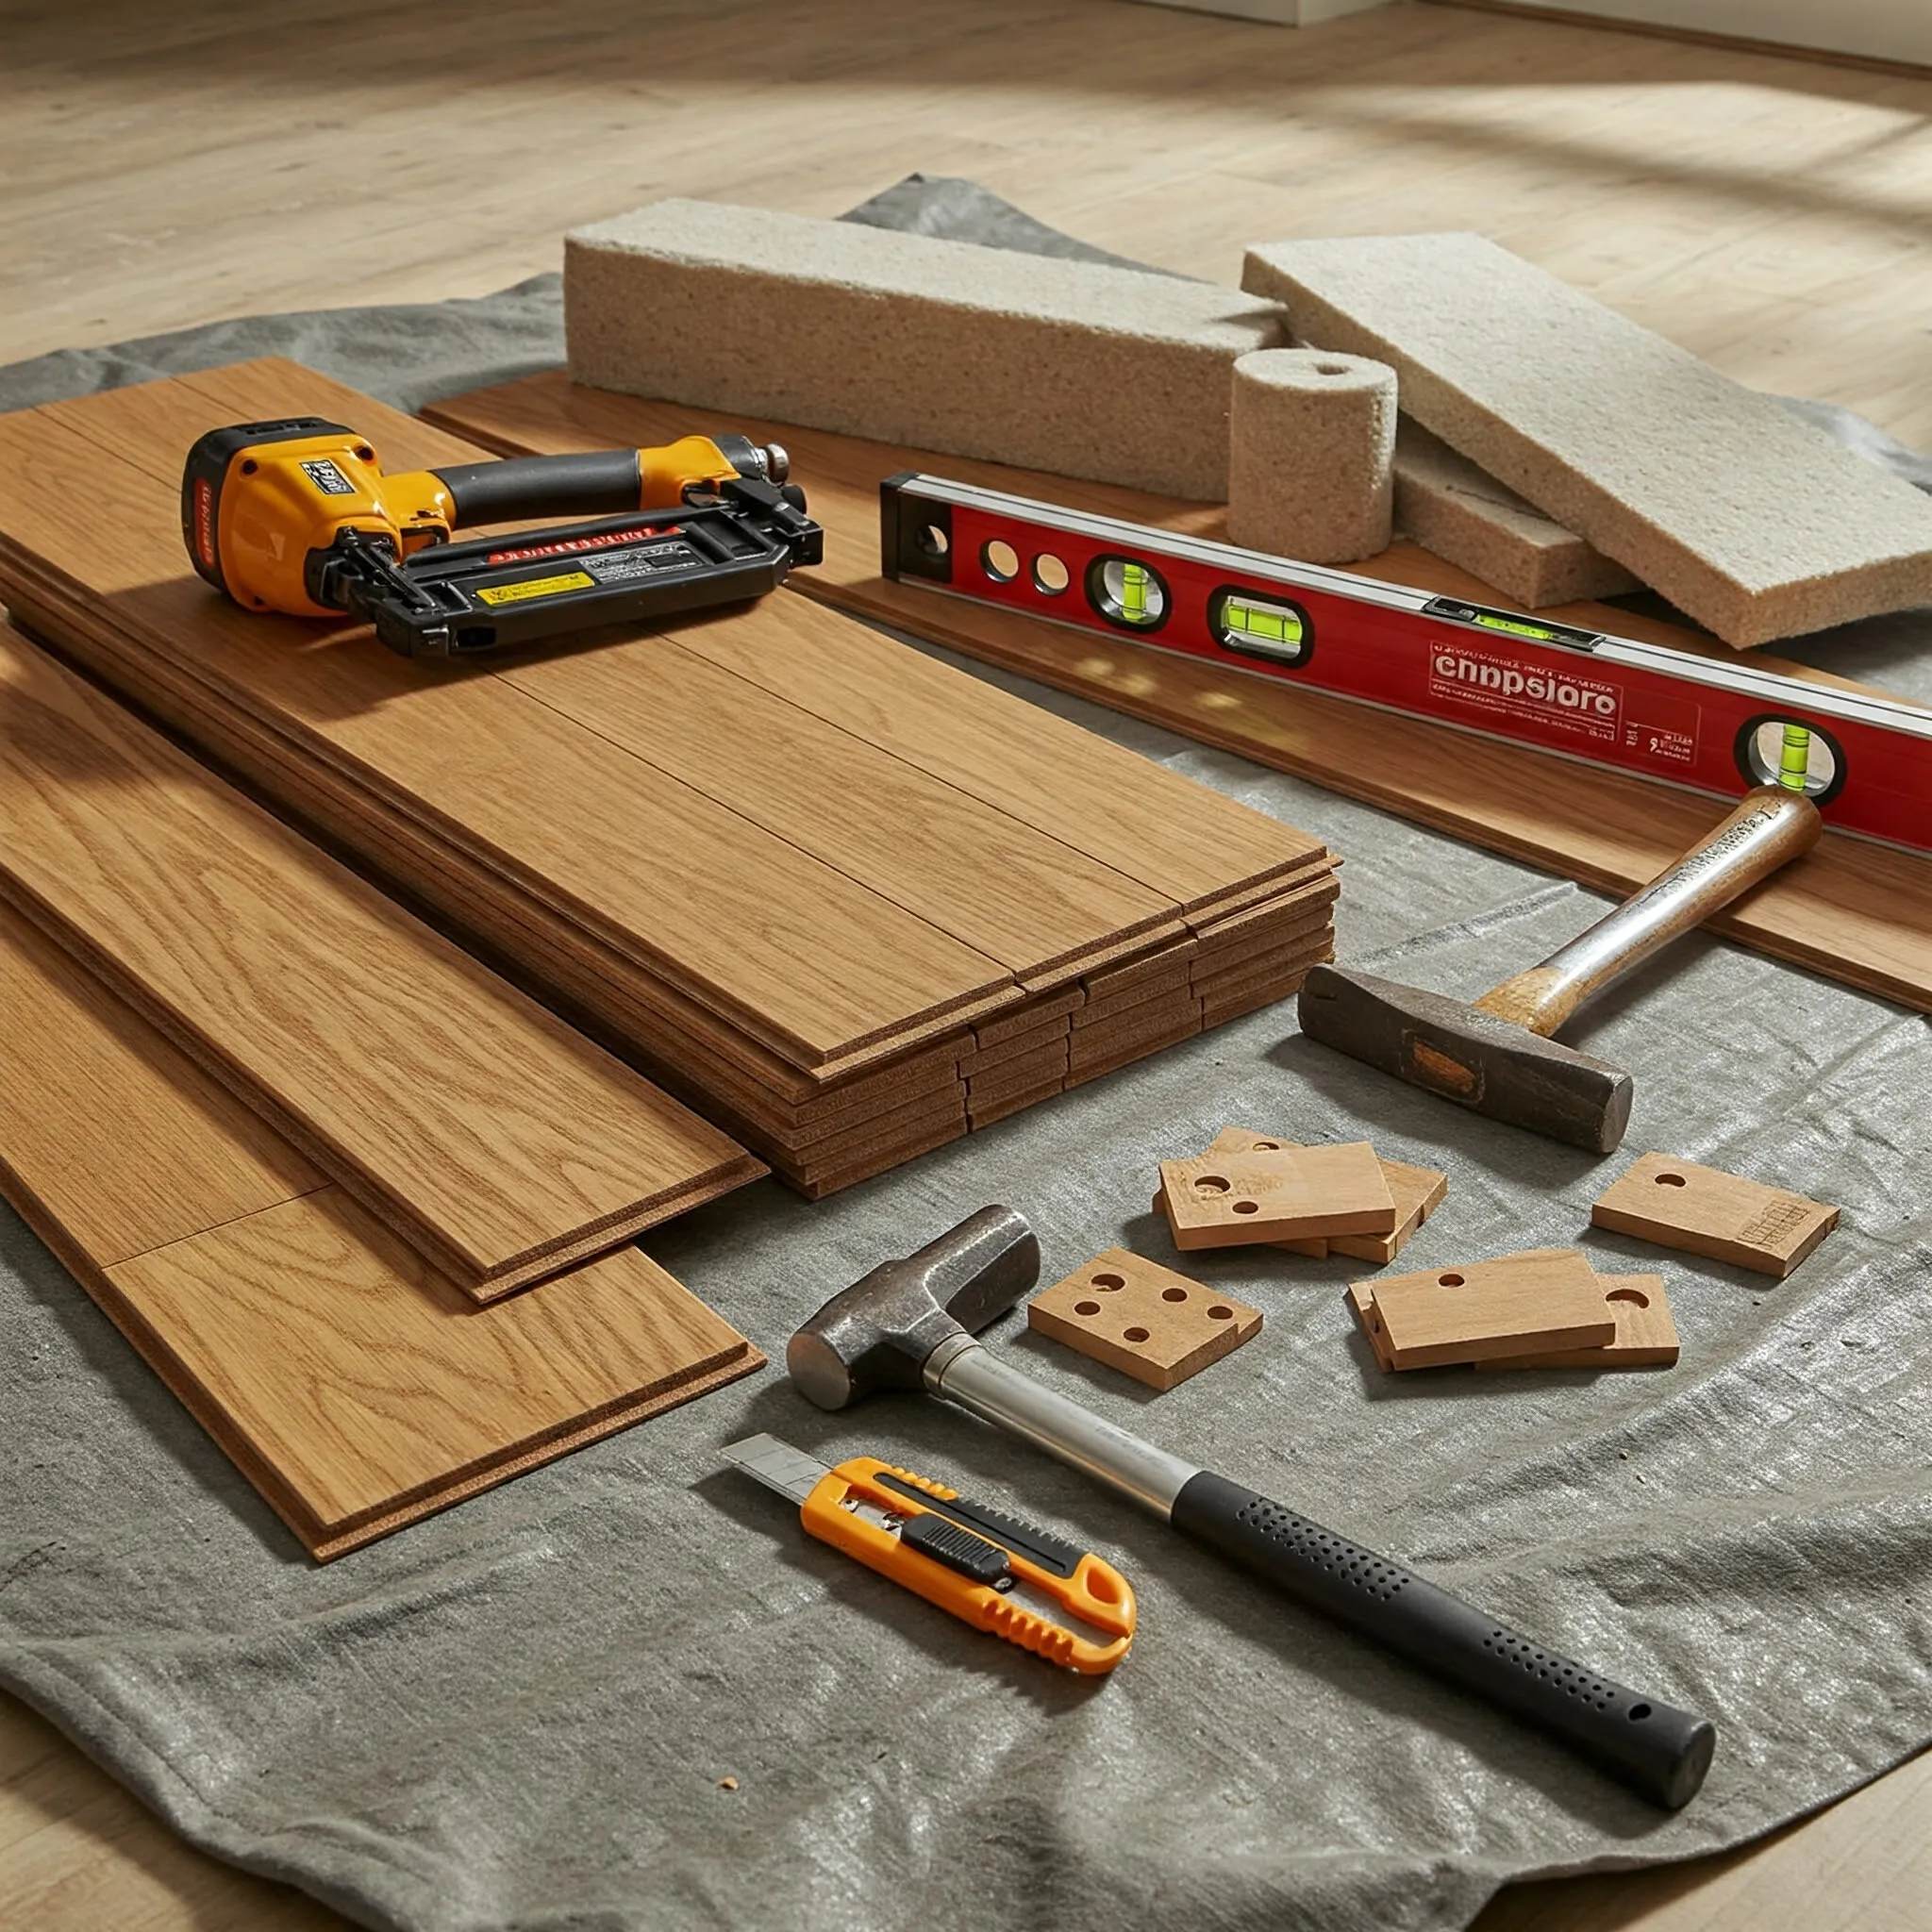
Essential Supplies:
- Home Decorators Collection engineered wood flooring (or your chosen brand)
- Carpenter’s pencil
- Concrete patch or leveler (if needed for concrete subfloors)
- 4-foot level
- Notched trowel (for glue-down method)
- Circular saw or miter saw
- Pry bar
- Construction screws (for subfloor repair)
- Putty knife
- Flooring underlayment
- House wrap tape
- Utility knife
- Tape measure
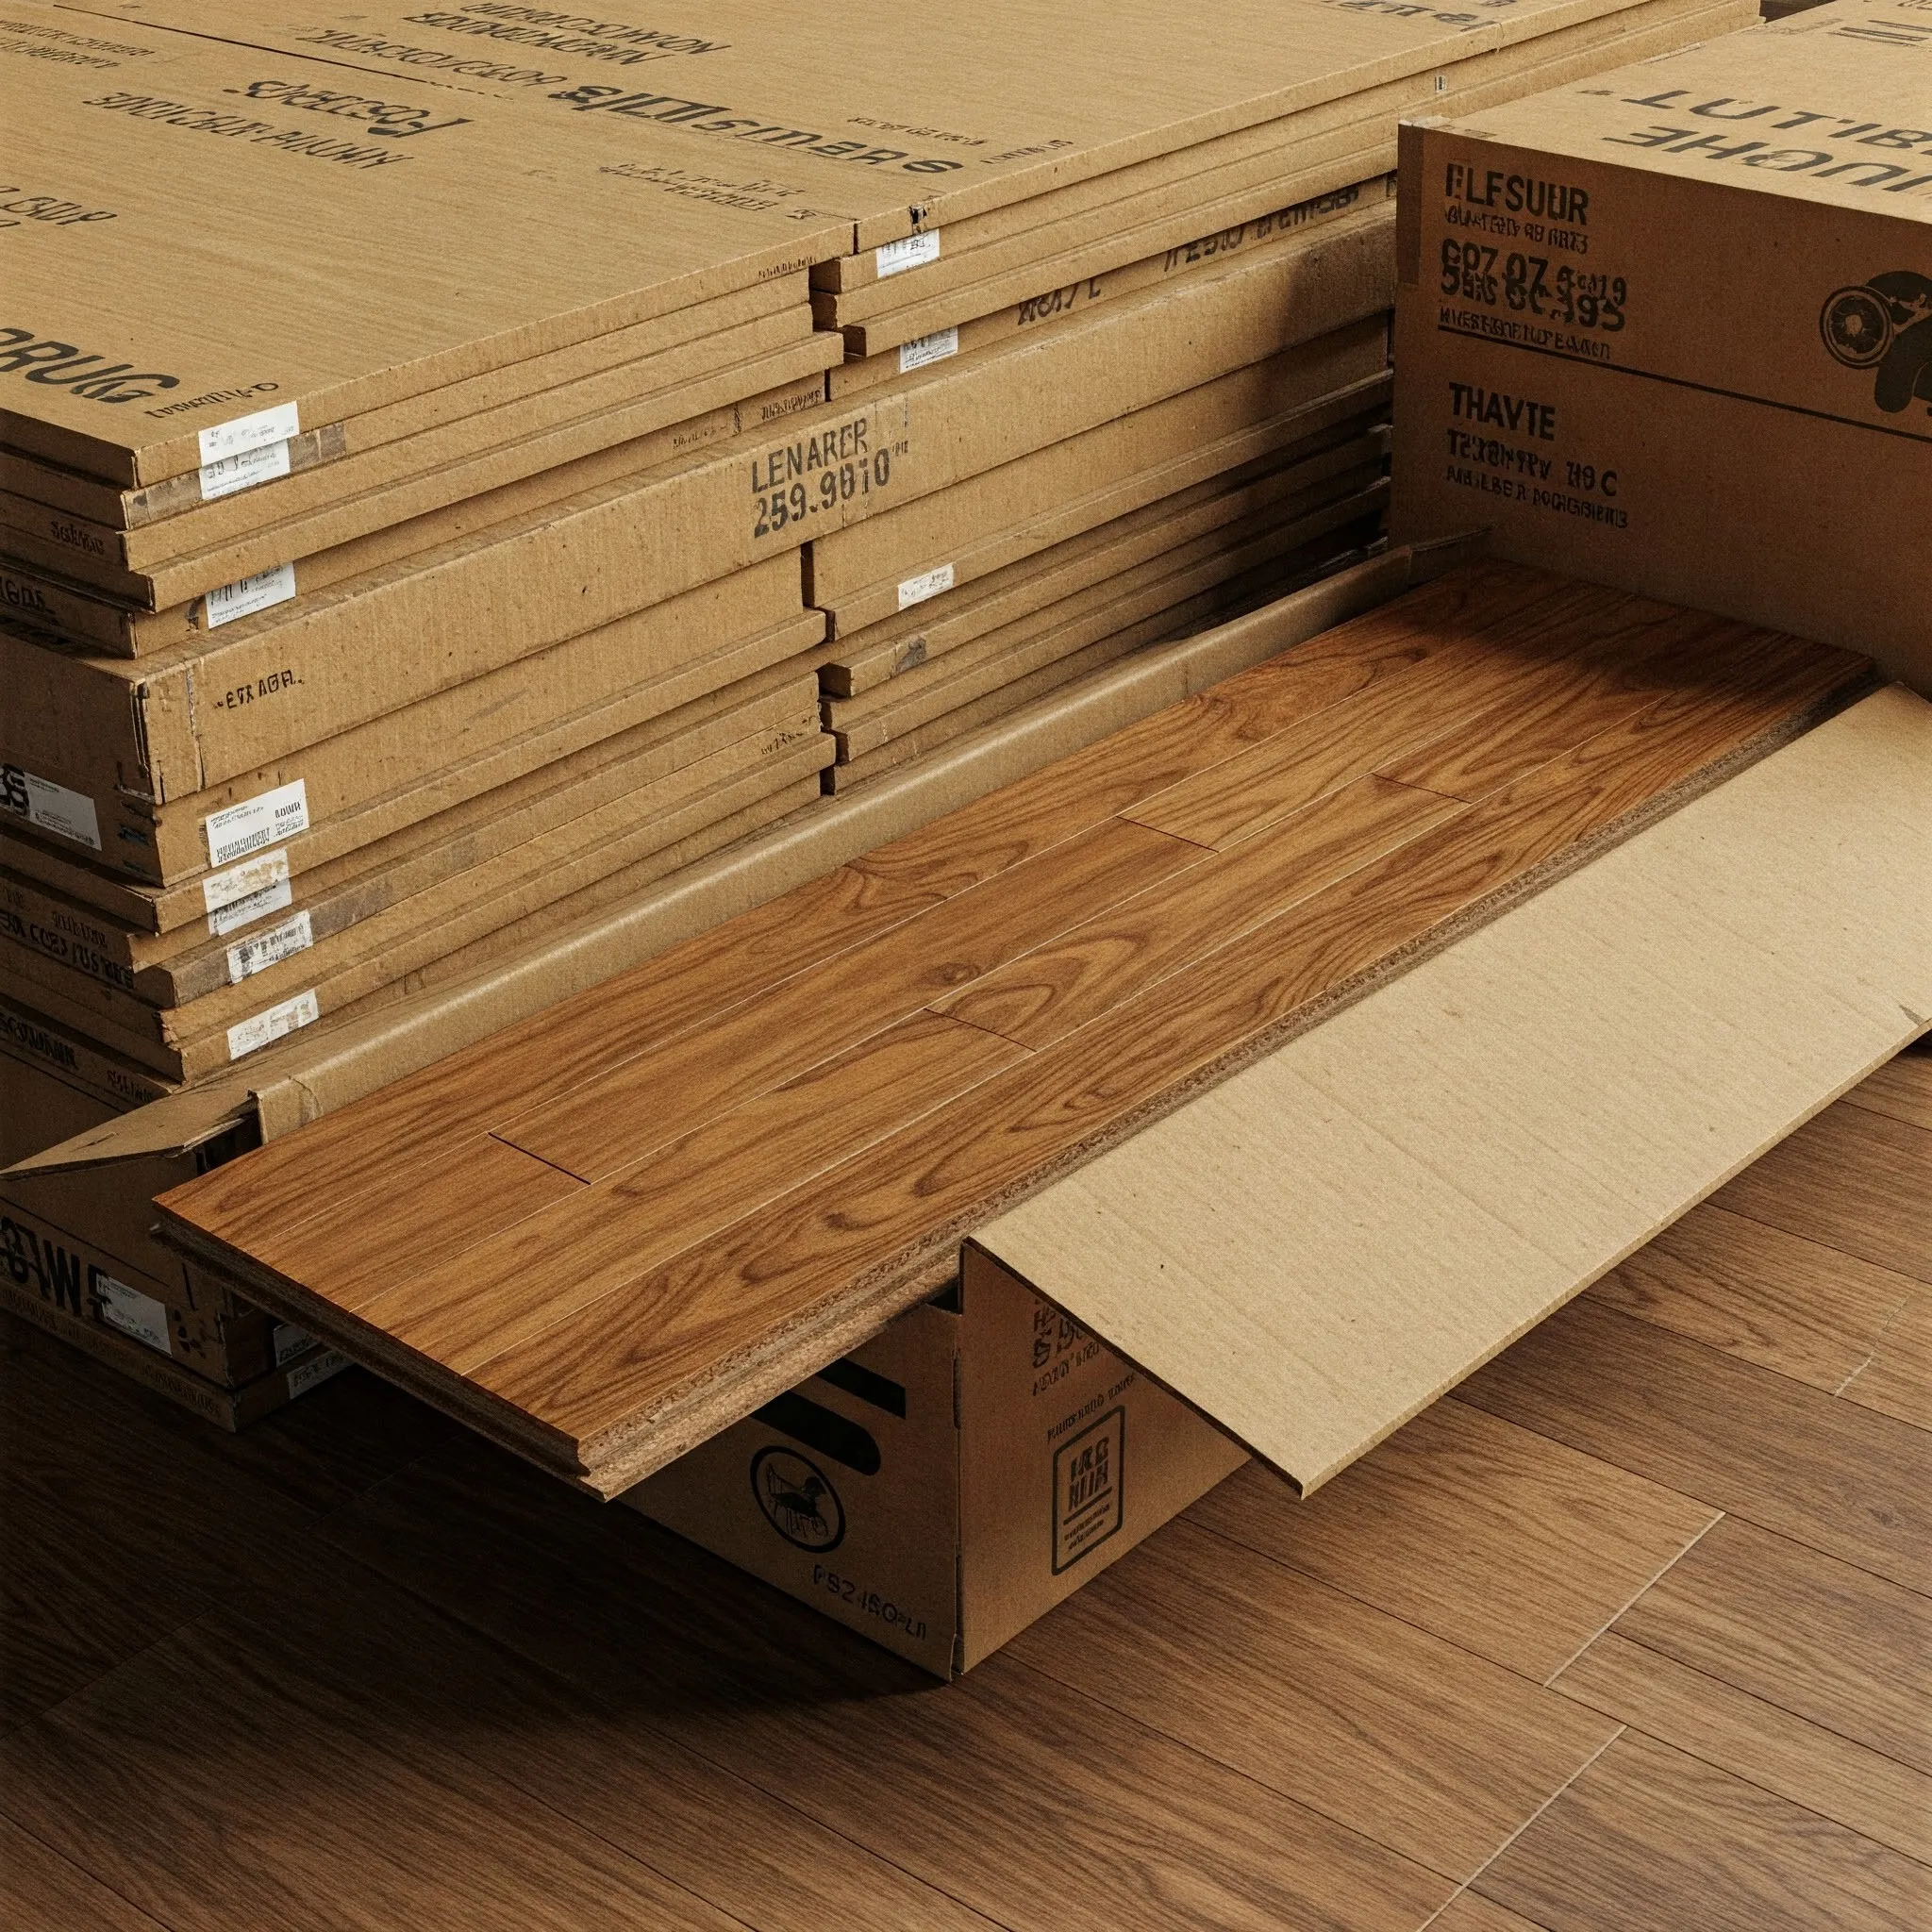
Step 1: Acclimate the Flooring: Just like solid wood and laminate, engineered wood is sensitive to changes in moisture and temperature. Allowing the planks to acclimate in the room where they will be installed for at least 24 hours (and ideally 48-72 hours) helps them adjust to the environment. This prevents issues like buckling or gaps forming after installation. Simply bring the boxes into the room, remove the packaging, and let them sit.
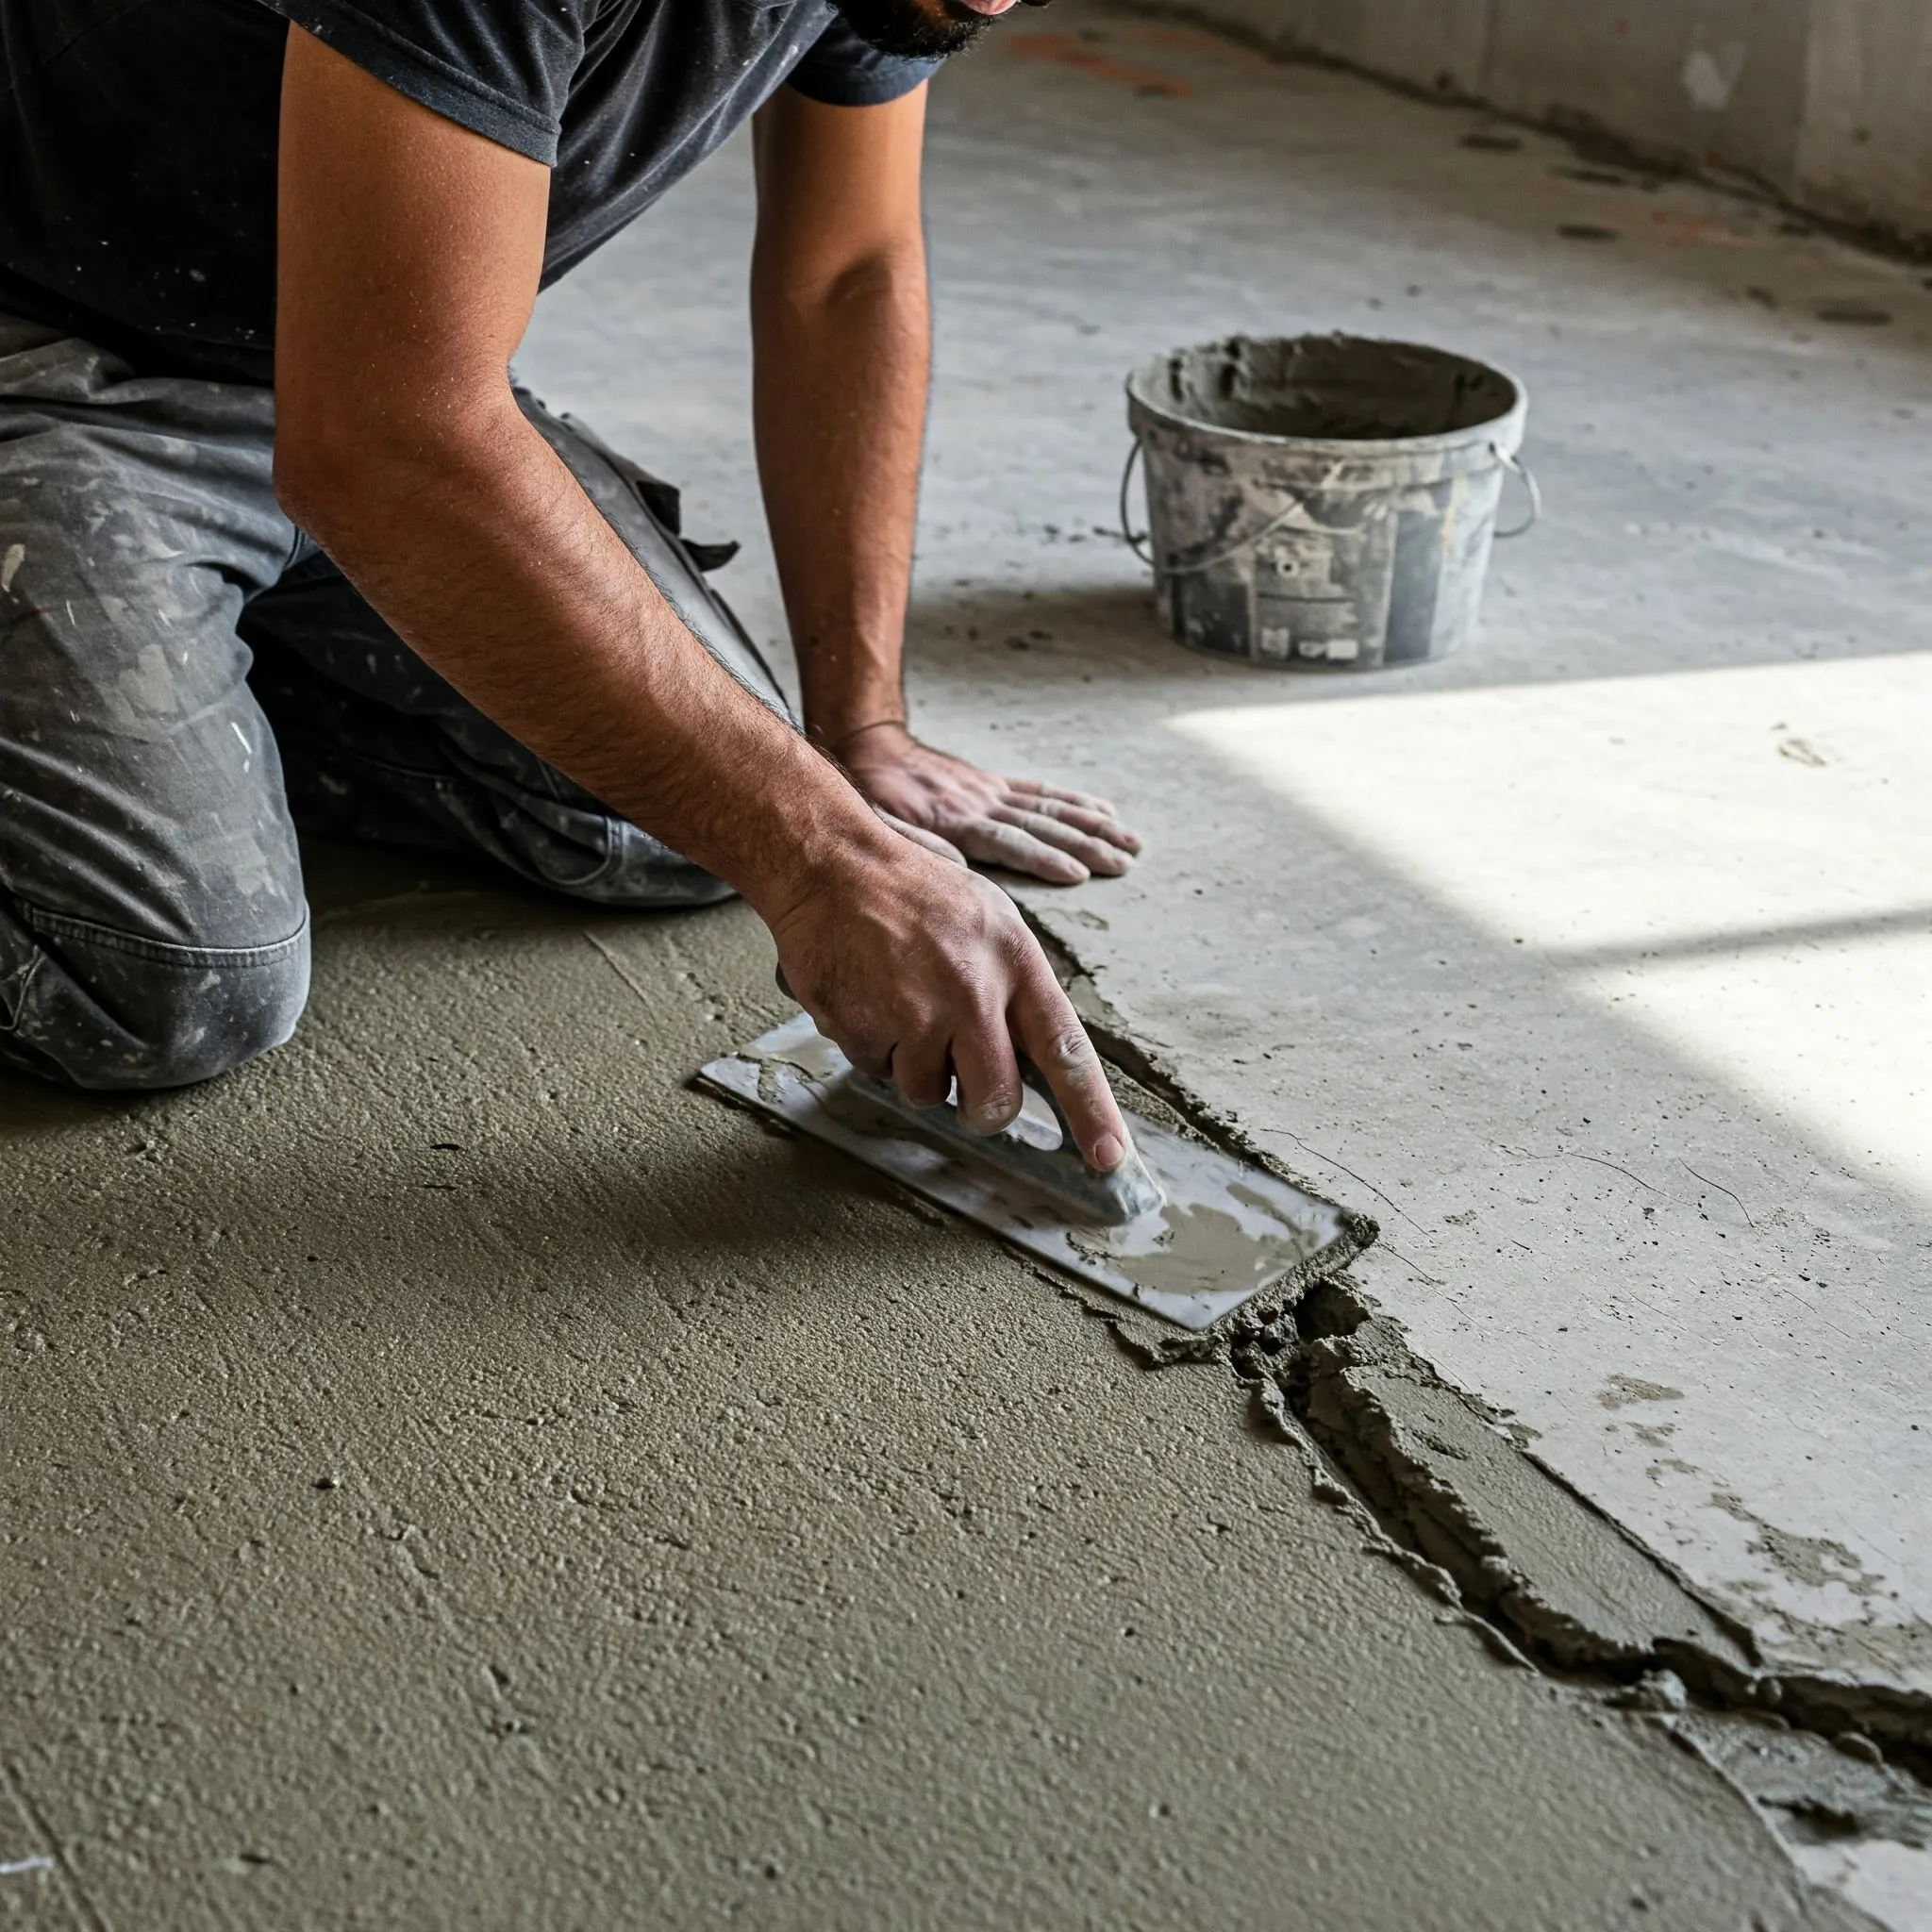
Step 2: For Concrete Subfloors: After removing any existing flooring, inspect the concrete for cracks or depressions. Use concrete patch to fill any imperfections, applying it with a trowel and ensuring it's level. Then, use a 4-foot level to check for uneven spots. For minor unevenness, use concrete patch; for larger depressions, opt for a concrete leveler.
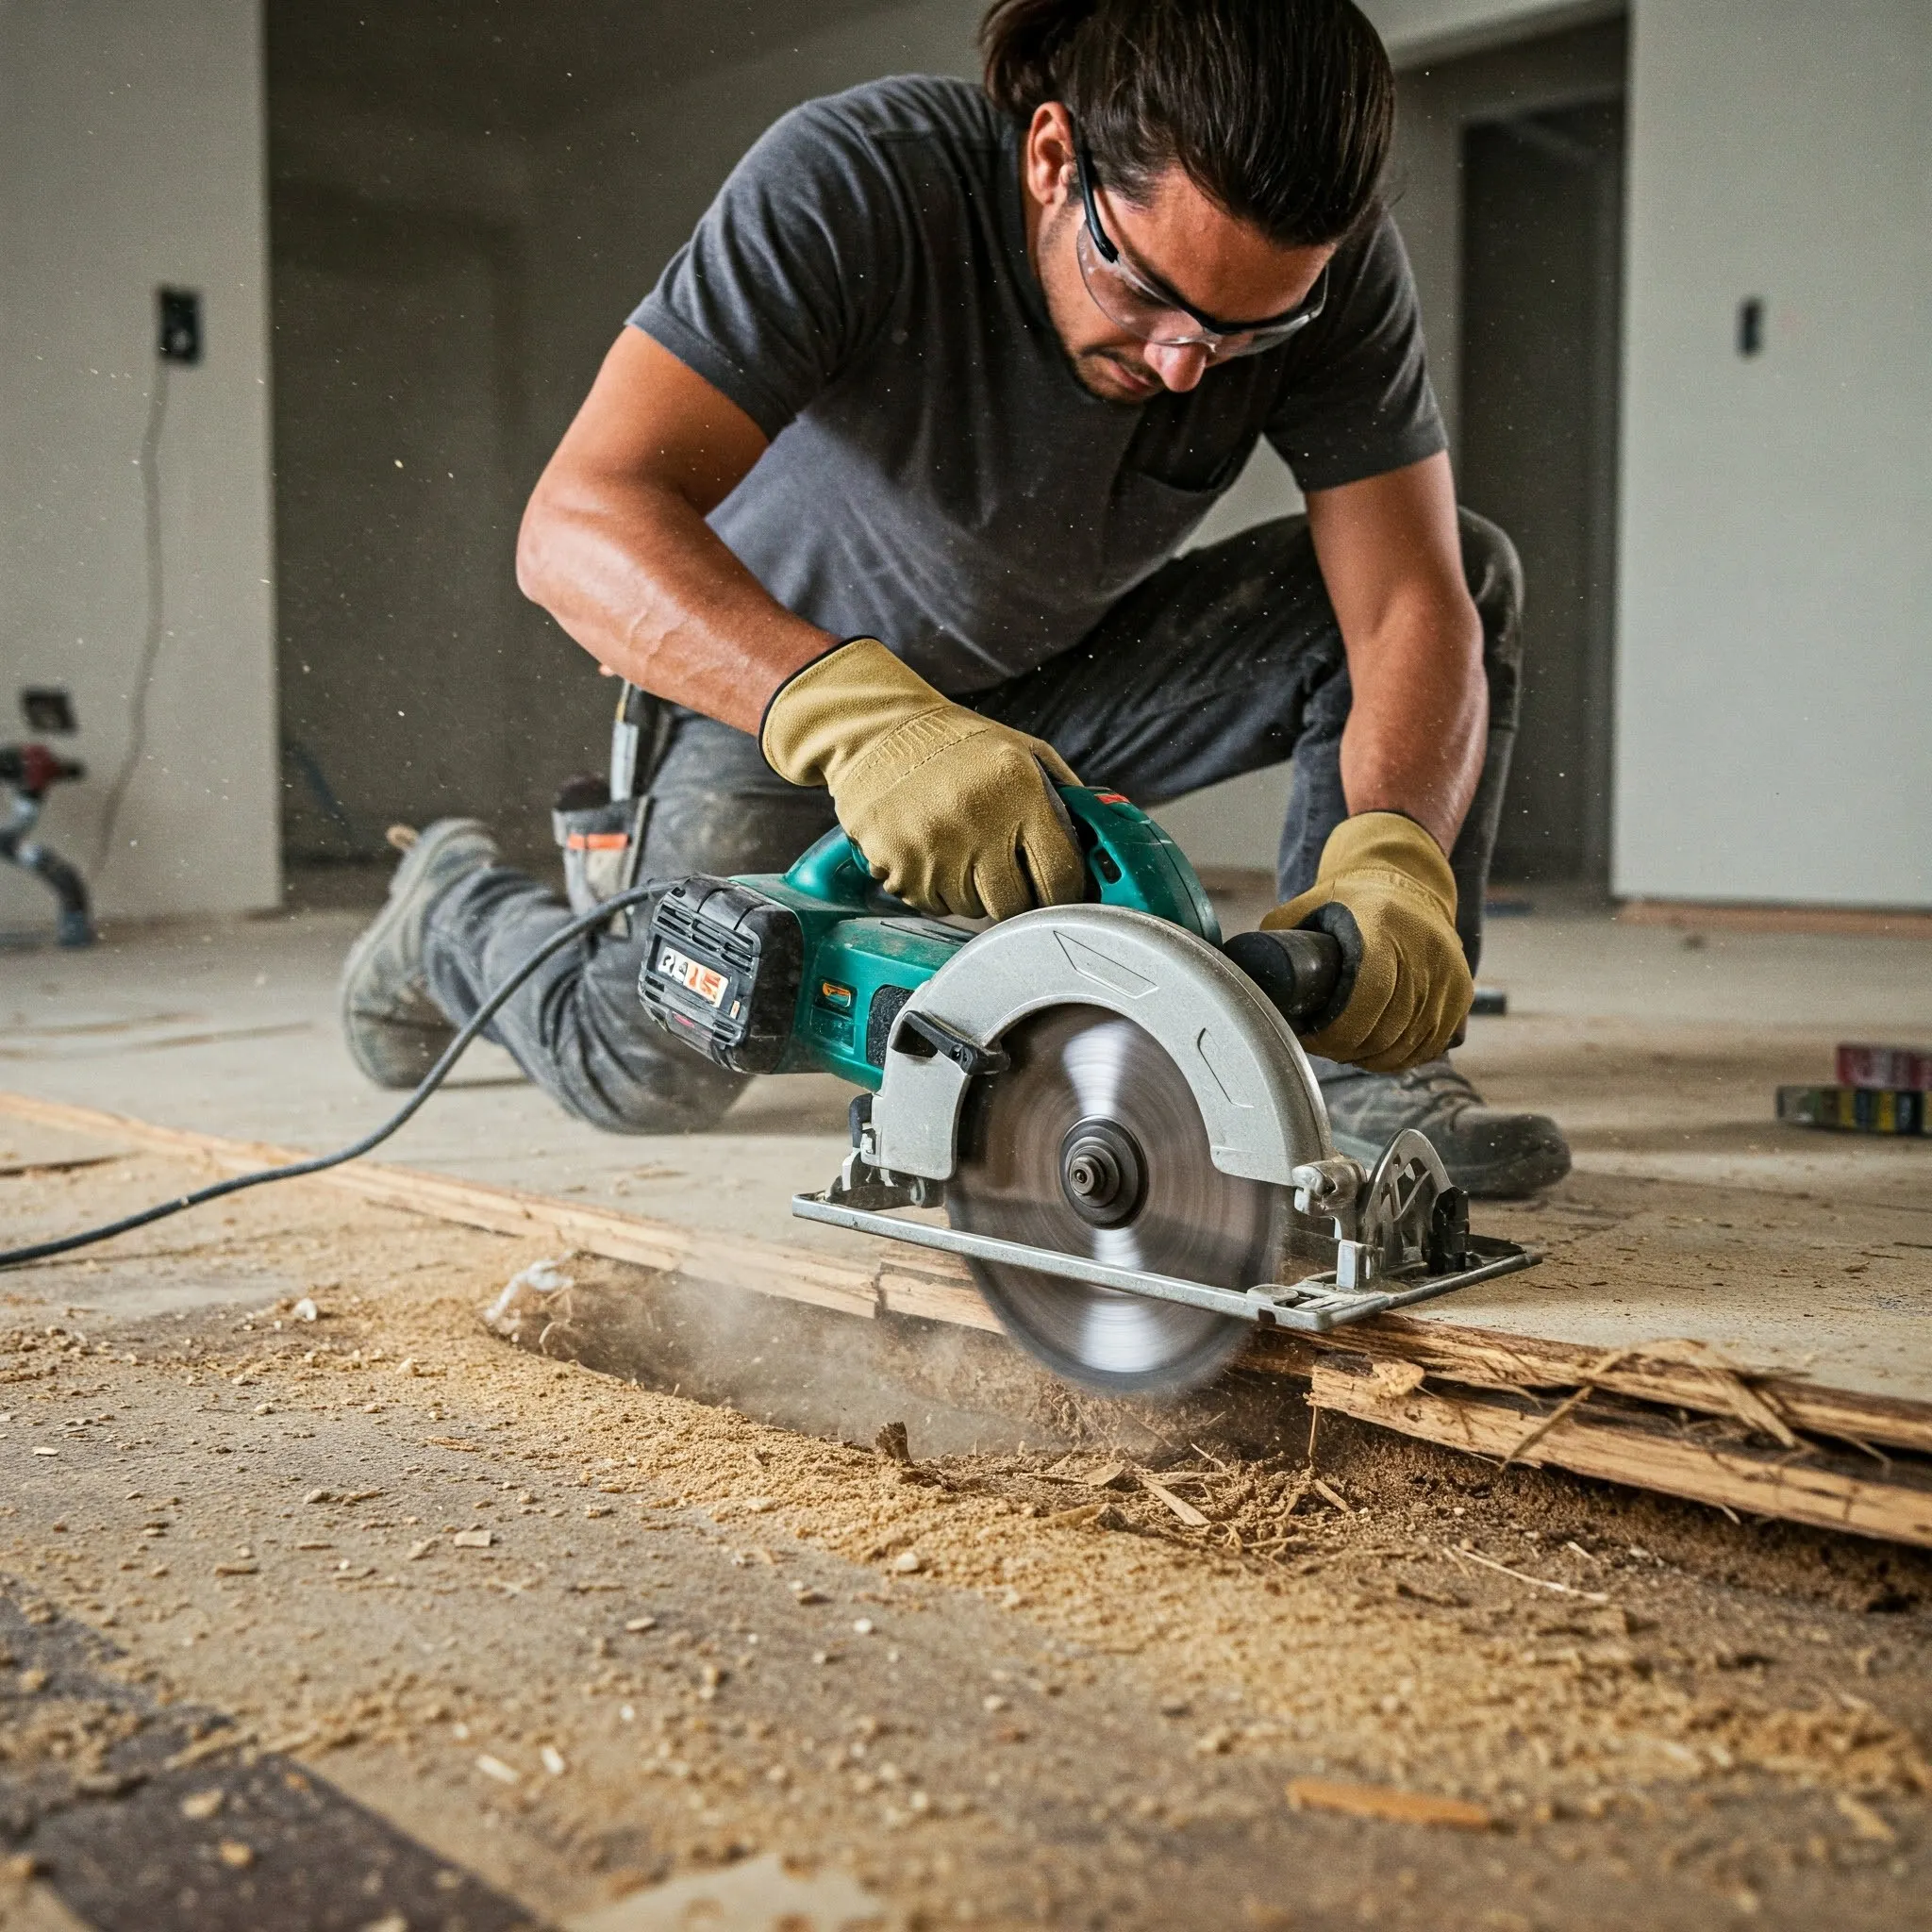
Step 3: For Wood Subfloors: Remove and replace any damaged sections of the existing subfloor. Mark a square or rectangular area around the damage, ensuring it's supported by floor joists. Use a circular saw with the blade depth set to the subfloor's thickness to cut out the damaged section. Pry it out with a pry bar and use it as a template to cut a new piece of subfloor. Install the new piece using screws or nails.
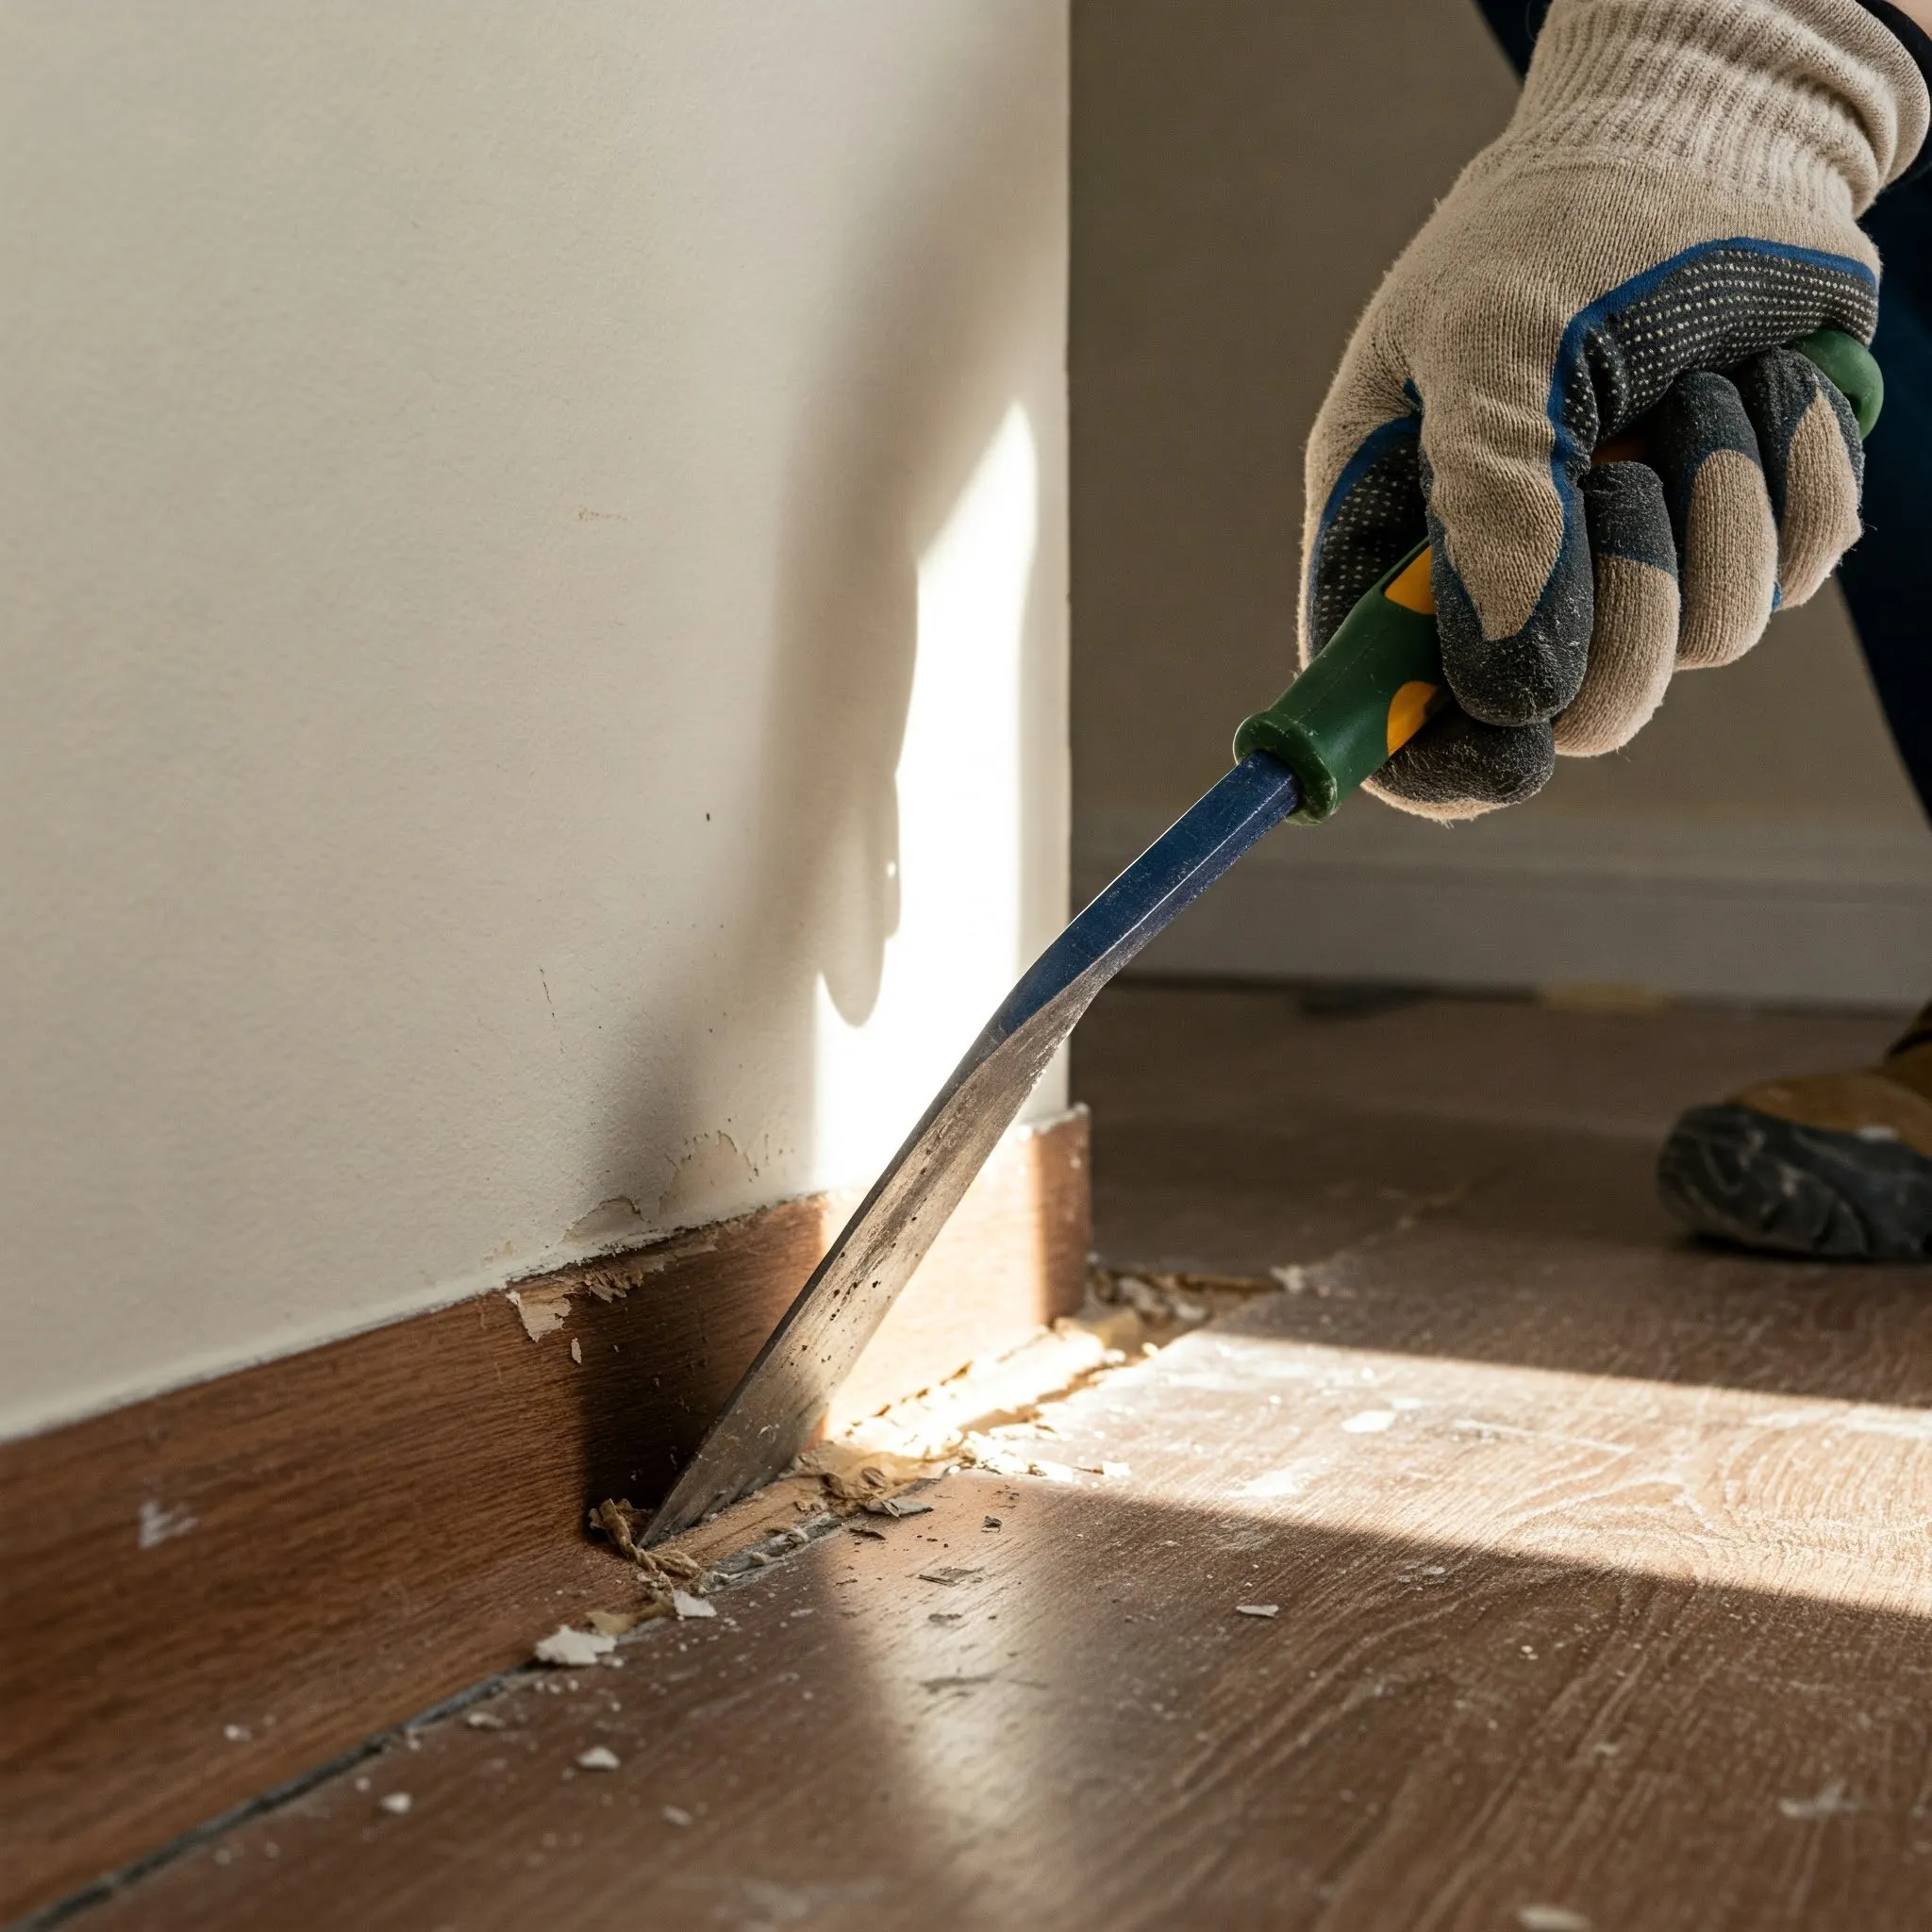
Step 4: Remove the Baseboards: Before laying your new floor, you'll need to remove the baseboards. Use a putty knife to score the caulk line along the top of the baseboard. Then, gently insert the end of a pry bar between the baseboard and the wall. Tap the head of the pry bar with a hammer to create a wedge and carefully pull the baseboard away from the wall. Work your way down the wall, removing the baseboards in sections. To make reinstallation easier, number each piece as you remove it so you know where it belongs later.
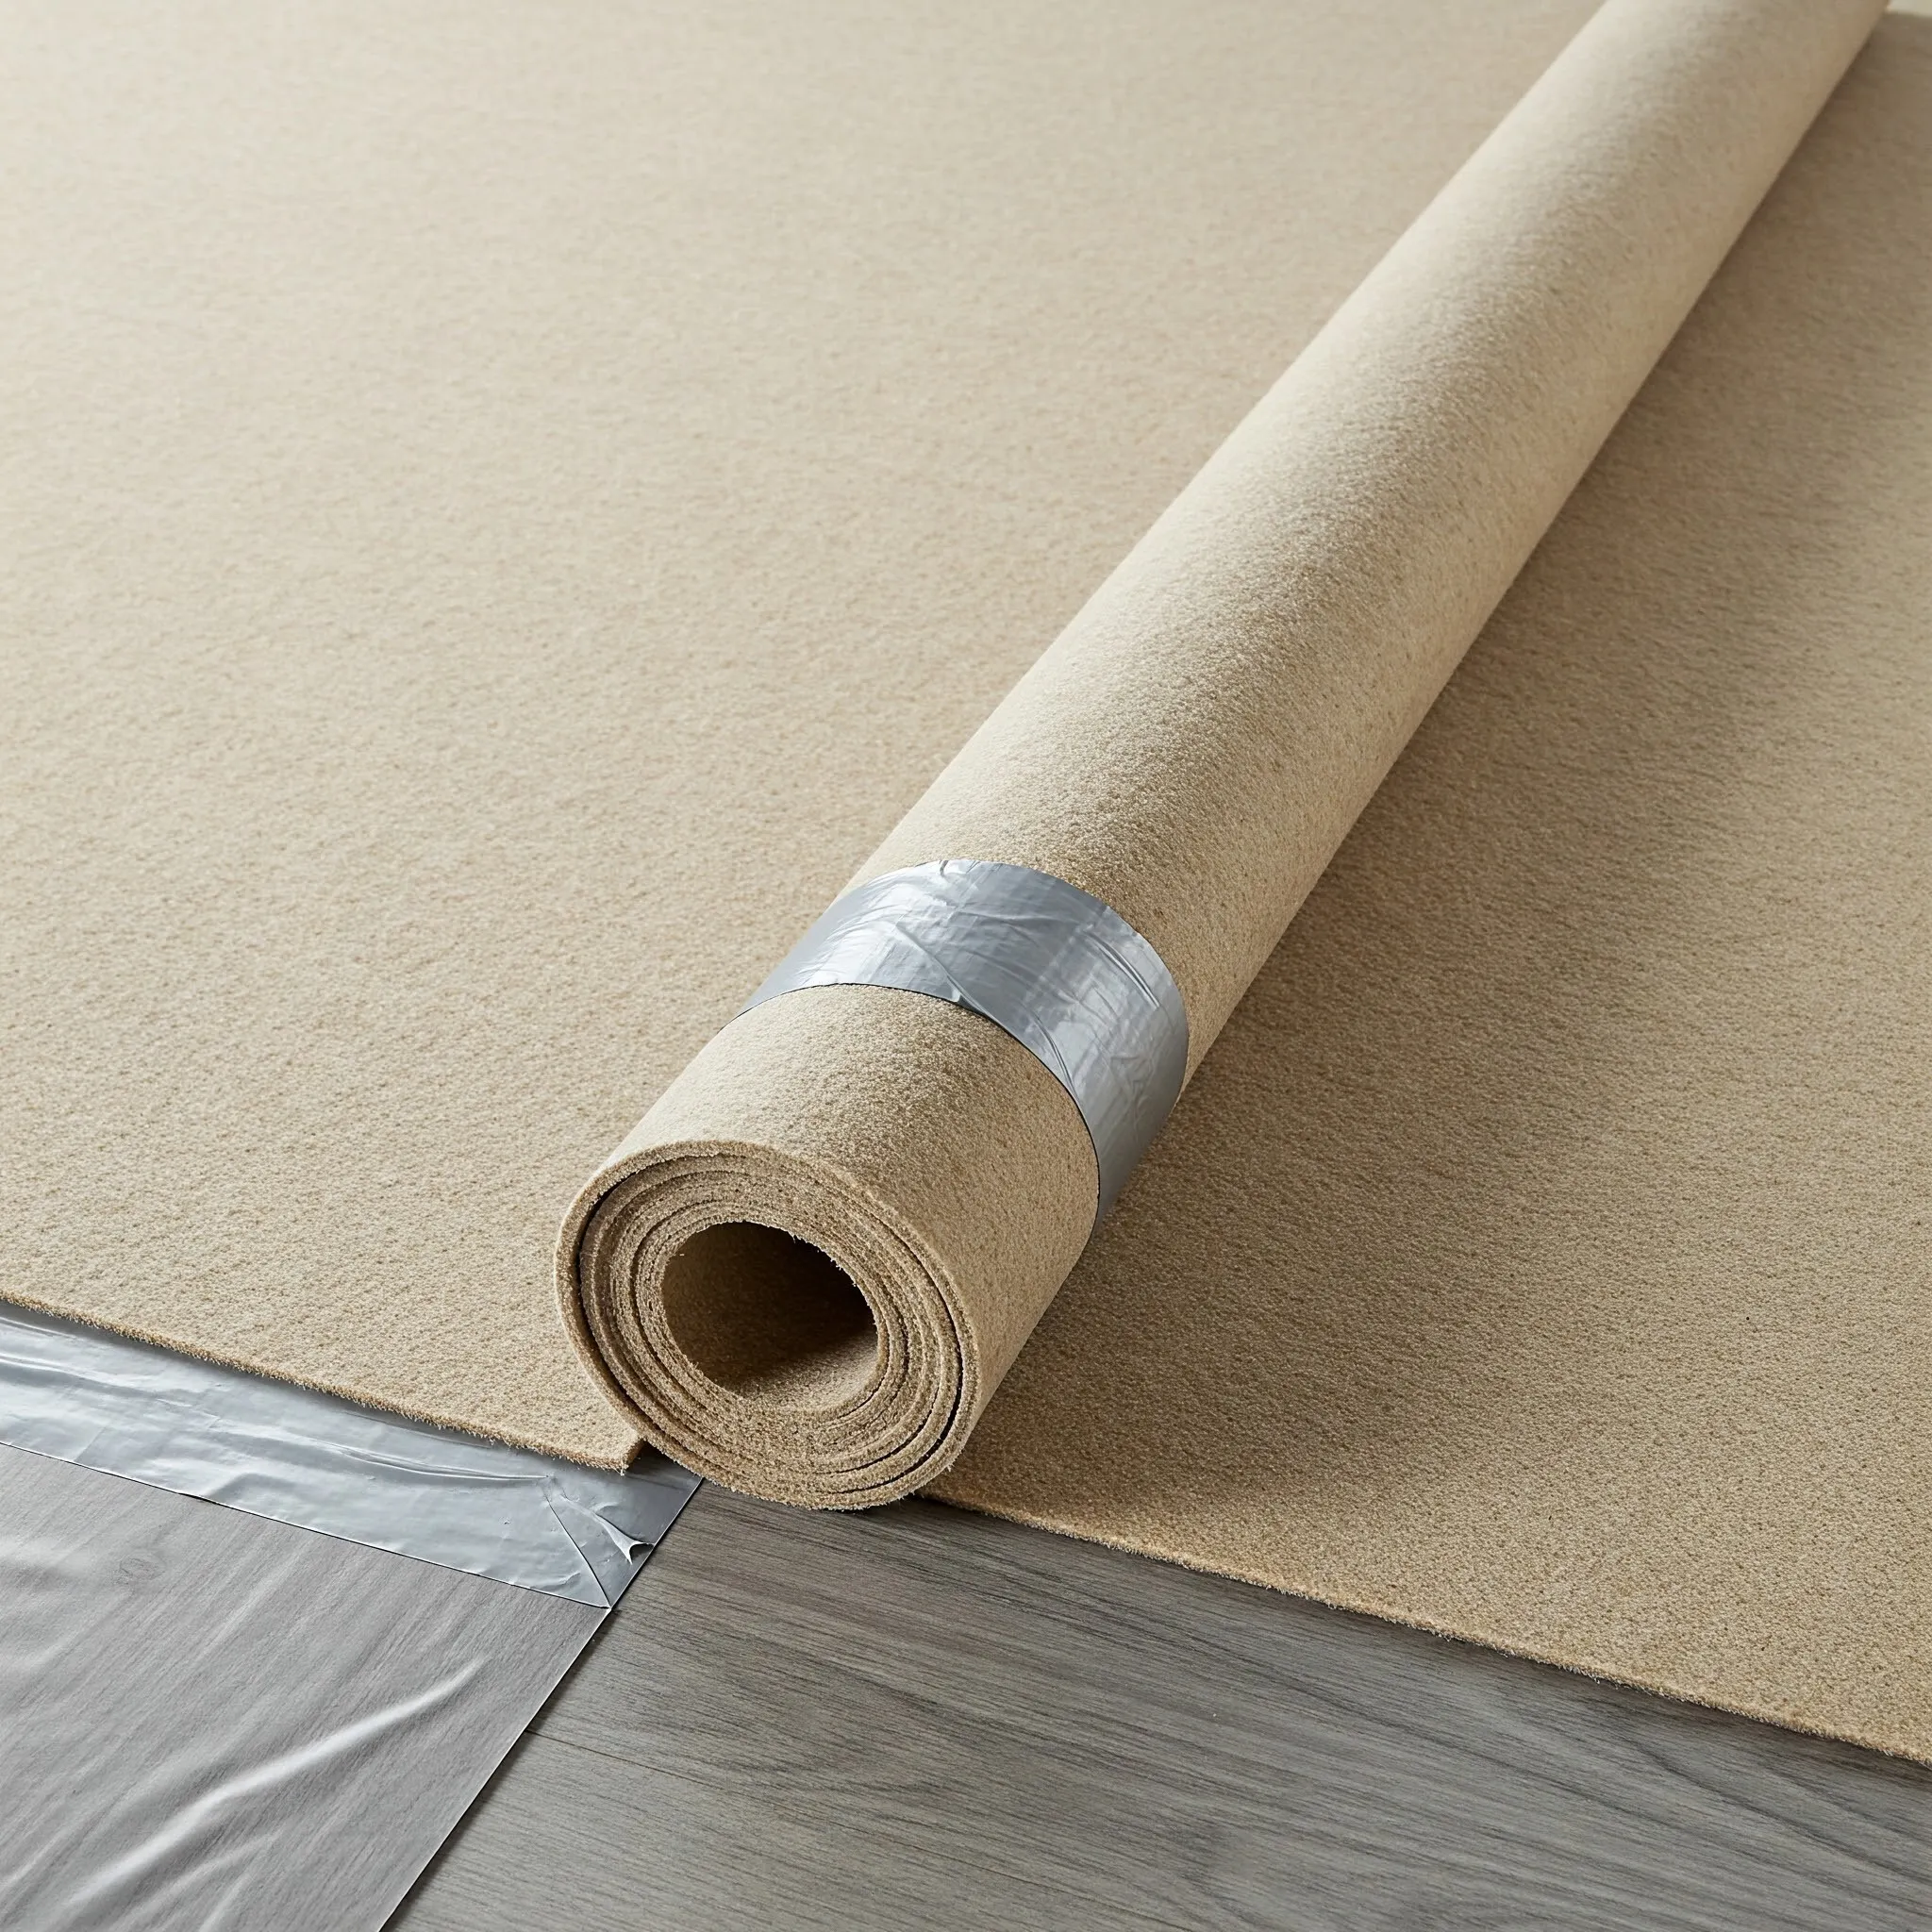
Step 5: Install Underlayment: Unless your engineered hardwood has a pre-attached underlayment, you'll need to install it separately. Underlayment serves several important purposes: it acts as a vapor barrier to protect against moisture, provides cushioning for added comfort underfoot, and helps to reduce noise by preventing the floor from rubbing against the subfloor. Start in one corner of the room and roll out the underlayment, cutting it to fit with a utility knife, including cutouts for obstacles like vents and pipes. Butt the edges of the underlayment strips together (don't overlap them) and secure the seams with house wrap tape. Continue this process until the entire subfloor is covered.

Step 6: Take Measurements: Accurate measurements are crucial for planning your layout and ensuring a visually appealing result. Measure the width of the room (perpendicular to the direction you'll be laying the planks). Divide this measurement by the width of your engineered hardwood planks. This will tell you how many full rows you'll have and if the last row will be significantly narrower than the others. To avoid a very narrow last row, you'll likely need to rip-cut (cut lengthwise) the planks in both the first and last rows to achieve a more balanced look. For example, if you have 10 full rows and a 2-inch gap left, you might cut 4 inches off the first row and 4 inches off the last row, resulting in two 6-inch rows on either side.
====================================================================
Method 1: Floating Engineered Hardwood Flooring (Click-Lock)

This is a popular method, especially for DIYers, and is commonly used with click-lock engineered hardwood like some Home Decorators Collection options.
Supplies:
- Home Decorators Collection click-lock engineered wood flooring
- Carpenter’s pencil
- Flooring spacers
- Large rubber mallet
- Flooring adhesive (optional, depending on the product)
- Circular saw or miter saw
- Masking tape
- Tapping block
- Flooring pull bar
- Table saw
- Jigsaw
- Speed square
Step 1: Set up the Initial Rows: Begin in a corner and work left to right. Place the first plank with the grooved side facing the wall. Use flooring spacers along the edges to maintain a 1/4-inch expansion gap.
Step 2: Install the Planks: For some click-lock systems, you simply angle the tongue of the new plank into the groove of the previous one and then drop it down to lock it into place. If your product recommends it, apply a thin bead of flooring adhesive to the groove before joining the planks. Use a tapping block and rubber mallet to gently tap the planks together for a snug fit. Remember to stagger the seams between rows for a more natural look. Use a jigsaw to cut planks to fit around door jambs, using a speed square for accurate measurements. Cut the last board in each row to the necessary length using a circular saw or miter saw, and use a flooring pull bar and mallet to fit it into place. Use masking tape to hold glued planks together while the adhesive dries. The last row will likely need to be rip-cut to size using a table saw.
====================================================================
Method 2: Glue-Down Engineered Hardwood Flooring
The glue-down method is often preferred for concrete subfloors or when you want to minimize movement and noise.
Supplies:
- Flooring adhesive
- Notched trowel
- Home Decorators Collection tongue and groove engineered wood flooring (or your chosen brand)
- Flooring spacers
- Tapping block
- Large rubber mallet
- Flooring pull bar
- Mineral spirits
- Microfiber cloth
- Carpenter’s pencil
- Table saw
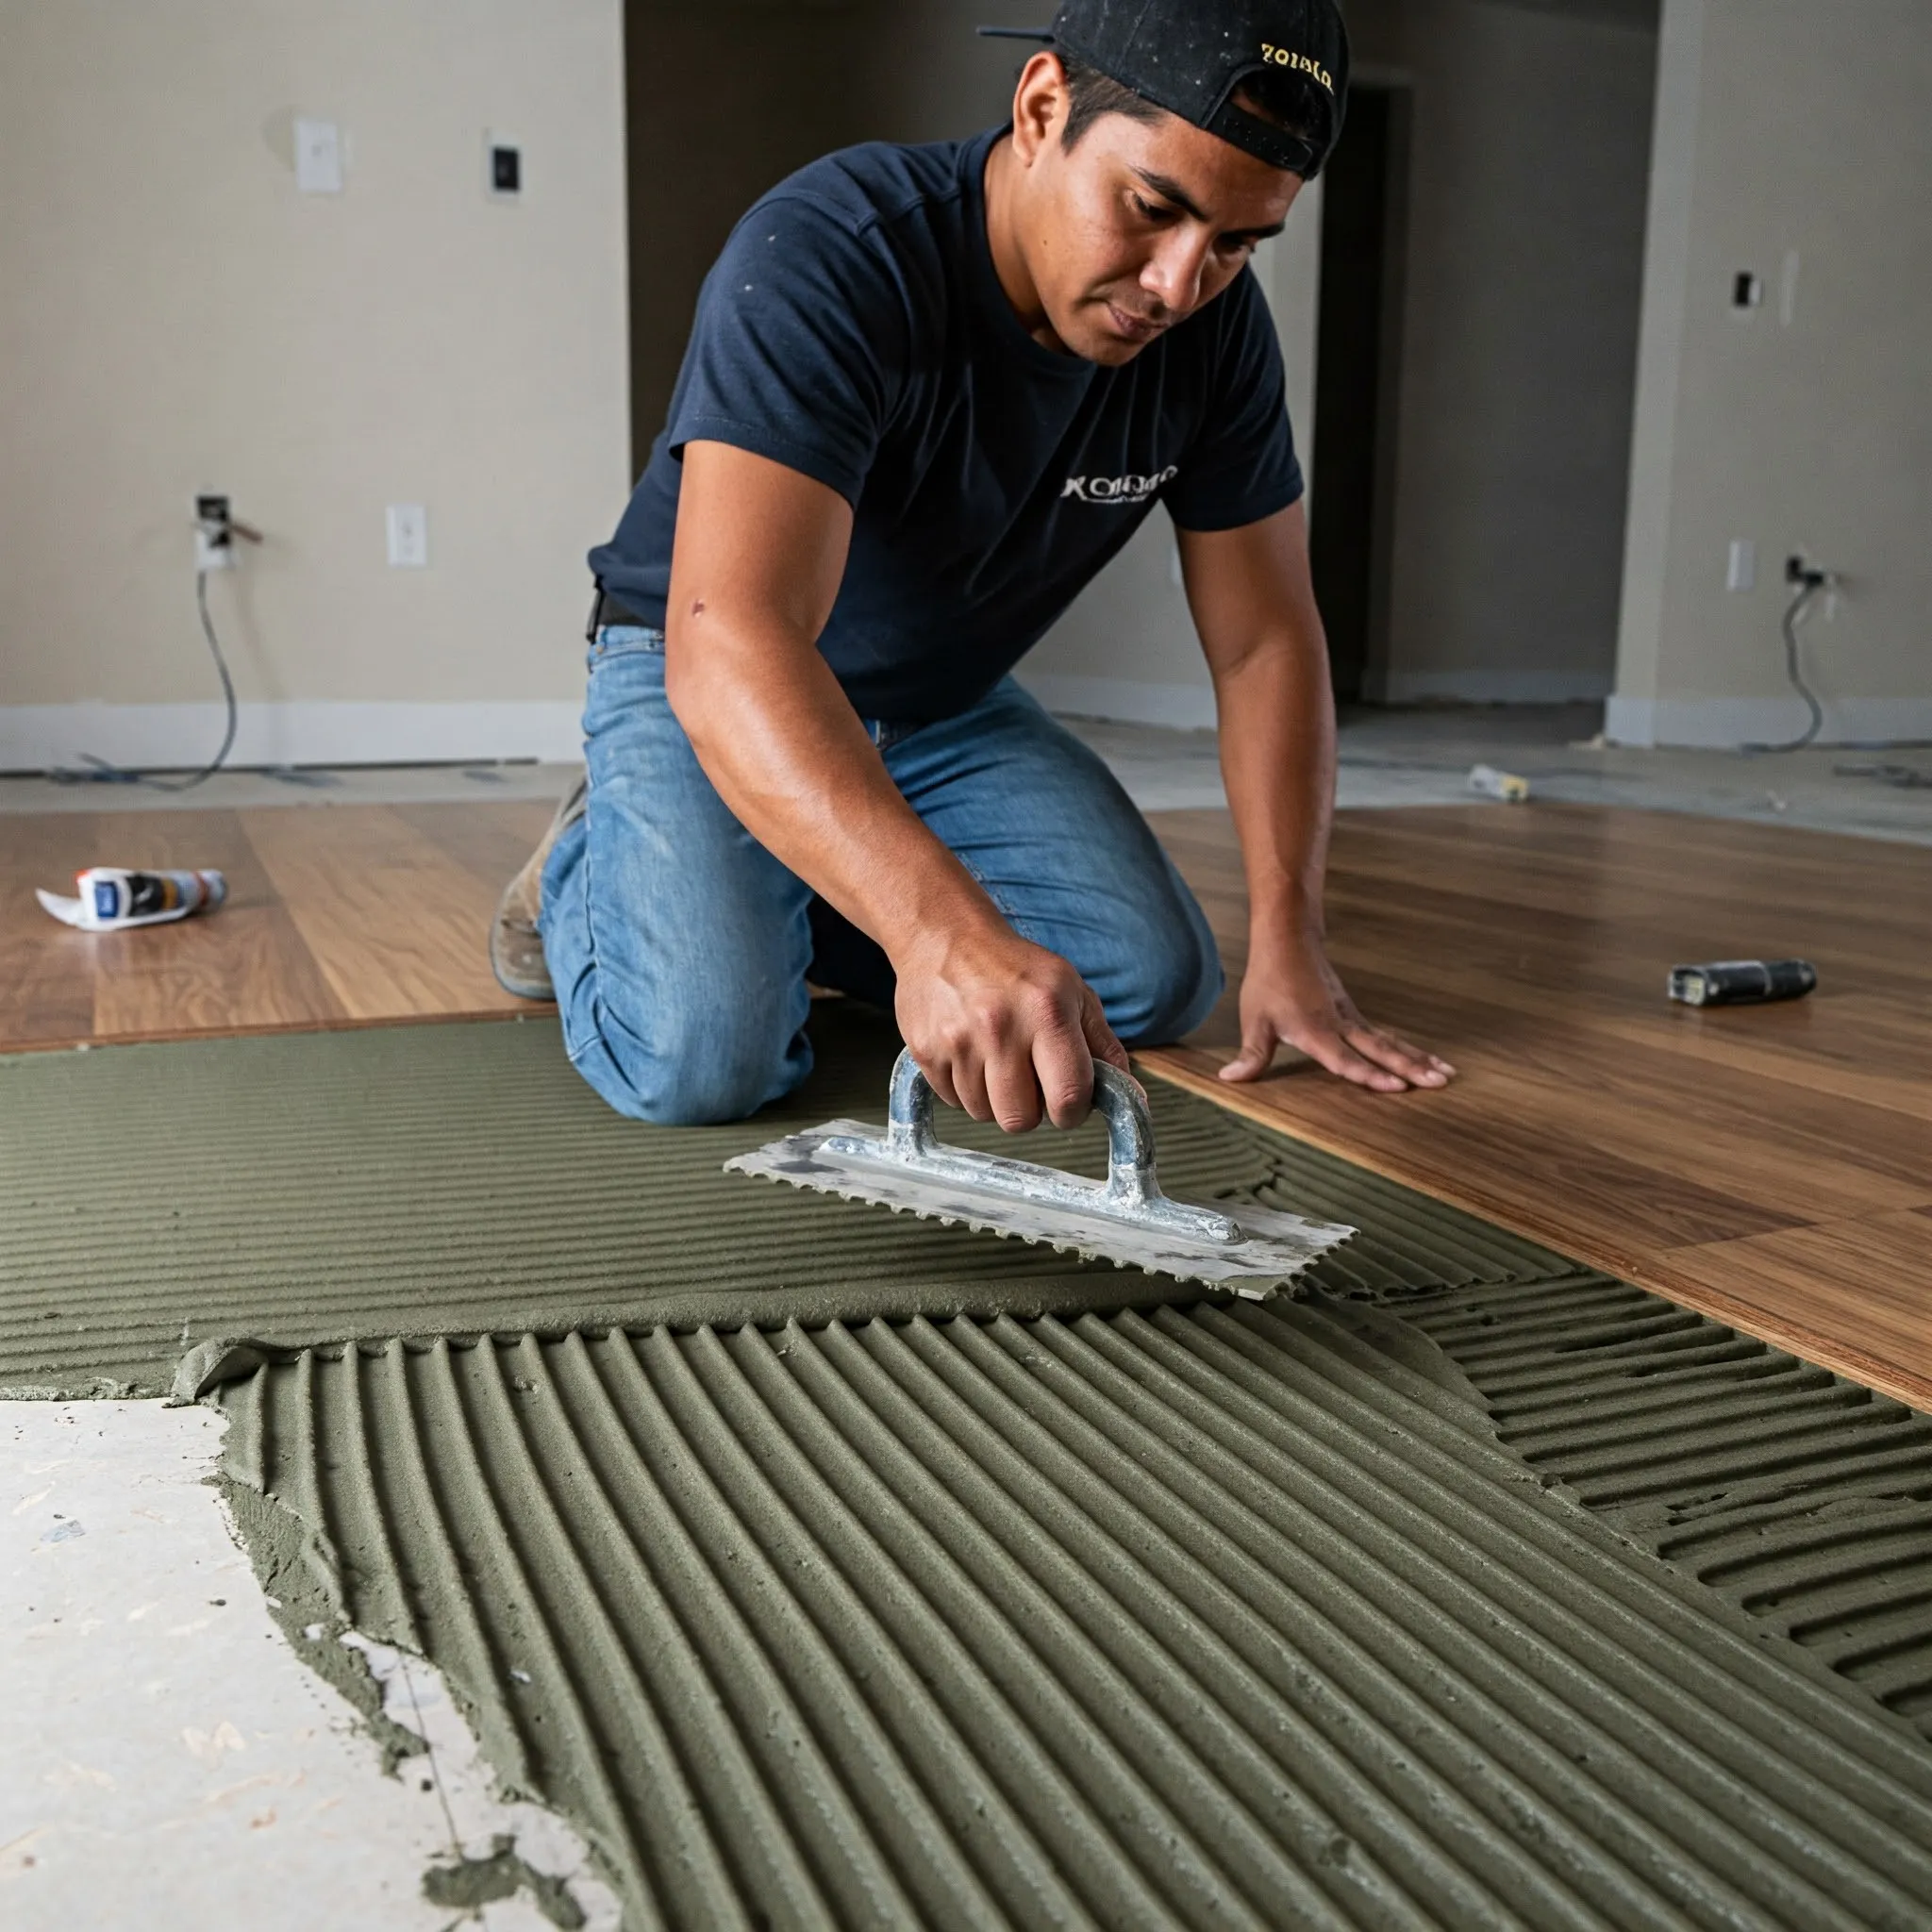
Step 1: Lay the Flooring Adhesive: Starting in a corner, use a notched trowel to spread enough flooring adhesive for about two rows of planks. The correct trowel size will depend on the adhesive and flooring, so consult the manufacturer's instructions.
Step 2: Install the First Plank: Lay the first plank into the adhesive and press it down firmly. Use flooring spacers to maintain the 1/4-inch expansion gap along the wall.
Step 3: Install the Second Plank: Angle the tongue of the next plank into the groove of the first and then press it down into the adhesive. Use a tapping block and mallet to ensure a tight fit between planks. Use a flooring pull bar to tighten end seams. Stagger the seams as you go. If any adhesive gets on the surface, wipe it away immediately with mineral spirits and a clean microfiber cloth. You can use weights or masking tape to hold planks in place while the adhesive sets. For a strong foundation, consider installing the first three rows and allowing them to dry completely for 24 hours before continuing.
====================================================================
Method 3: Staple-Down or Nail-Down Engineered Hardwood Flooring

This method is only suitable for wood subfloors. Use a flooring stapler for most engineered hardwood, but a flooring nailer might be necessary for thicker or denser wood.
Supplies:
- Home Decorators Collection engineered wood flooring (or your chosen brand)
- Flooring spacers
- Finish nailer or hammer and nail punch
- Tapping block
- Flooring pull bar
- Large rubber mallet
- Staple gun (if using)
- Flooring nailer or flooring stapler
- Carpenter’s pencil
- Table saw
Step 1: Install the First Row: Lay the first row of planks, using spacers for the expansion gap. Secure them by top-nailing with finish nails every 6 inches. You can use a finish nailer or a hammer and nail punch, ensuring the nail heads are countersunk.
Step 2: Install the Second Row: Add the second row, tapping each plank against the first with a tapping block and mallet. Secure each plank by stapling or nailing through the tongue at a 45-degree angle every 6 inches. Adjust the depth setting on your stapler or nailer so the fasteners are countersunk. Use a flooring pull bar to ensure a tight fit at the end of the row.
Step 3: Add the Remaining Rows: Once you have enough clearance from the wall (usually by the third row), you can use a flooring nailer or stapler to attach the remaining rows until you reach the far end of the room.
Step 4: Install the Last Row: You likely won't have enough room to use the flooring nailer or stapler for the last row or two. Switch back to a finish nailer or stapler to face-nail these last planks.
====================================================================
Final Thoughts: Enjoy Your Beautiful New Floors

Installing engineered hardwood flooring can be a rewarding DIY project that significantly enhances the look and feel of your home. By carefully following these steps and taking your time, you can achieve a professional-looking result. Remember to choose the installation method that best suits your subfloor and the type of engineered hardwood you've selected, such as options from the Home Decorators Collection available at The Home Depot. With proper preparation and attention to detail, your new floors will provide years of beauty and enjoyment.
====================================================================
Key Takeaways for Your Engineered Hardwood Project

- Preparation is Paramount: Don't skip the crucial steps of acclimating the flooring and preparing the subfloor.
- Choose the Right Method: Select the appropriate installation method (floating, glue-down, or staple/nail-down) based on your subfloor and flooring type.
- Maintain Expansion Gaps: Always leave a 1/4-inch expansion gap around the perimeter of the room to allow for natural movement of the wood.
- Stagger the Seams: Staggering the seams between rows creates a more natural and visually appealing look.
- Take Your Time: Don't rush the process. Careful and precise installation will yield the best results.
- Consider Your Options: Explore different brands and styles, such as the Home Decorators Collection at The Home Depot, to find the perfect fit for your home and budget.
Popular Posts