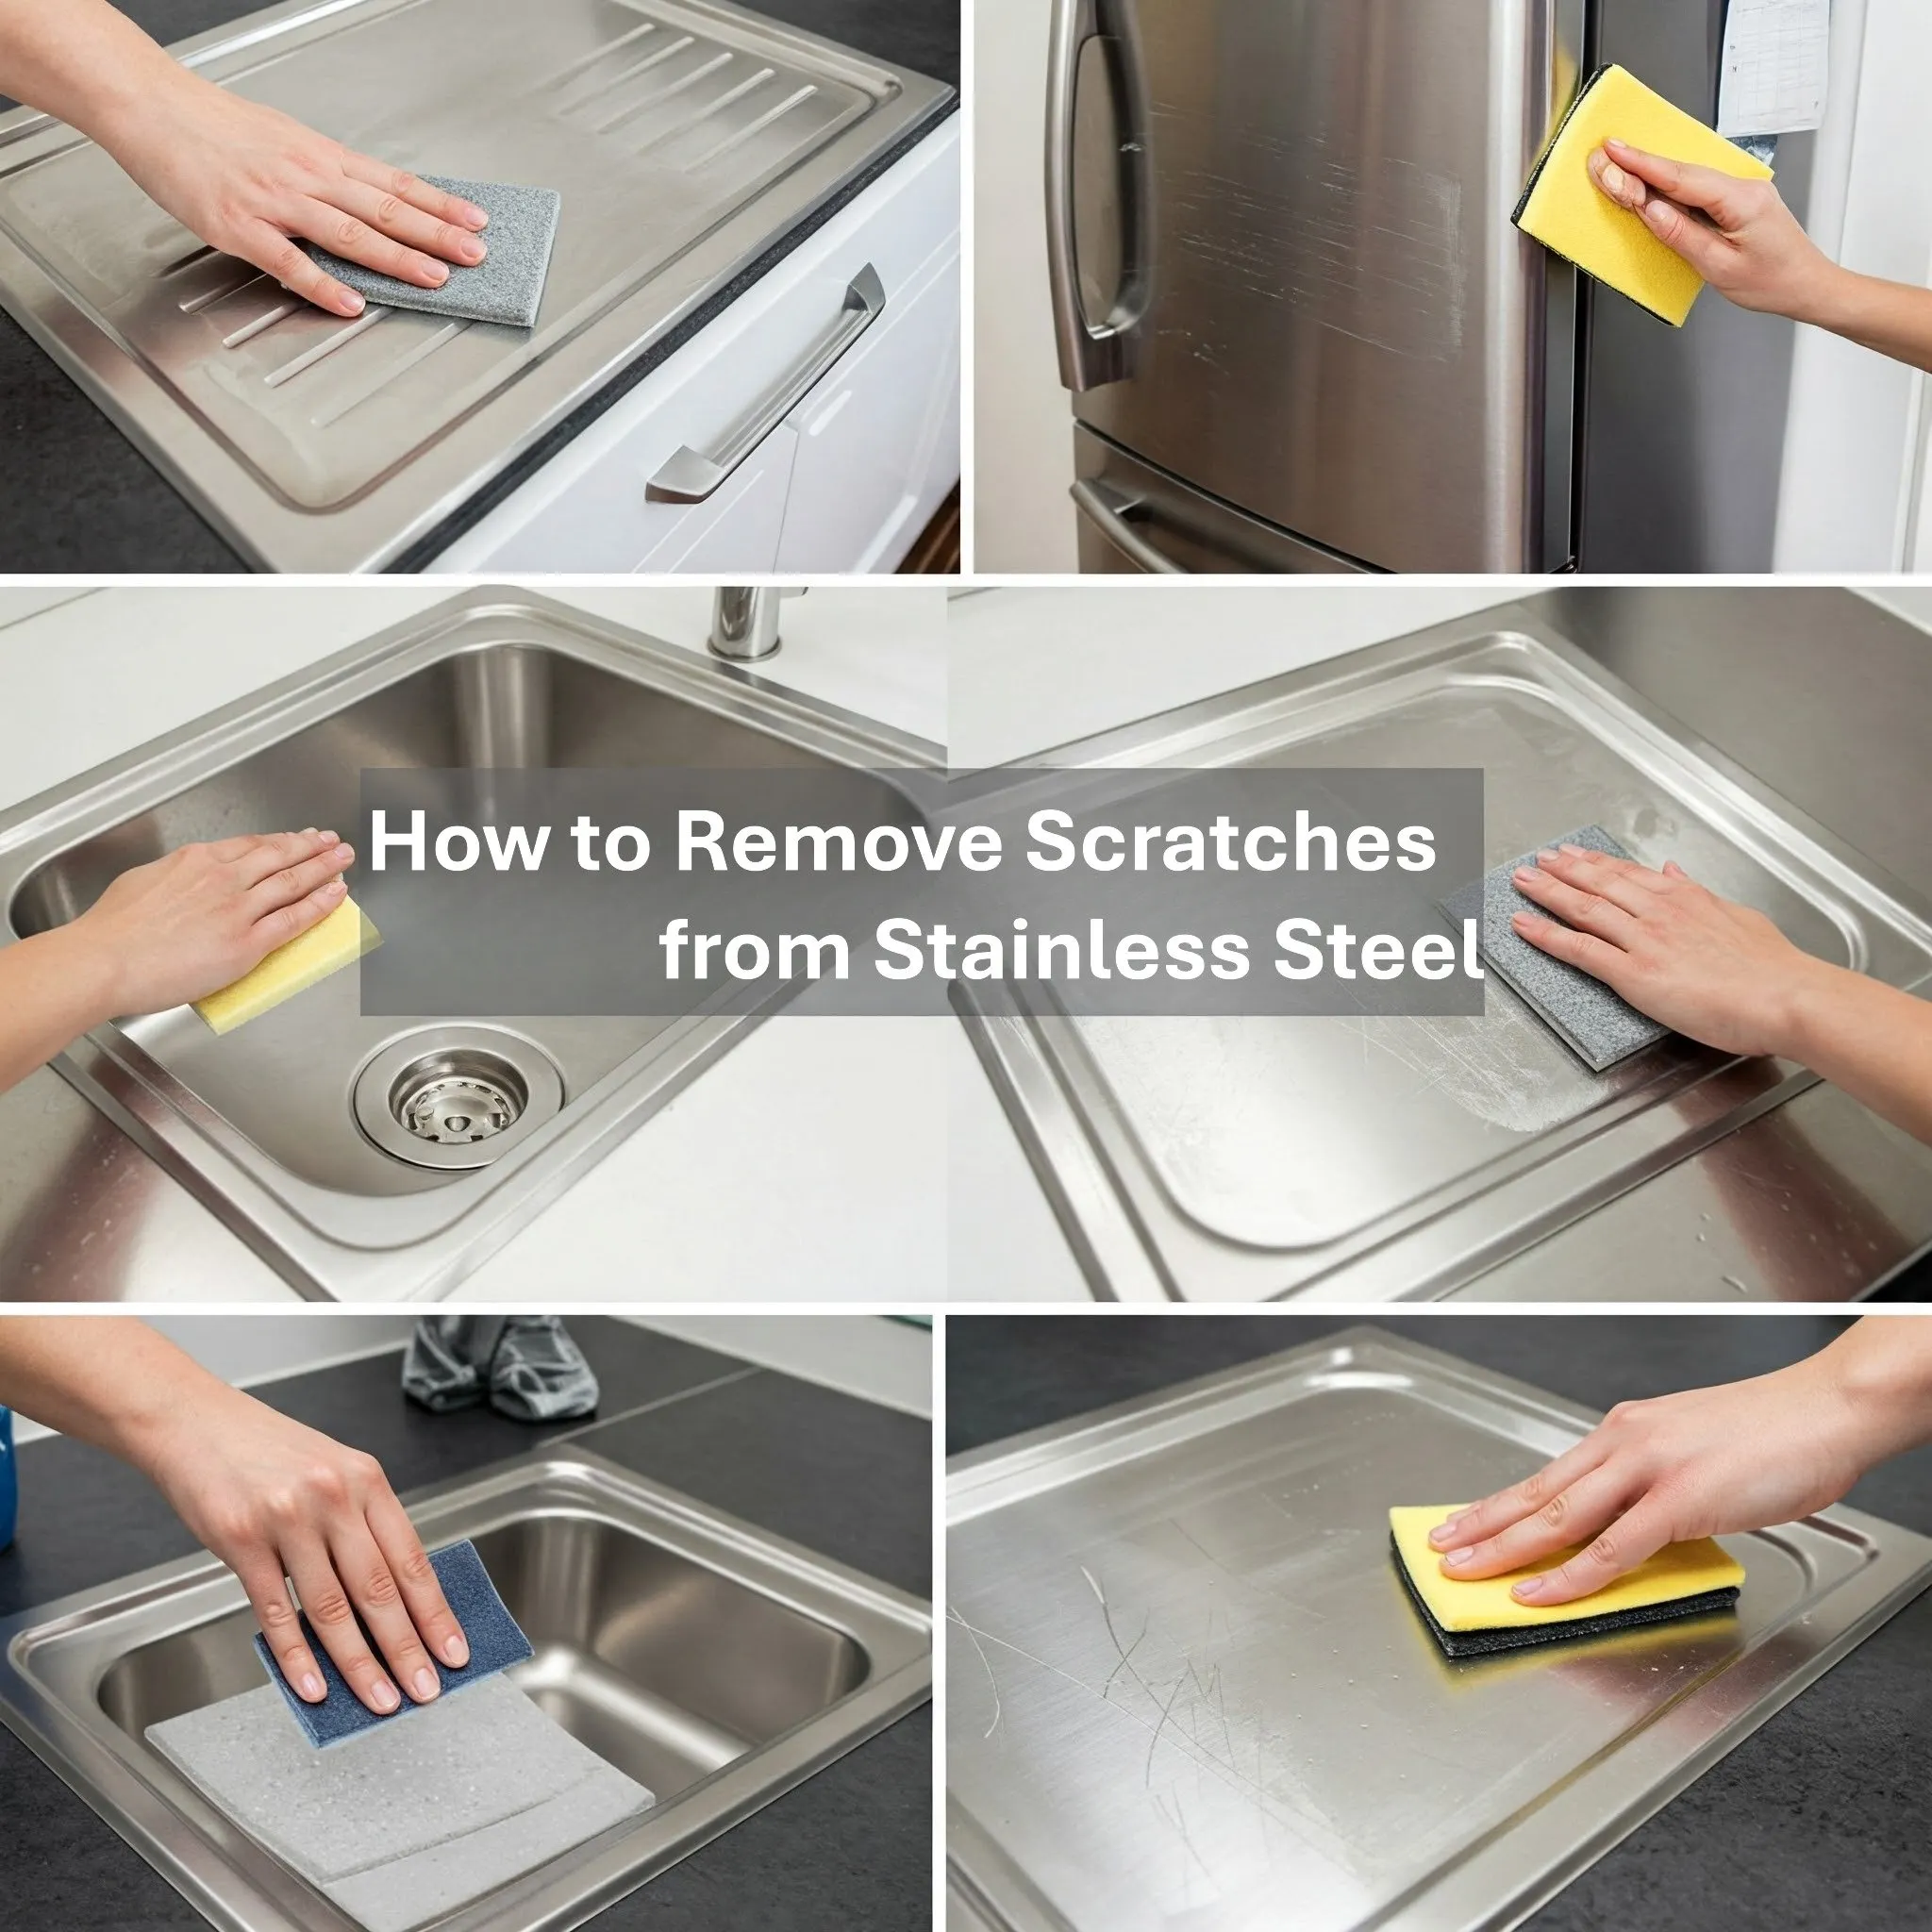
How to Remove Scratches From Stainless Steel: Restore Your Appliances to Their Former Glory

Stainless steel has become a staple in modern kitchens, gracing everything from sleek appliances and durable sinks to elegant countertops and stylish cabinet hardware. Its popularity stems from its contemporary aesthetic and inherent strength. However, despite its robustness, stainless steel is susceptible to unsightly scratches that can accumulate over time due to everyday use. The good news is that with the right knowledge and a few readily available materials, you can effectively minimize and even completely eliminate these blemishes, bringing back the pristine look of your beloved stainless steel items. This comprehensive guide will walk you through the steps for removing both fine and deep scratches, along with essential tips to prevent future damage, ensuring your kitchen stays looking its best for years to come.
====================================================================
Understanding Stainless Steel and Its Grain

Before you embark on the scratch removal journey, it's crucial to understand the unique characteristics of stainless steel. If you look closely at its surface, you'll notice subtle brush marks running in a particular direction. This is known as the "grain," a natural result of the manufacturing process. Regardless of the scratch removal method or product you choose, the golden rule is to always rub in the direction of this grain. A common mistake in stainless steel maintenance is going against the grain, which can not only fail to remove existing scratches but might even create new ones or worsen the current ones.
Important Note: It's vital to determine if your stainless steel item has a protective clear coat or synthetic surface applied. If it does, the scratch removal methods outlined below are not suitable and could potentially cause more damage than repair. Always consult the manufacturer's instructions or product labels if you're unsure about the surface treatment.
====================================================================
Removing Minor Imperfections: The Buffing Compound Method
For those superficial scratches that are noticeable upon close inspection but aren't deep gouges, a simple buffing compound can often do the trick. This method gently polishes the surface to blend away the fine lines.
Supplies You'll Need:
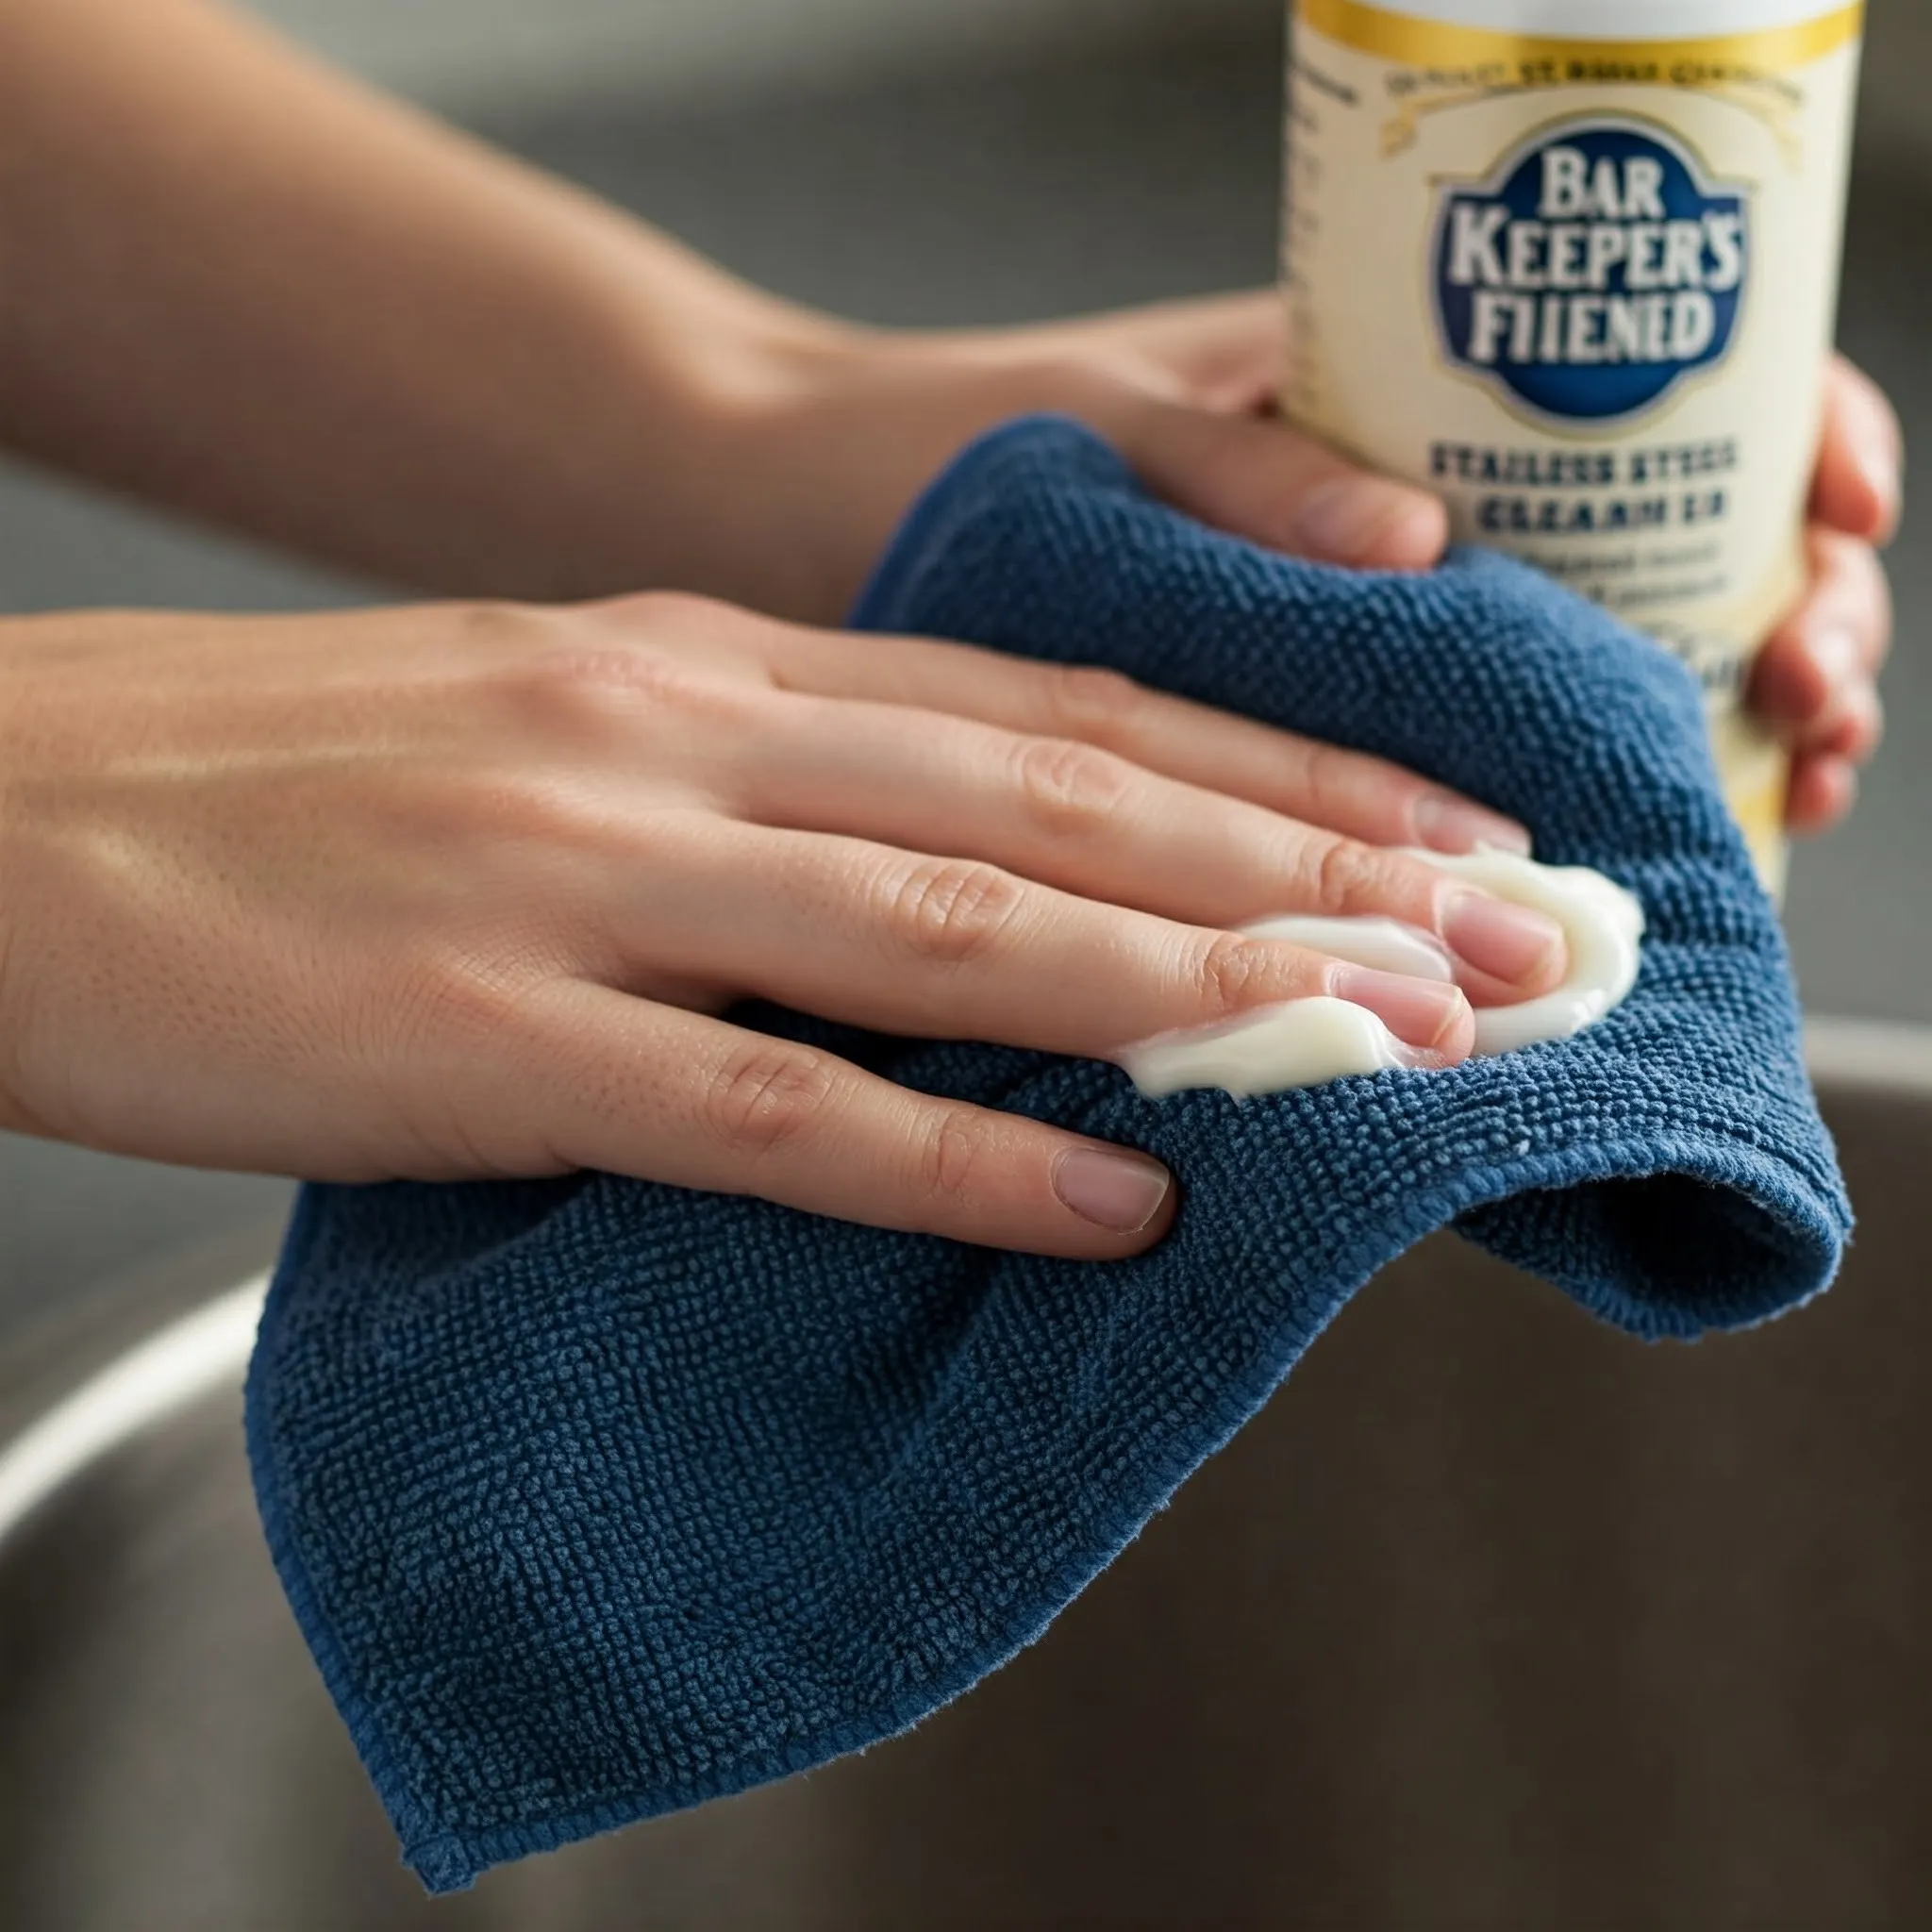
- Stainless steel buffing compound (a non-abrasive liquid or powdered cleaner typically used for stainless steel, such as Bar Keeper's Friend)
- Microfiber cloths
====================================================================
Step 1: Prepare the Stainless Steel Buffing Compound
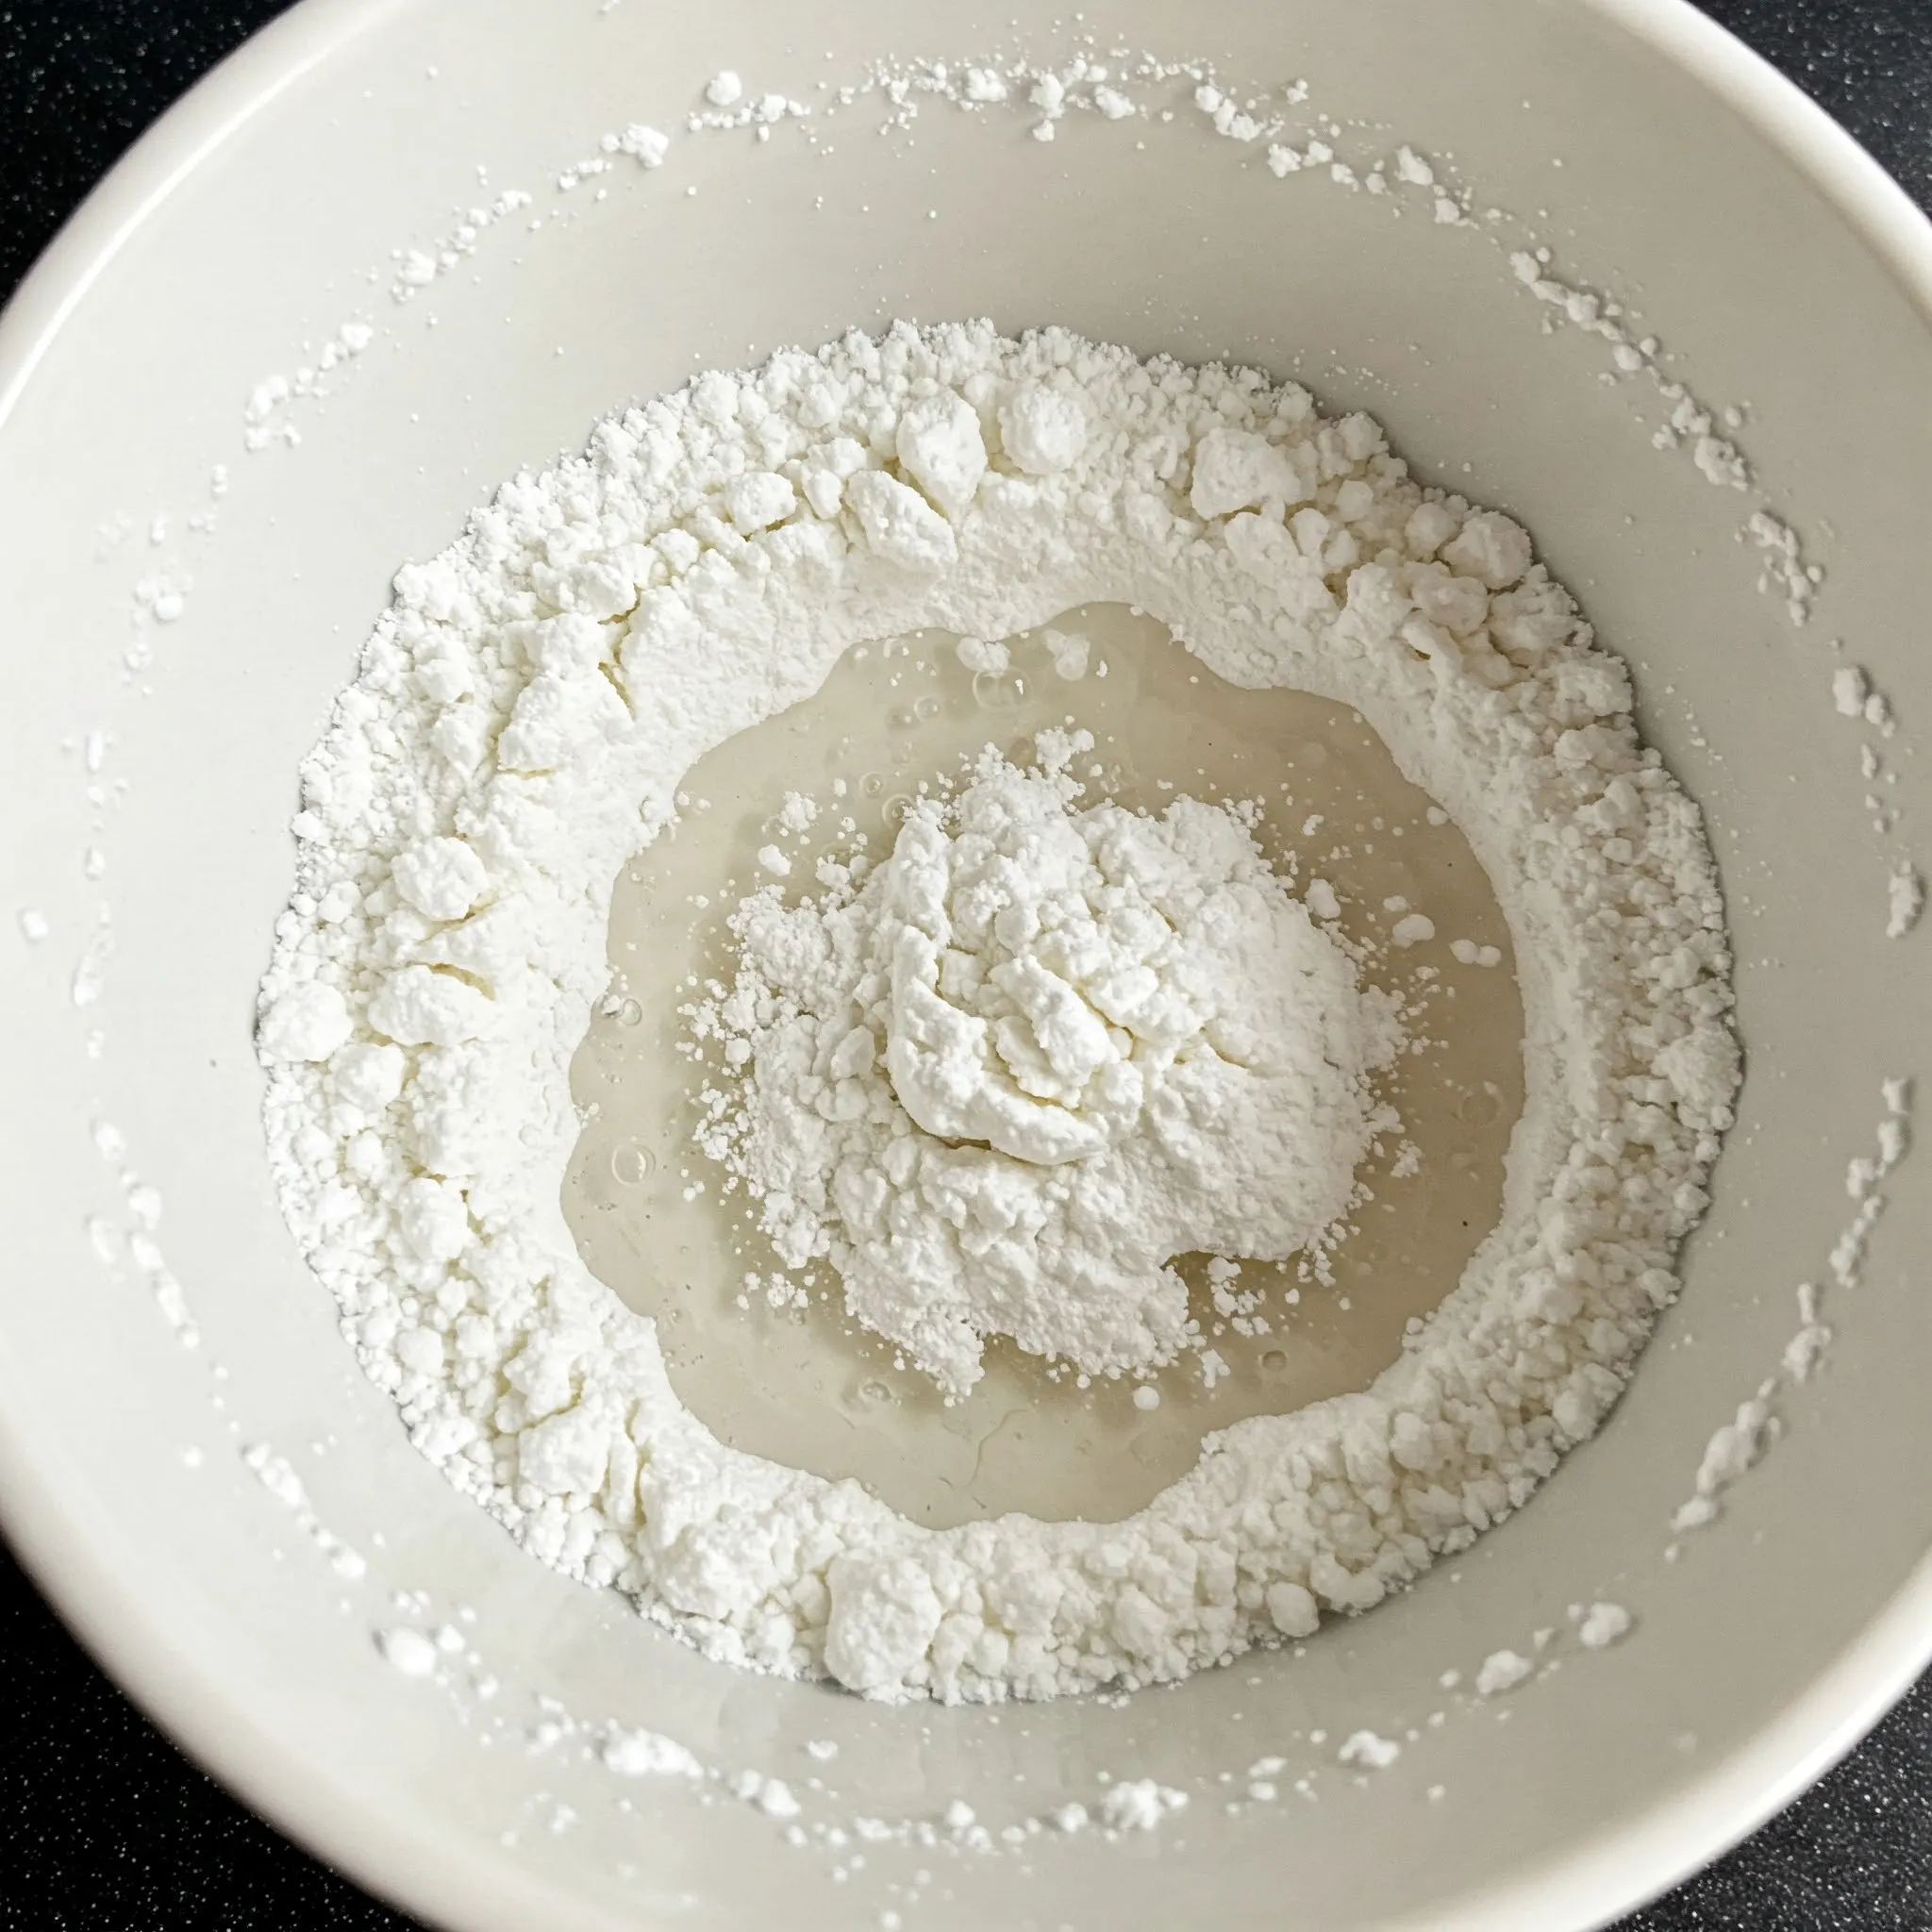
Begin by preparing your chosen buffing compound. If you're using a liquid or cream-based stainless steel cleaner, you can proceed directly to the next step. However, if you've opted for a powdered stainless steel scratch remover, carefully follow the instructions on the label for mixing it with water until you achieve a paste-like consistency, similar to toothpaste. When adding water, it's best to do so a few drops at a time to ensure you get the desired thickness. In a pinch, some people have even found that whitening toothpaste can work for very minor scratches due to its mild abrasive properties.
====================================================================
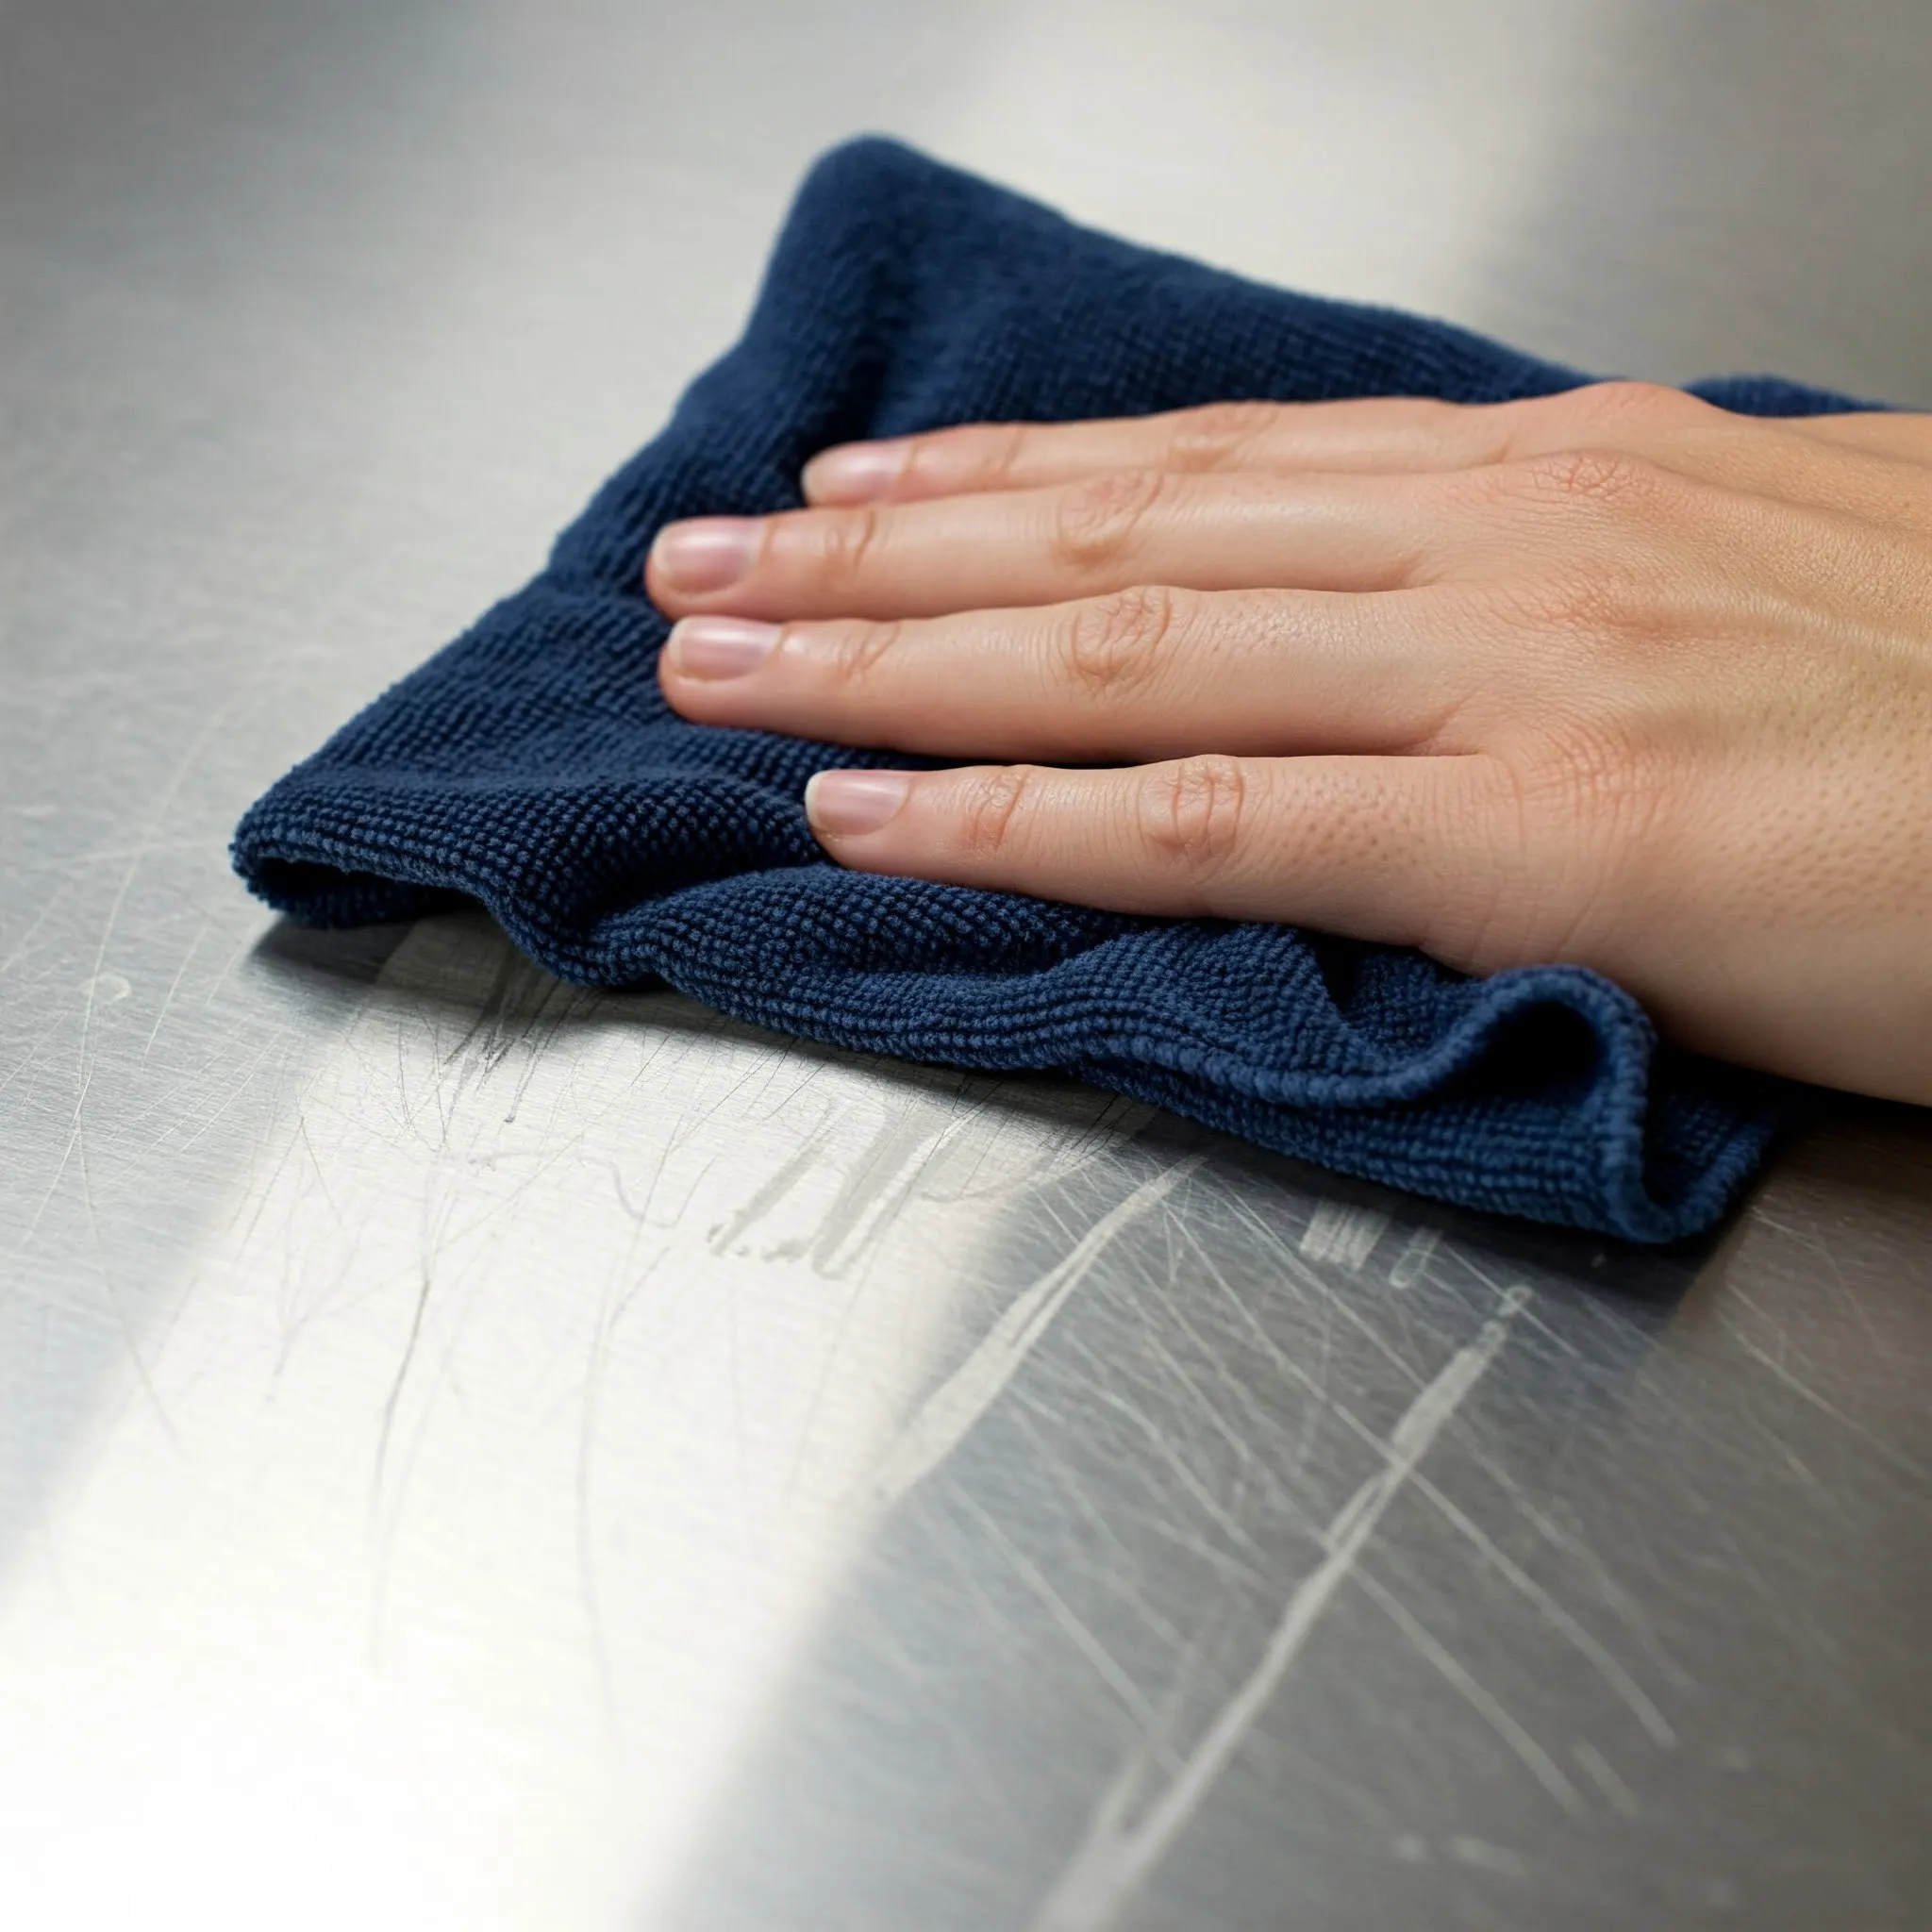
Step 2: Identify and Buff Out the Fine Scratch
Before tackling prominent scratches, it's a good idea to test your chosen method on a smaller, less visible scratch first. This allows you to ensure the process doesn't negatively affect the finish. Apply a small amount of the cream or paste onto a clean microfiber cloth. Gently rub the cloth back and forth over the scratch, making sure to move only in the direction of the stainless steel grain. Continue this process until the scratch either disappears or its appearance significantly diminishes.
Tried-and-True Advice: Remember to always move your buffing cloth along the grain and avoid rubbing in circular motions, as this can lead to further scratching. Some individuals have found success using a mixture of baking soda and water as a mild buffing agent, but it's always wise to test any substance in an inconspicuous area first. After buffing, consider spraying the surface with distilled white vinegar and wiping it clean with another cloth. For an extra touch of shine, you can finish by polishing the stainless steel with a small amount of oil, such as olive oil, or a dedicated stainless steel polish. To minimize the occurrence of scratches in the future, make it a habit to gently clean your stainless steel regularly to prevent grime buildup, which can often necessitate more aggressive cleaning methods.
====================================================================
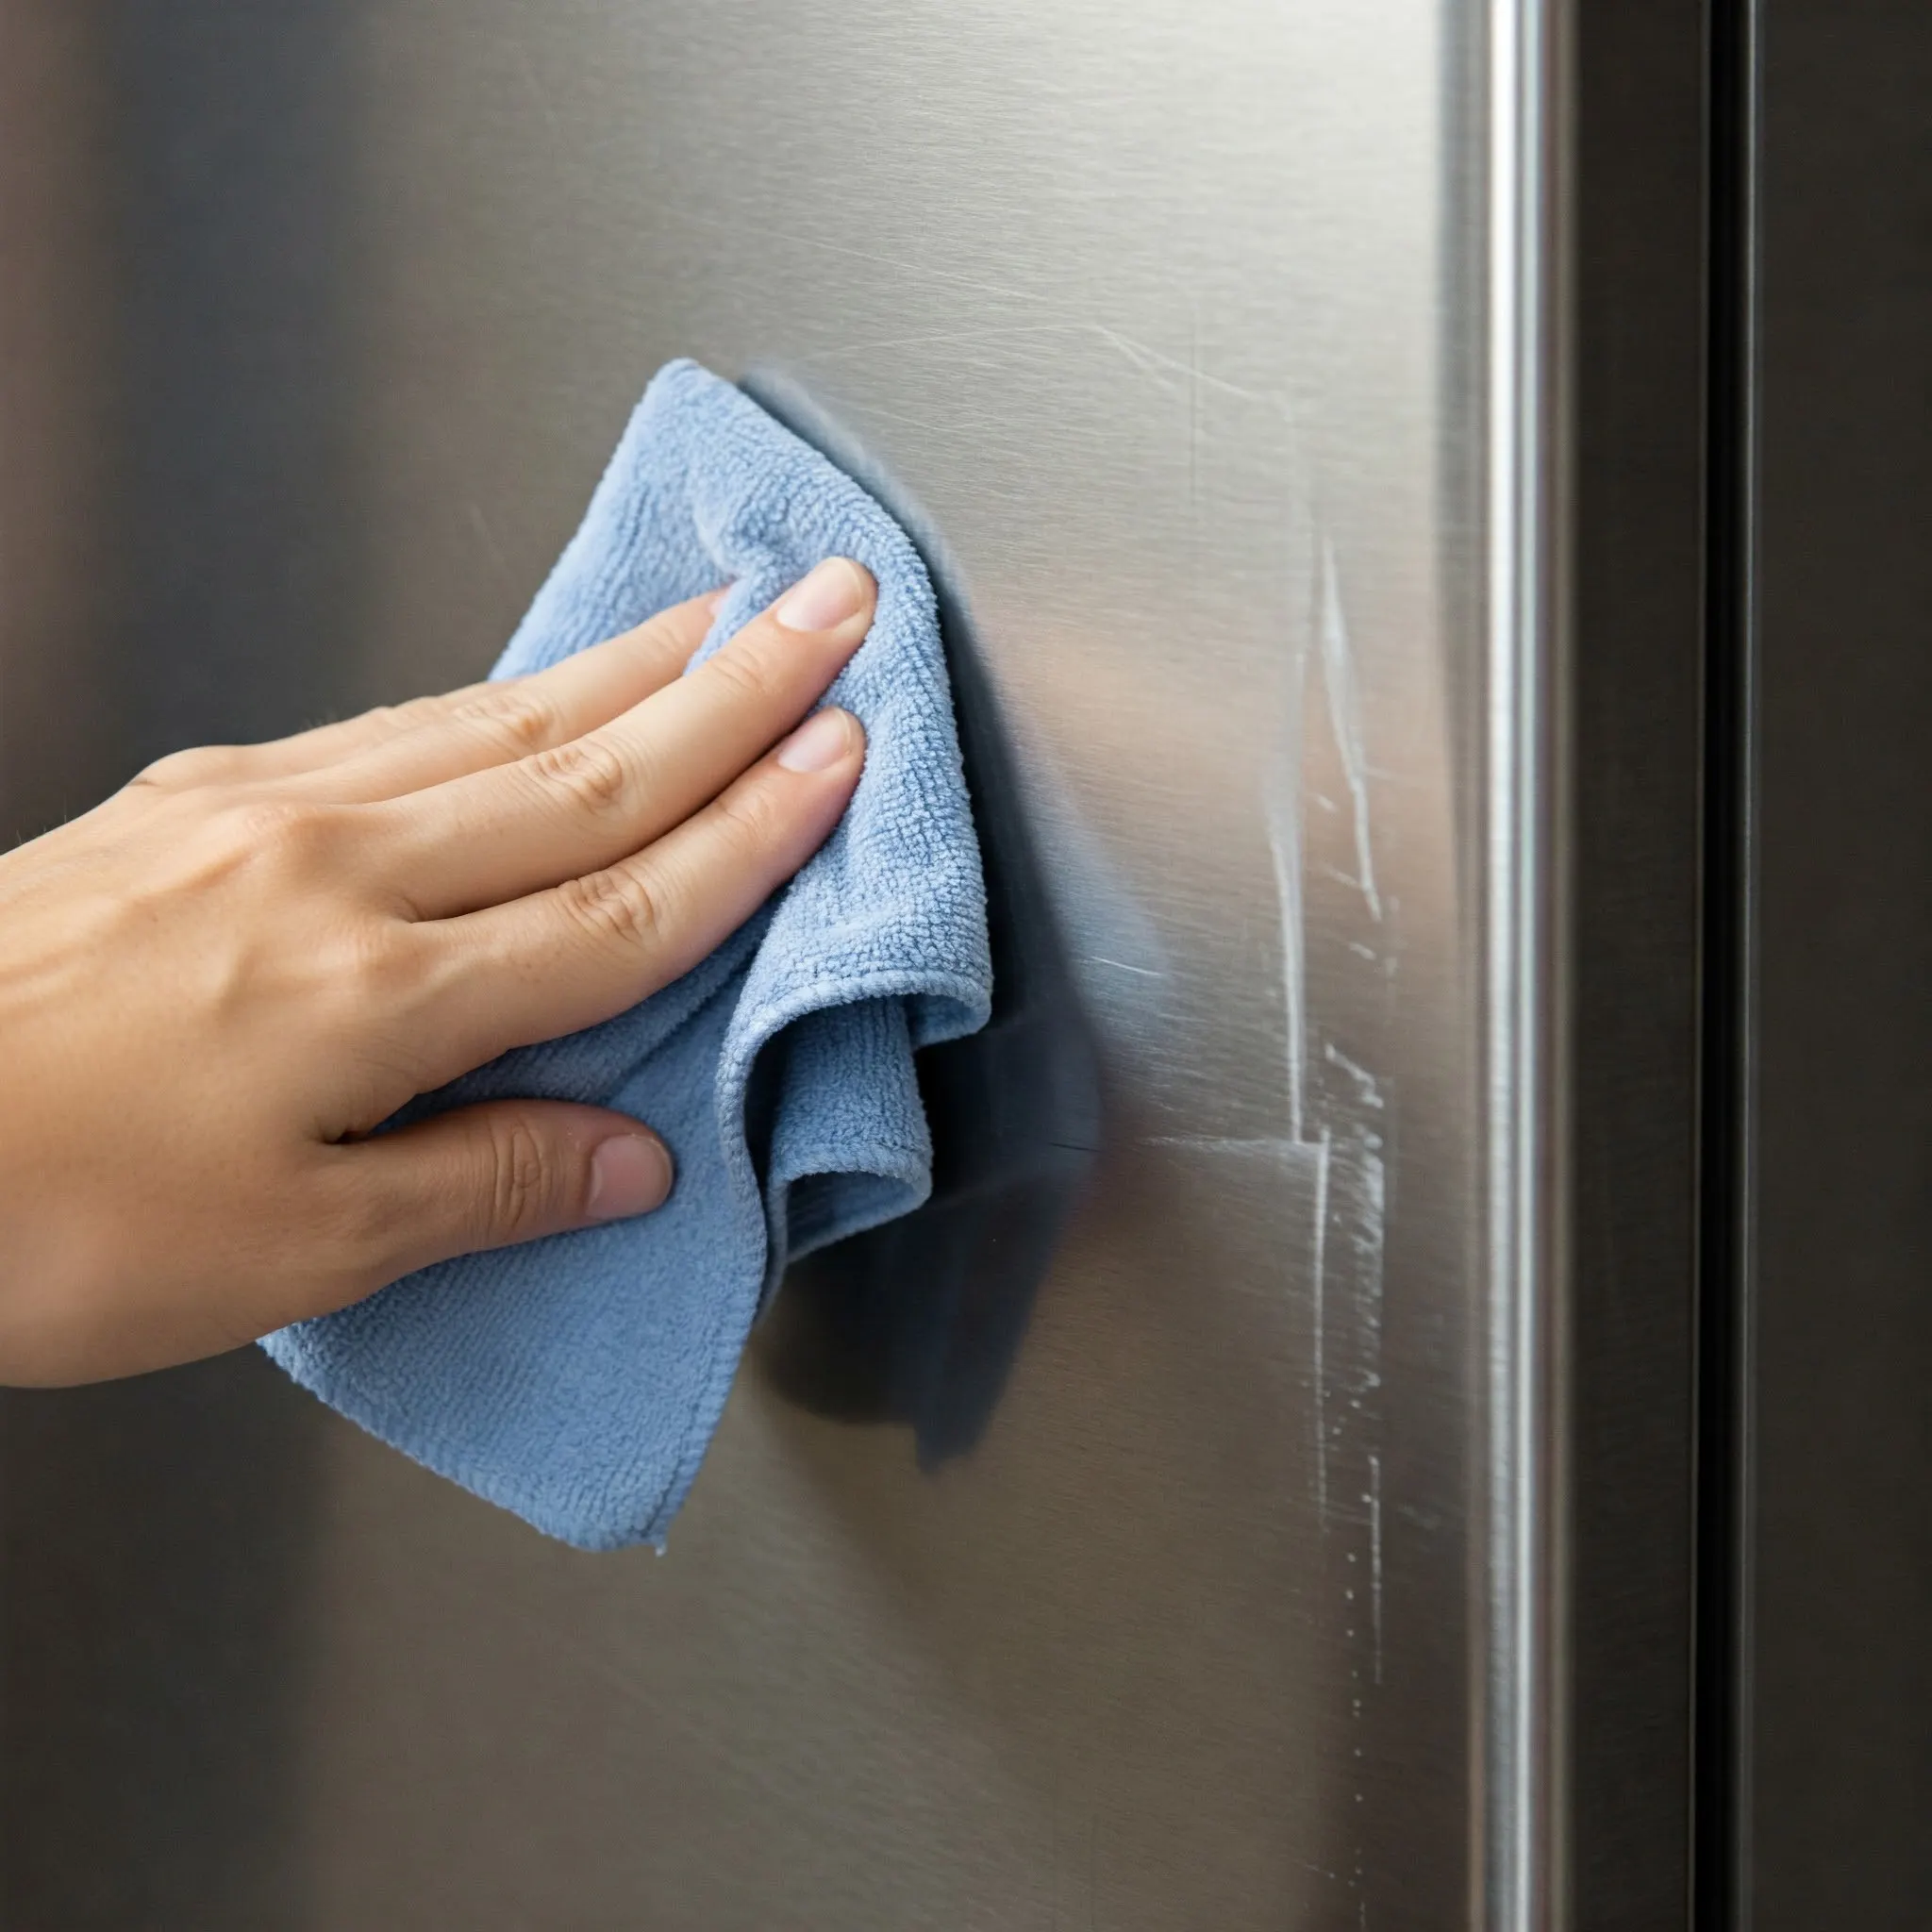
Step 3: Wipe the Metal Surface Clean
Once you've finished buffing, take a fresh, damp microfiber cloth and gently wipe away any remaining buffing compound residue from the area where the scratch was. Again, be sure to wipe in the direction of the grain. After wiping, use a clean, dry microfiber cloth to thoroughly dry the area.
====================================================================
Step 4: Repeat with All Visible Fine Scratches

If you're satisfied with the results on your test scratch, repeat Steps 2 and 3 for all other visible fine scratches on the stainless steel surface. Remember to consistently buff along the grain and don't hesitate to switch to a clean section of your microfiber cloth or a new cloth altogether as needed to prevent spreading excess buffing compound residue.
====================================================================
Tackling Tougher Marks: Using a Stainless Steel Scratch Removal Kit
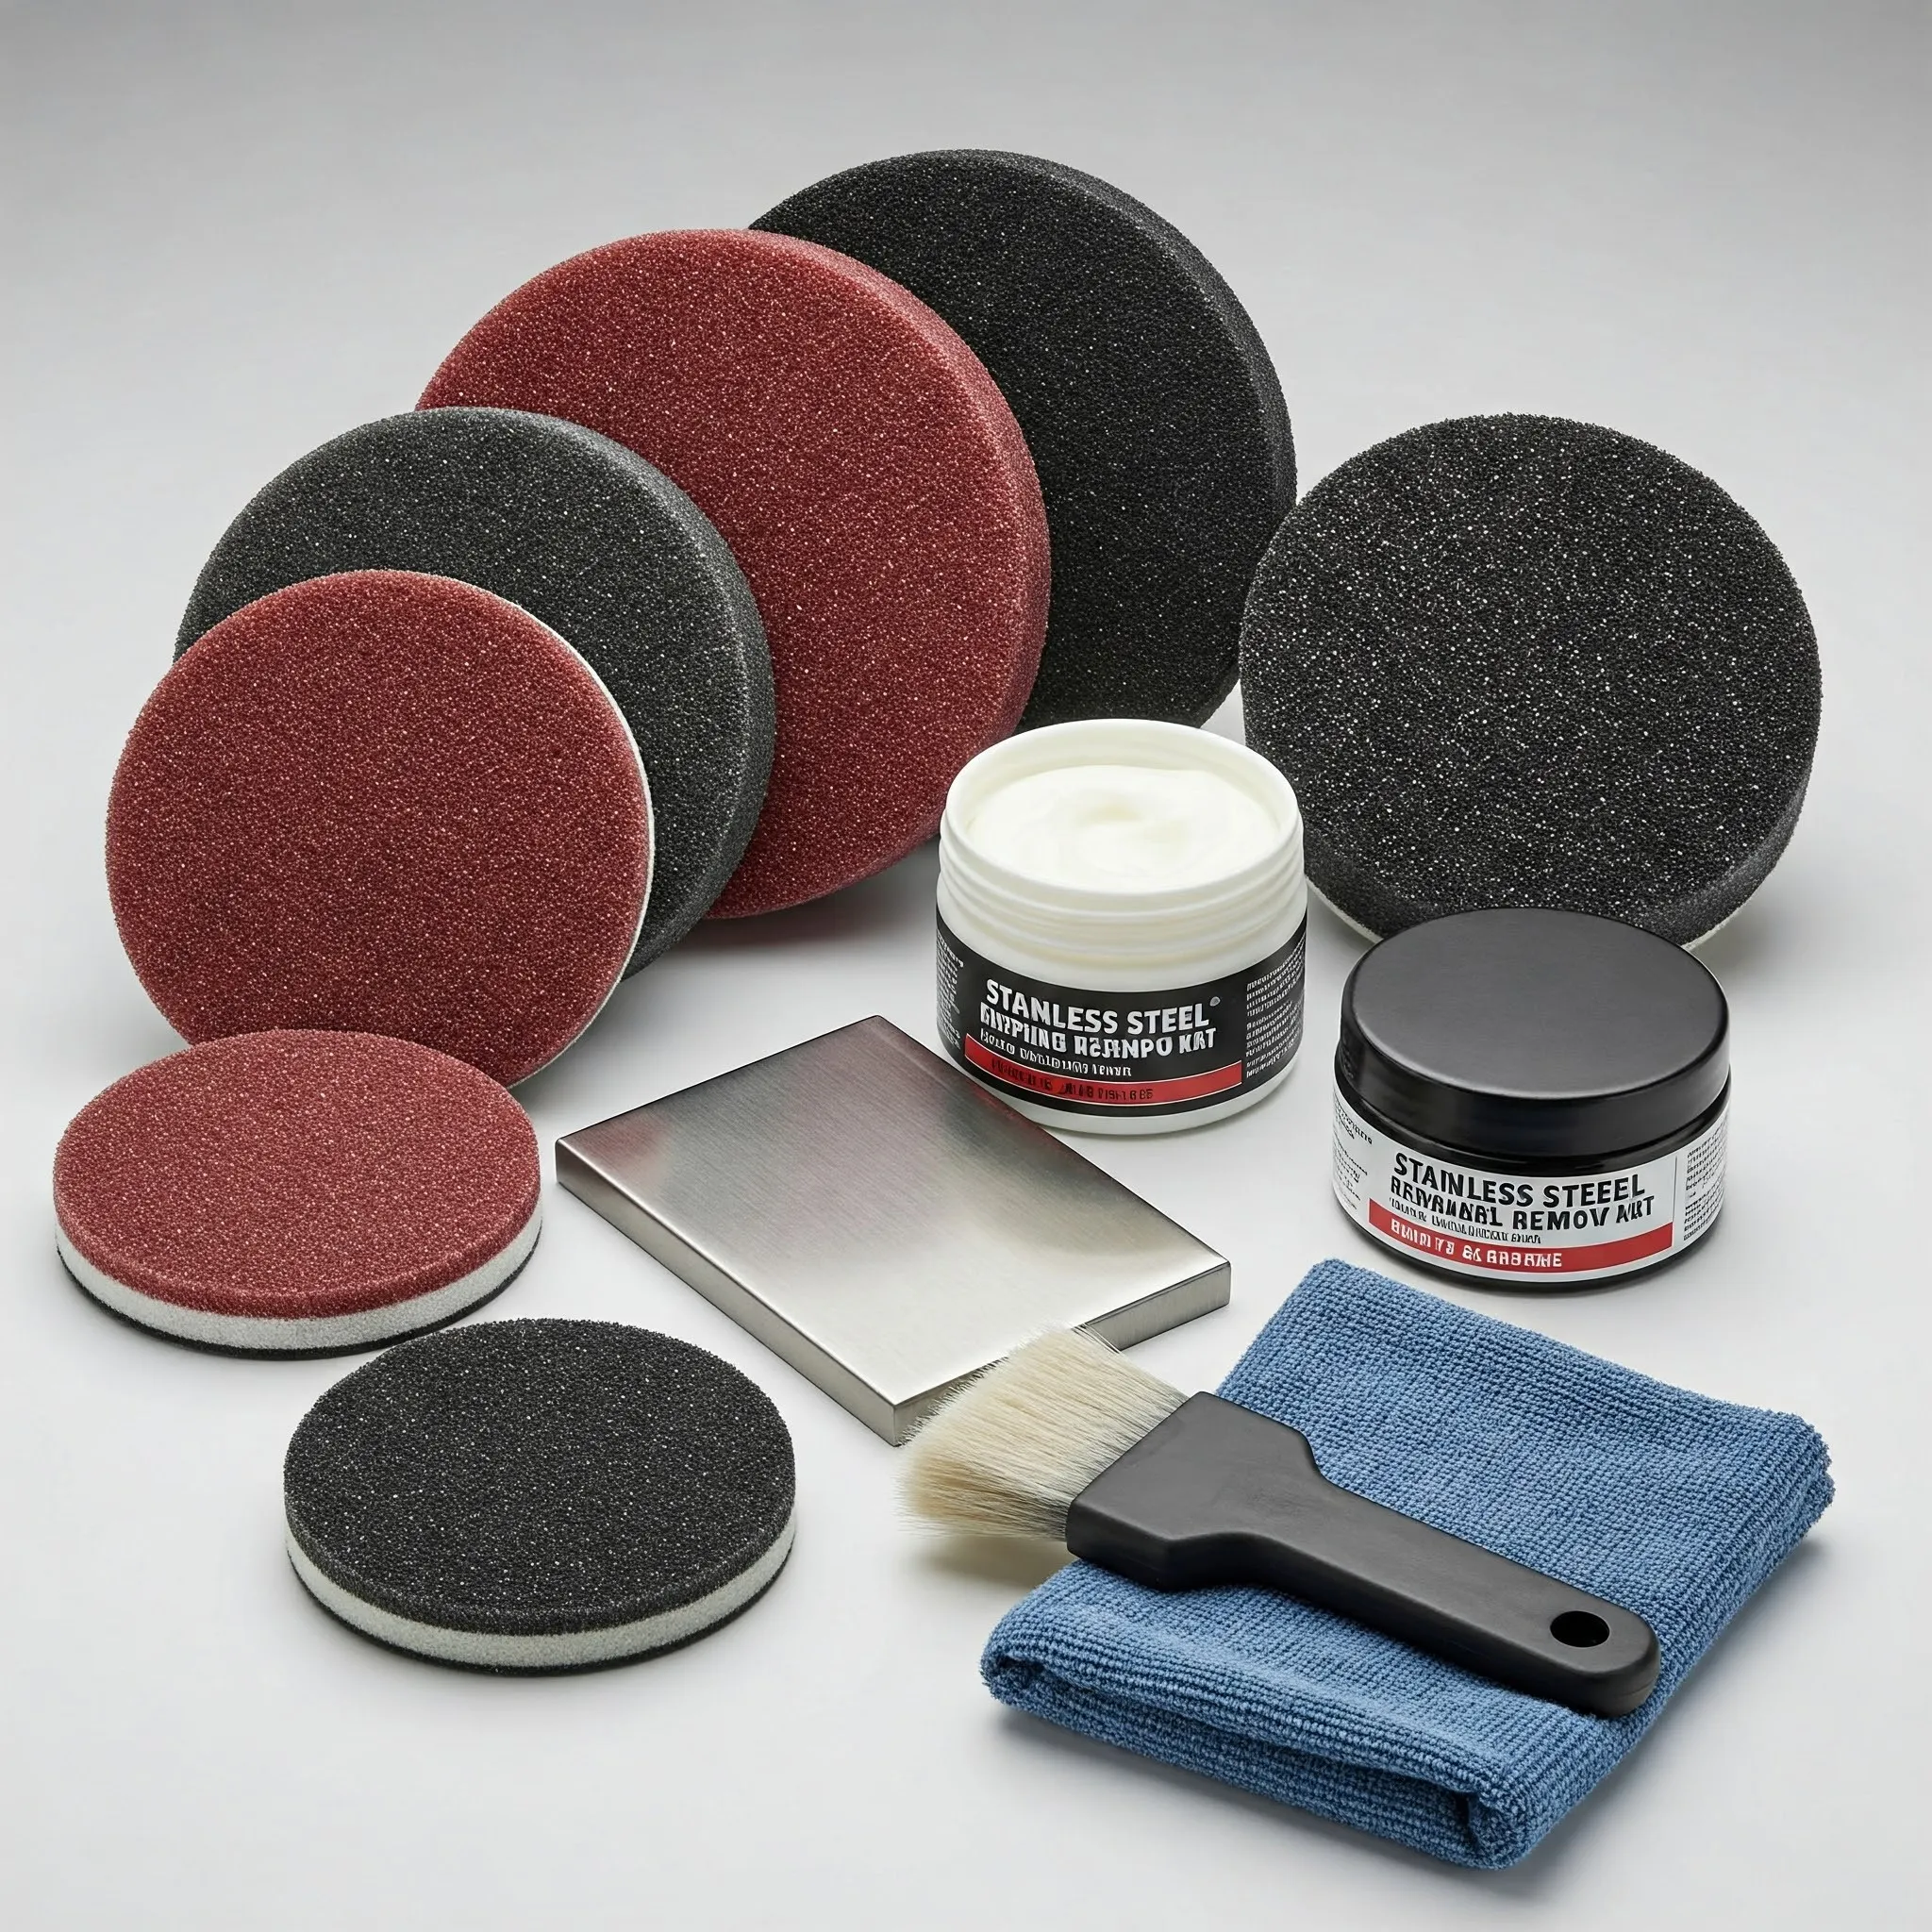
For deeper, more noticeable scratches that don't respond to the buffing compound method, a specialized stainless steel scratch removal kit is often the best solution. These kits are specifically designed to address more significant imperfections and typically include a set of abrasive pads with varying grits, a buffing compound, and sometimes a blending agent. Unlike the method for fine scratches, these kits work by gradually removing a tiny layer of the stainless steel around the scratch, starting with a coarser grit to level the surface and then moving to finer grits to restore a smooth finish. Always follow the manufacturer's instructions included in your specific kit meticulously.
Important Note: Similar to the fine scratch removal method, avoid using scratch removal kits on stainless steel with a fingerprint-resistant clear coat or any other type of synthetic surface unless the product label or your appliance's user manual explicitly states it's safe to do so. Using the abrasive pads directly on such surfaces can cause irreversible damage.
Supplies You'll Need:
- Microfiber cloths
- Stainless steel scratch removal kit (containing abrasive pads and buffing compound)
- Optional: Barry's Ultra Shine or a similar stainless steel finishing product
====================================================================
Step 1: Identify the Deep Scratch and Make a First Pass

Carefully open your stainless steel scratch remover kit and thoroughly read all the instructions provided, including any preparation steps and safety warnings. Identify the coarsest abrasive pad included in the kit. Apply the buffing compound that came with the kit to the clean and dry stainless steel surface as directed. Using the number of strokes recommended in the instructions, rub the compound into the scratch, always moving along the direction of the grain.
====================================================================
Step 2: Wipe the Work Surface Clean
Following the grain, use a clean microfiber cloth to wipe off the buffing compound as instructed. Take a close look at the scratch. If it's no longer visible, you can skip to Step 4 for the final blending. However, if the scratch is still noticeable, proceed to Step 3.
====================================================================
Step 3: Continue to Buff the Scratch with Increasingly Fine Pads (Optional)
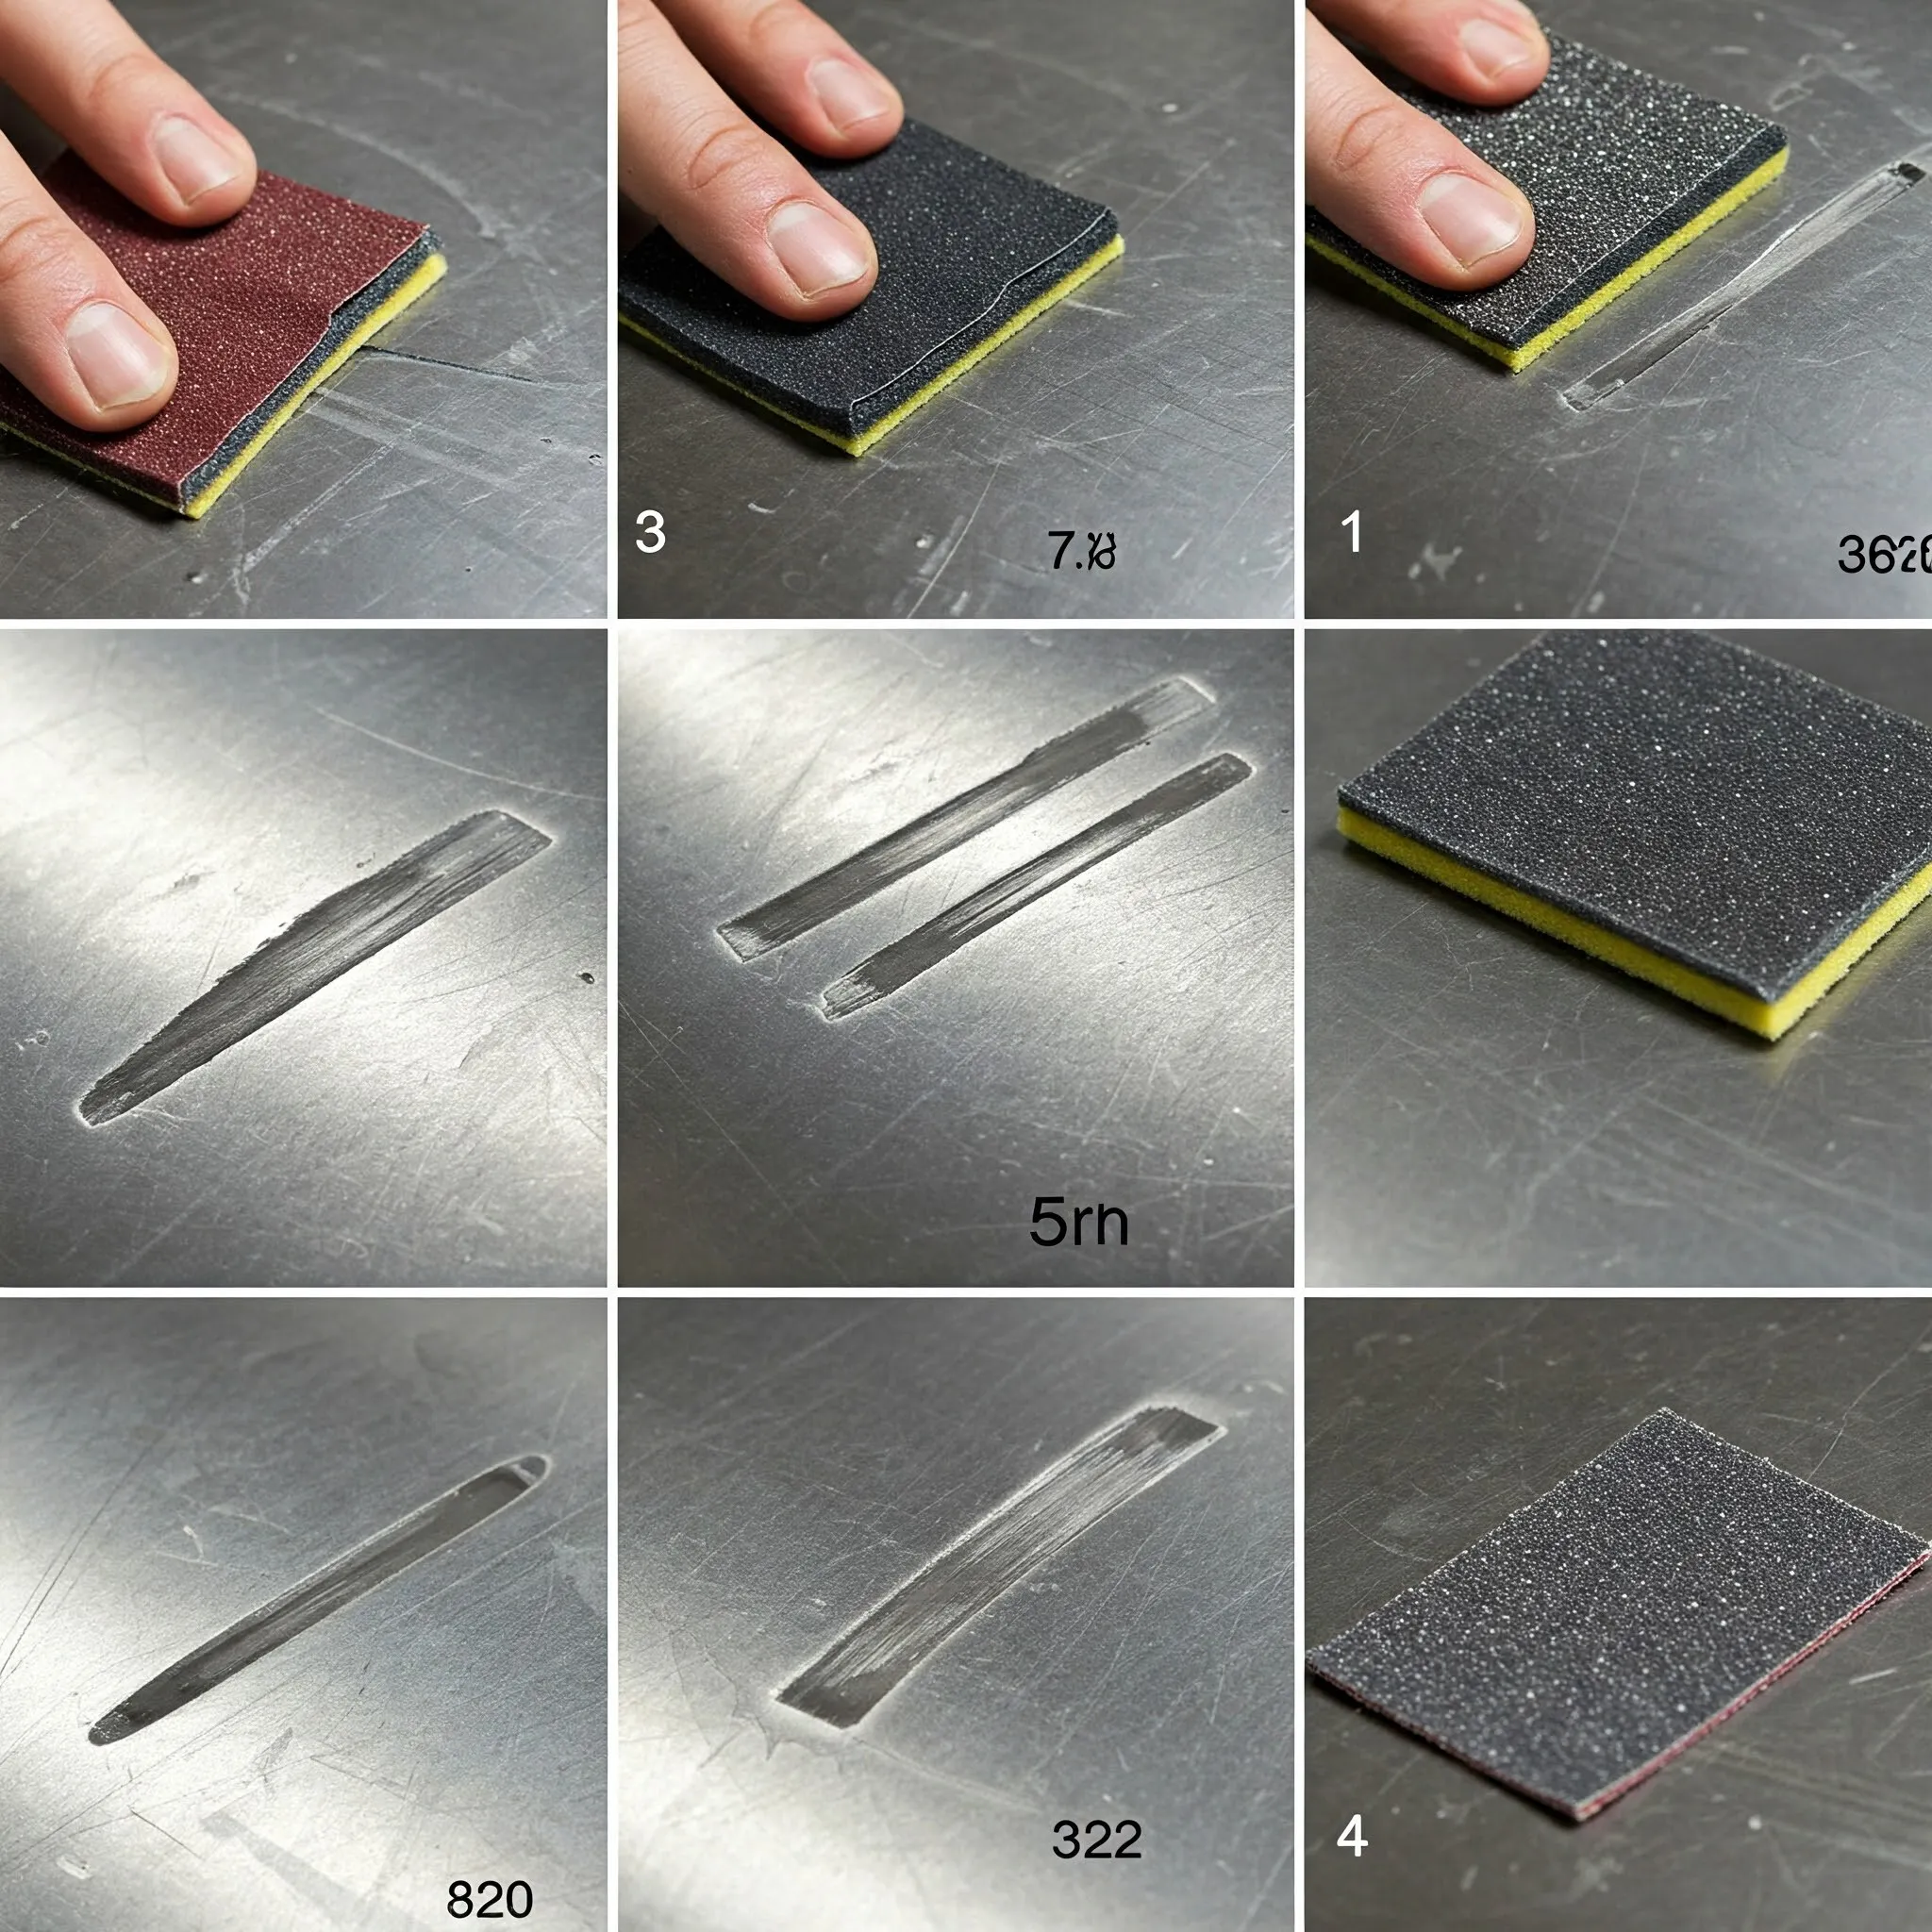
If the scratch persists, switch to the next finest abrasive pad as indicated in the kit's instructions. Apply more buffing compound if directed and repeat the process of gently scrubbing along the grain, wiping clean, and evaluating the scratch. Continue this process, moving to progressively finer grit pads as necessary. Even if the scratch doesn't completely disappear after using all the included abrasive pads, don't be discouraged. The final touch-up pass with a blending agent can often make a significant improvement.
====================================================================
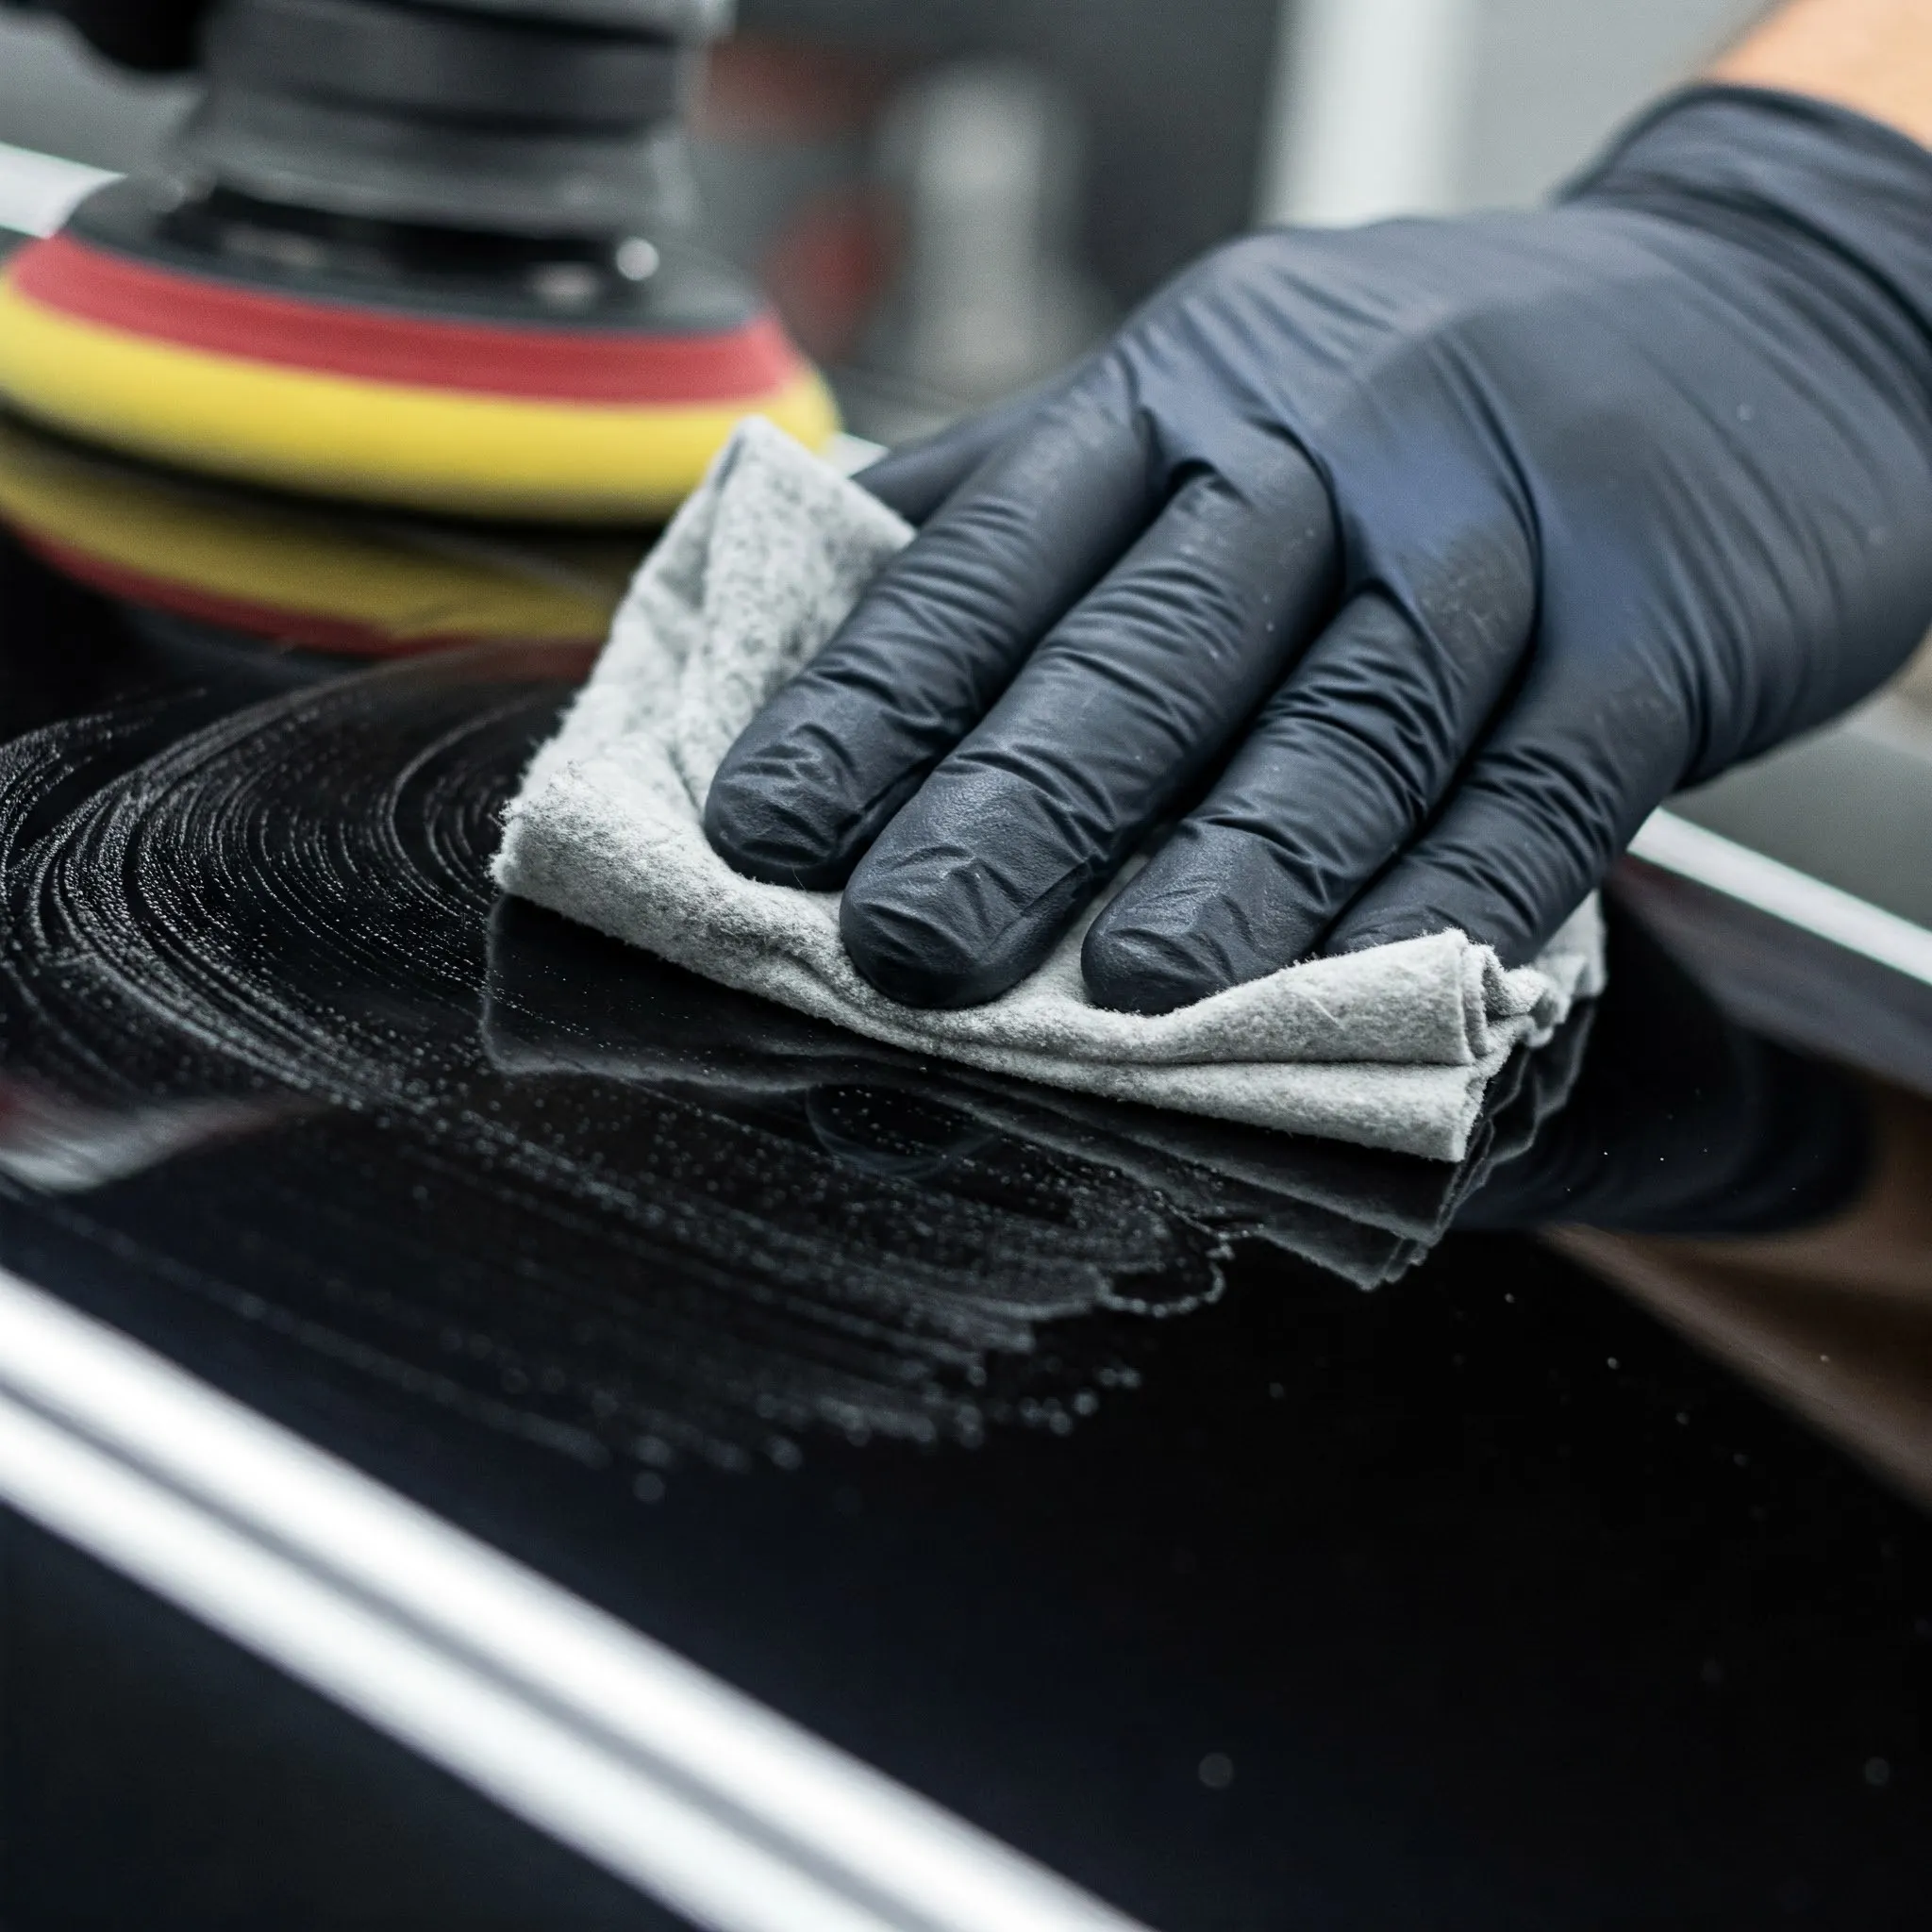
Step 4: Blend the Scratch into the Surrounding Area
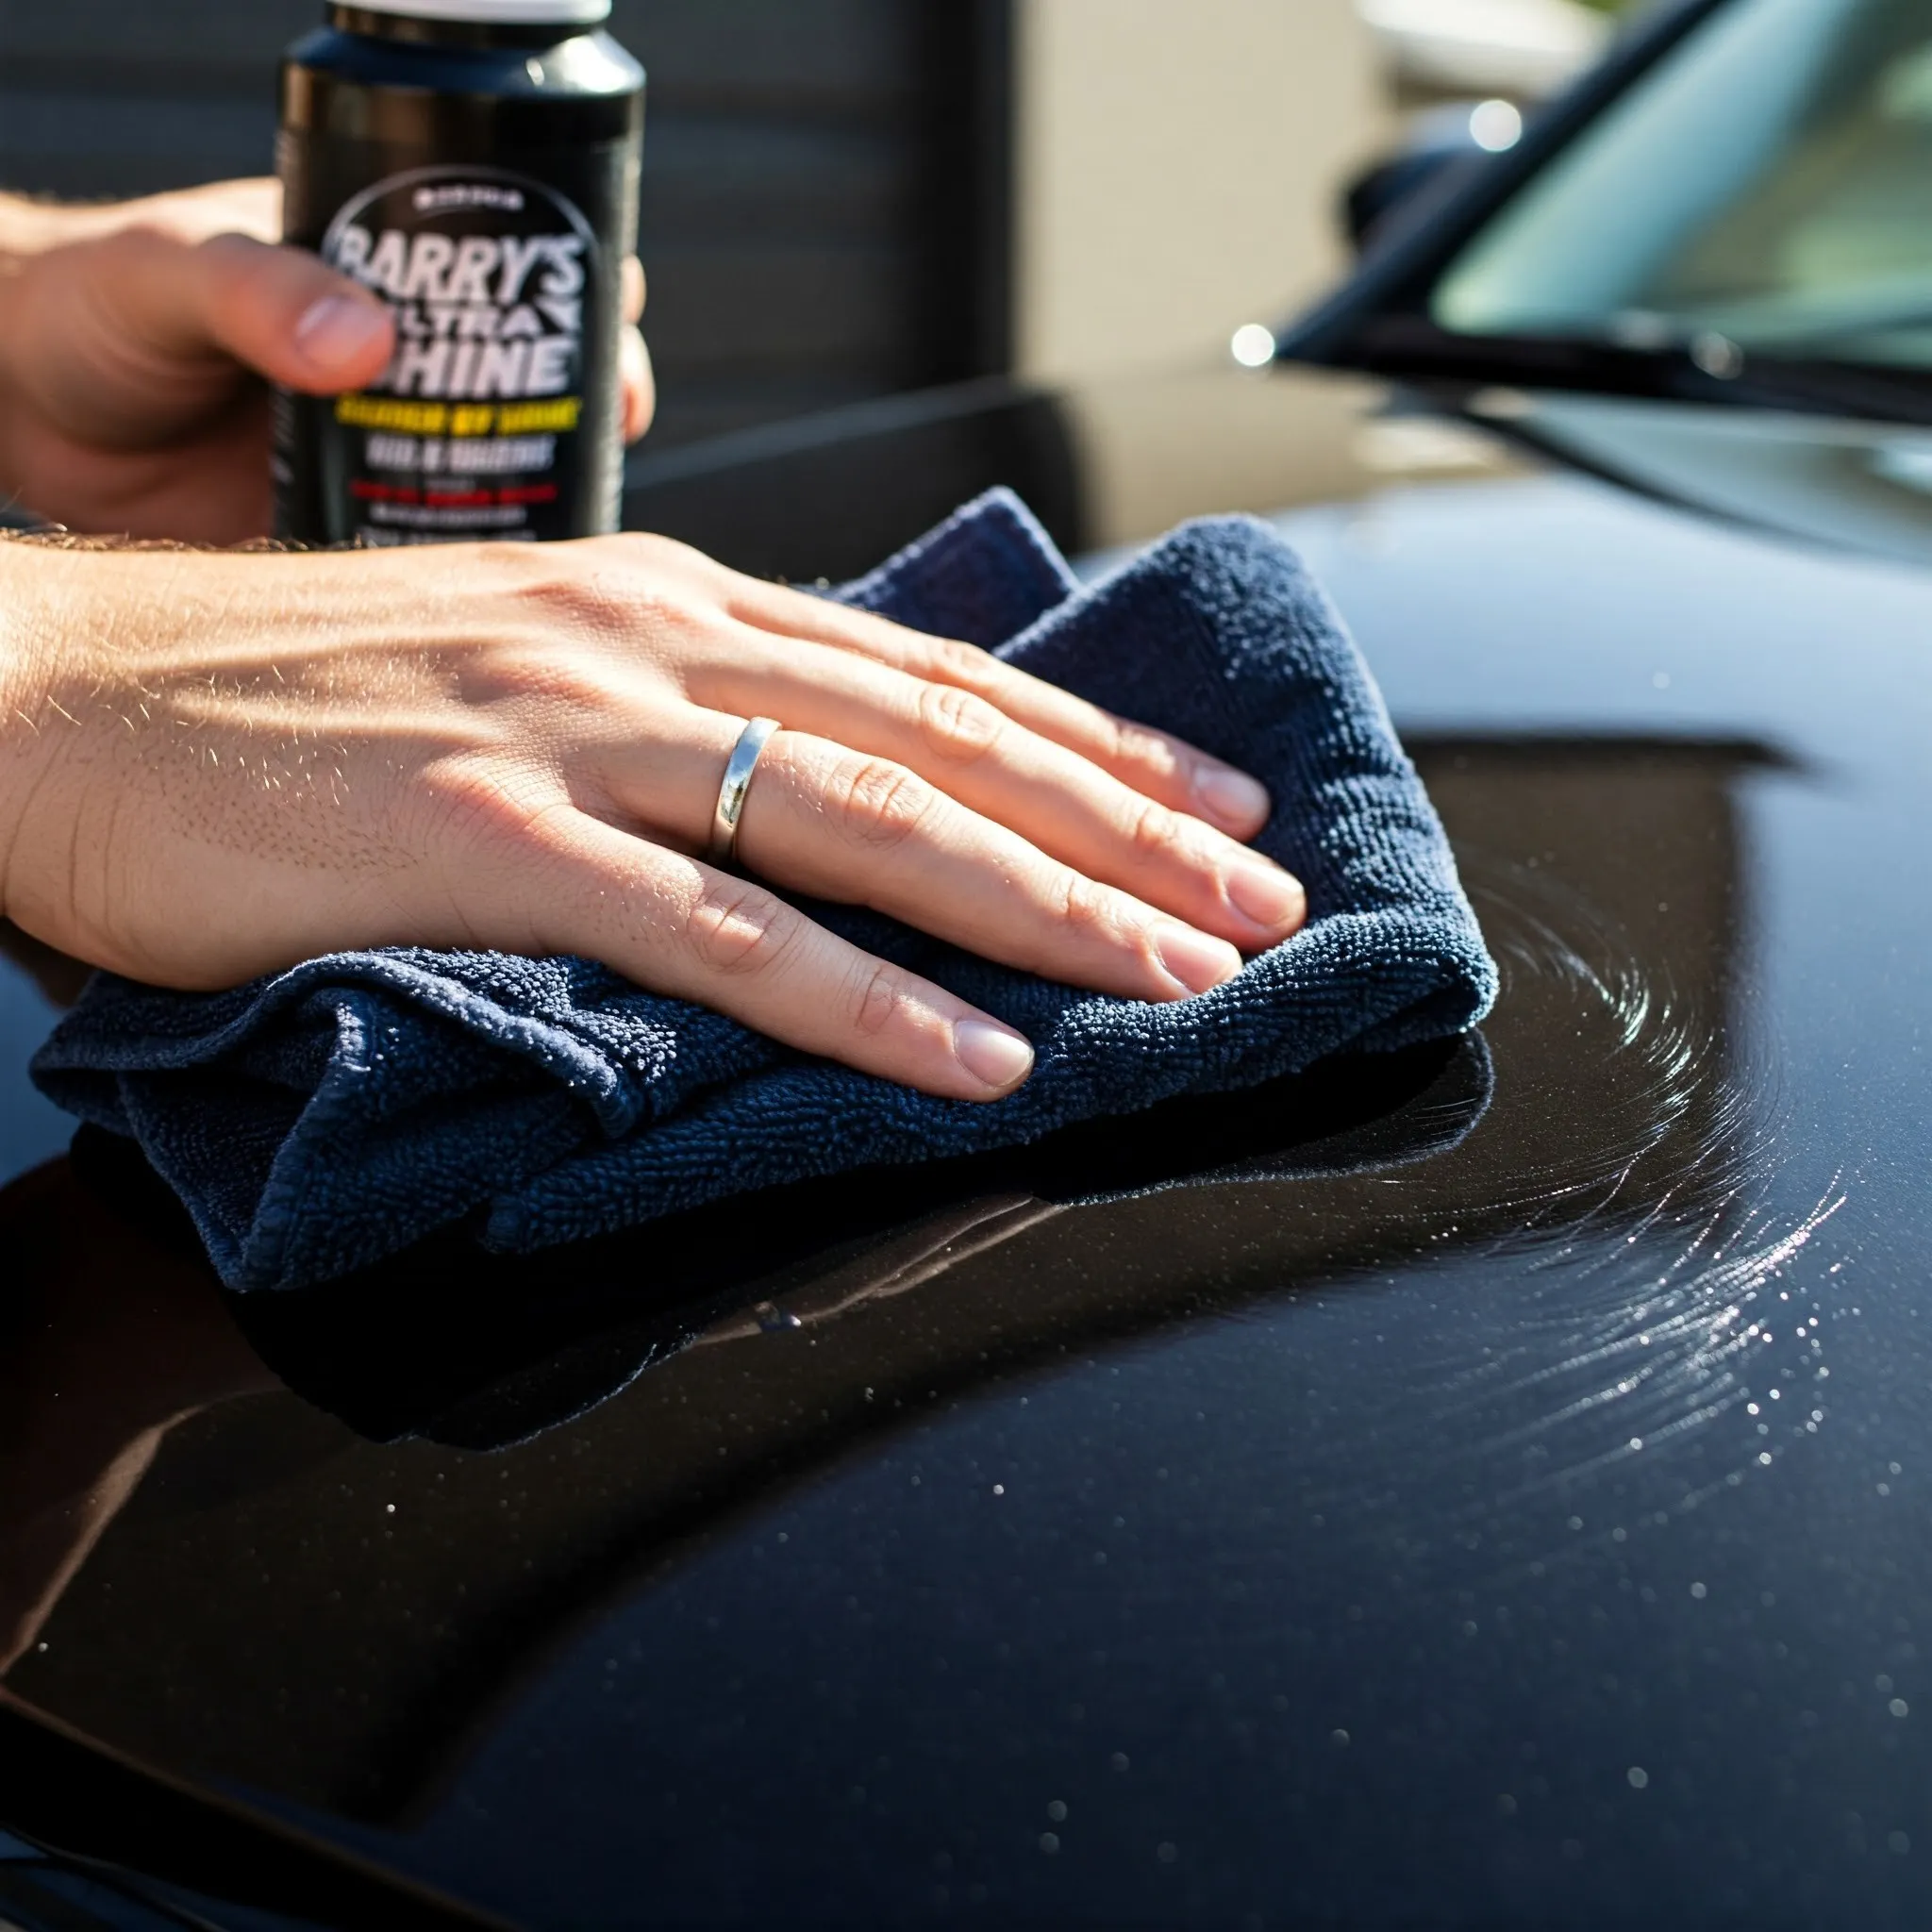
Depending on the specific scratch removal kit you've chosen, it might include a special blending chemical and a soft pad in addition to the abrasive pads and buffing compound. If your kit doesn't include this, you can purchase a product like Barry's Ultra Shine or a similar stainless steel finishing agent separately. Apply the finishing agent to the provided pad or a clean, dry microfiber cloth and rub it onto and around the scratch, again working with the grain of the metal. Stop frequently to check your progress. Gradually decrease the amount of pressure you apply as you go until the treated area blends seamlessly with the rest of the stainless steel surface.
====================================================================
Proactive Measures: Preventing Scratches on Stainless Steel
Once you've successfully removed those bothersome scratches from your stainless steel appliances or surfaces, it's wise to adopt some preventative measures to keep them looking pristine for longer. Here are some helpful tips to minimize the accumulation of scratches:
- Avoid Abrasive Cleaners and Materials: When cleaning and polishing your stainless steel, steer clear of abrasive cleaners, steel wool, and other rough materials that can easily scratch the surface. Consider using recommended stainless steel cleaners or even making your own homemade cleaner.
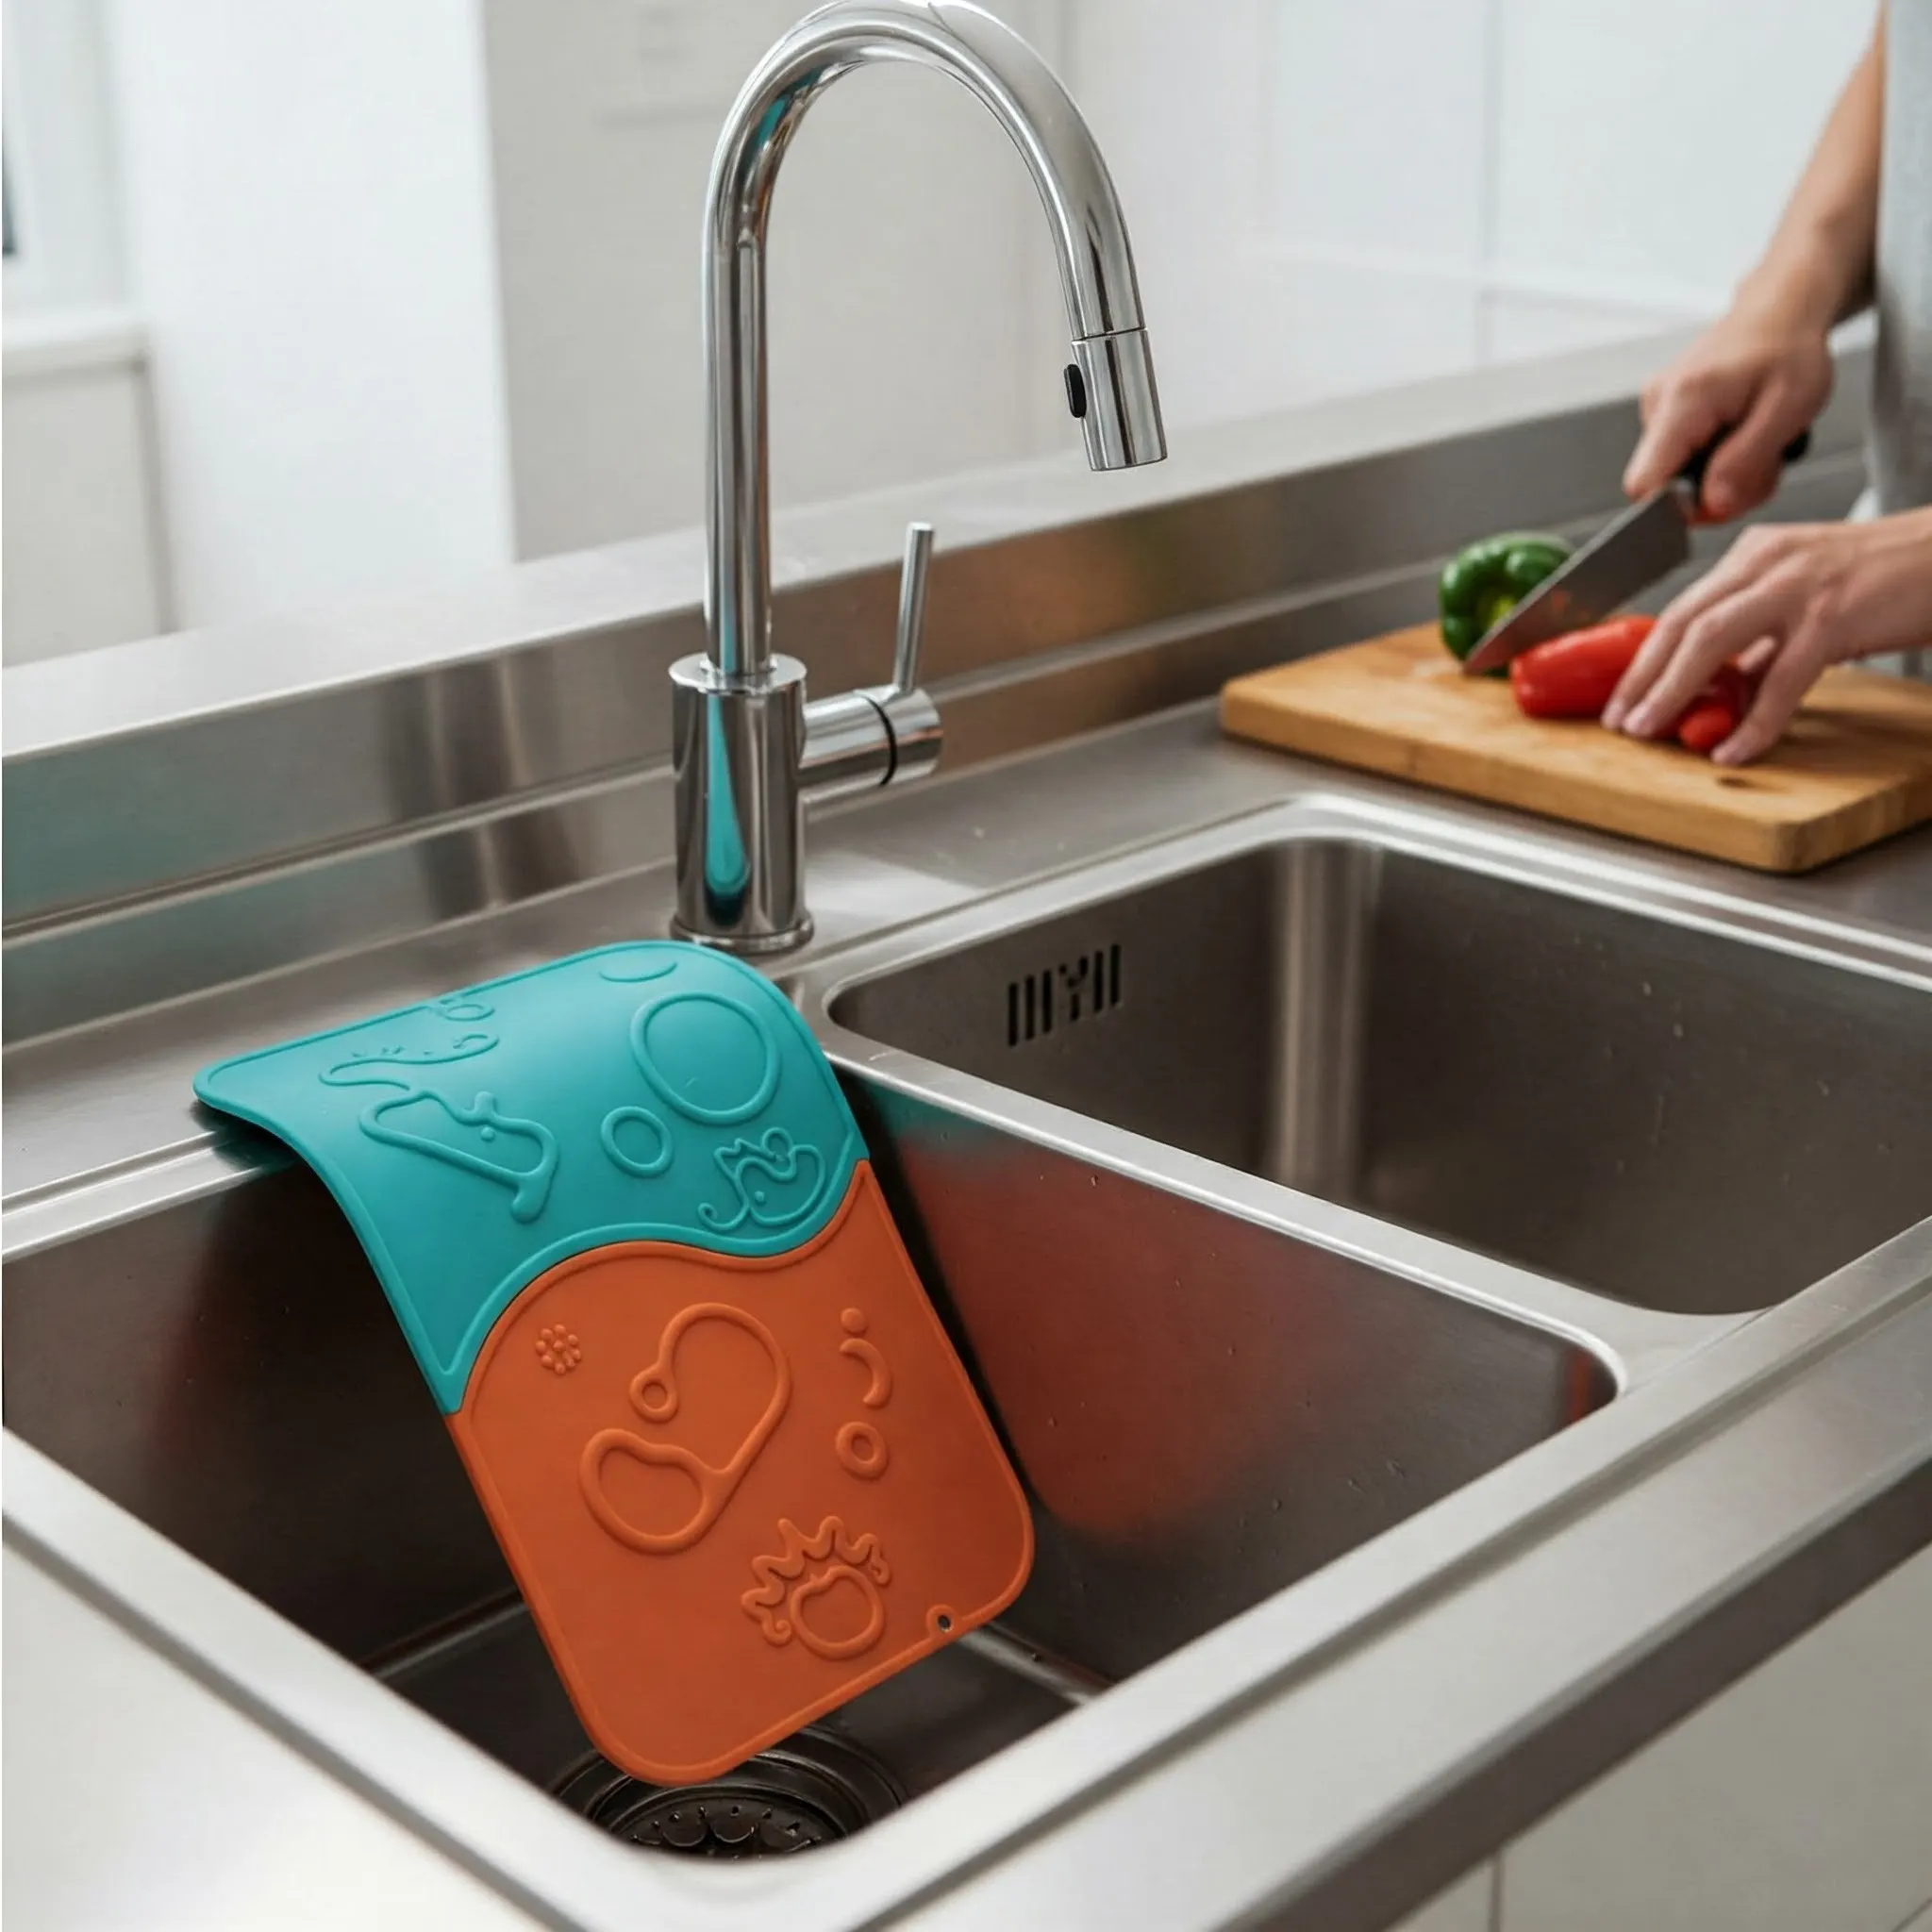
- Protect Your Sink: Prevent scratches in your stainless steel sink by placing a rubber dish mat at the bottom of the basin, especially when washing metal pots and pans, particularly those made of heavy materials like cast iron.
- Use Cutting Boards: Always use a cutting board when preparing food, especially when cutting meat, fruit, and vegetables, to avoid accidental scratches on stainless steel countertops.
====================================================================
Final Thoughts

Dealing with scratches on your stainless steel can be frustrating, but with the right approach and a little patience, you can restore the beauty of your kitchen. Whether you're tackling minor blemishes with a simple buffing compound like Bar Keeper's Friend or addressing deeper scratches with a specialized kit, remember to always work with the grain and test in an inconspicuous area first. By following these steps and incorporating preventative measures, you can keep your stainless steel looking its best for years to come, maintaining that sleek and durable aesthetic you love. And for that final touch of brilliance, consider using a product like Barry's Ultra Shine to really make your stainless steel gleam.
====================================================================
Key Takeaways
- Always identify the direction of the stainless steel grain before attempting to remove scratches.
- For fine scratches, a non-abrasive buffing compound like Bar Keeper's Friend and a microfiber cloth are often sufficient.
- For deeper scratches, a dedicated stainless steel scratch removal kit with varying grit abrasive pads is usually necessary.
- Always follow the manufacturer's instructions for any scratch removal products you use.
- Test any scratch removal method in an inconspicuous area first.
- Wipe away residue and dry the surface thoroughly after treatment.
- Prevent future scratches by using non-abrasive cleaning methods, protecting your sink, and using cutting boards.
- Consider a finishing product like Barry's Ultra Shine for an enhanced shine.
Popular Posts